Related Posts:
Three things -
Today, I made a Little Mermaid Cake for a pretty little girl named Mhia who celebrated her fourth birthday.
Today, I chanced upon a sale in the mall so I bought some office pants.
Today, I had my picture taken with Mig Ayesa! What a rush! He's super nice. Wish I baked cupcakes so I can give him some. Rock of Ages definitely rocks!
Wait... that's three already? And I still haven't gotten around to introducing this post, hahaha! Well, here it is - read on.
Today (after that long introduction), we're all about bags. Cute red purses. In fondant. Fashionable, totally.

This tutorial has been requested several times so here I thought I'd make a proper tutorial.I It's fairly easy and requires minimal tools. Want to see how I made it?

What we need -
Fondant in red and ivory
Stitching tool (or toothpick or knife)
Gold dragees
Knife
Brush and water

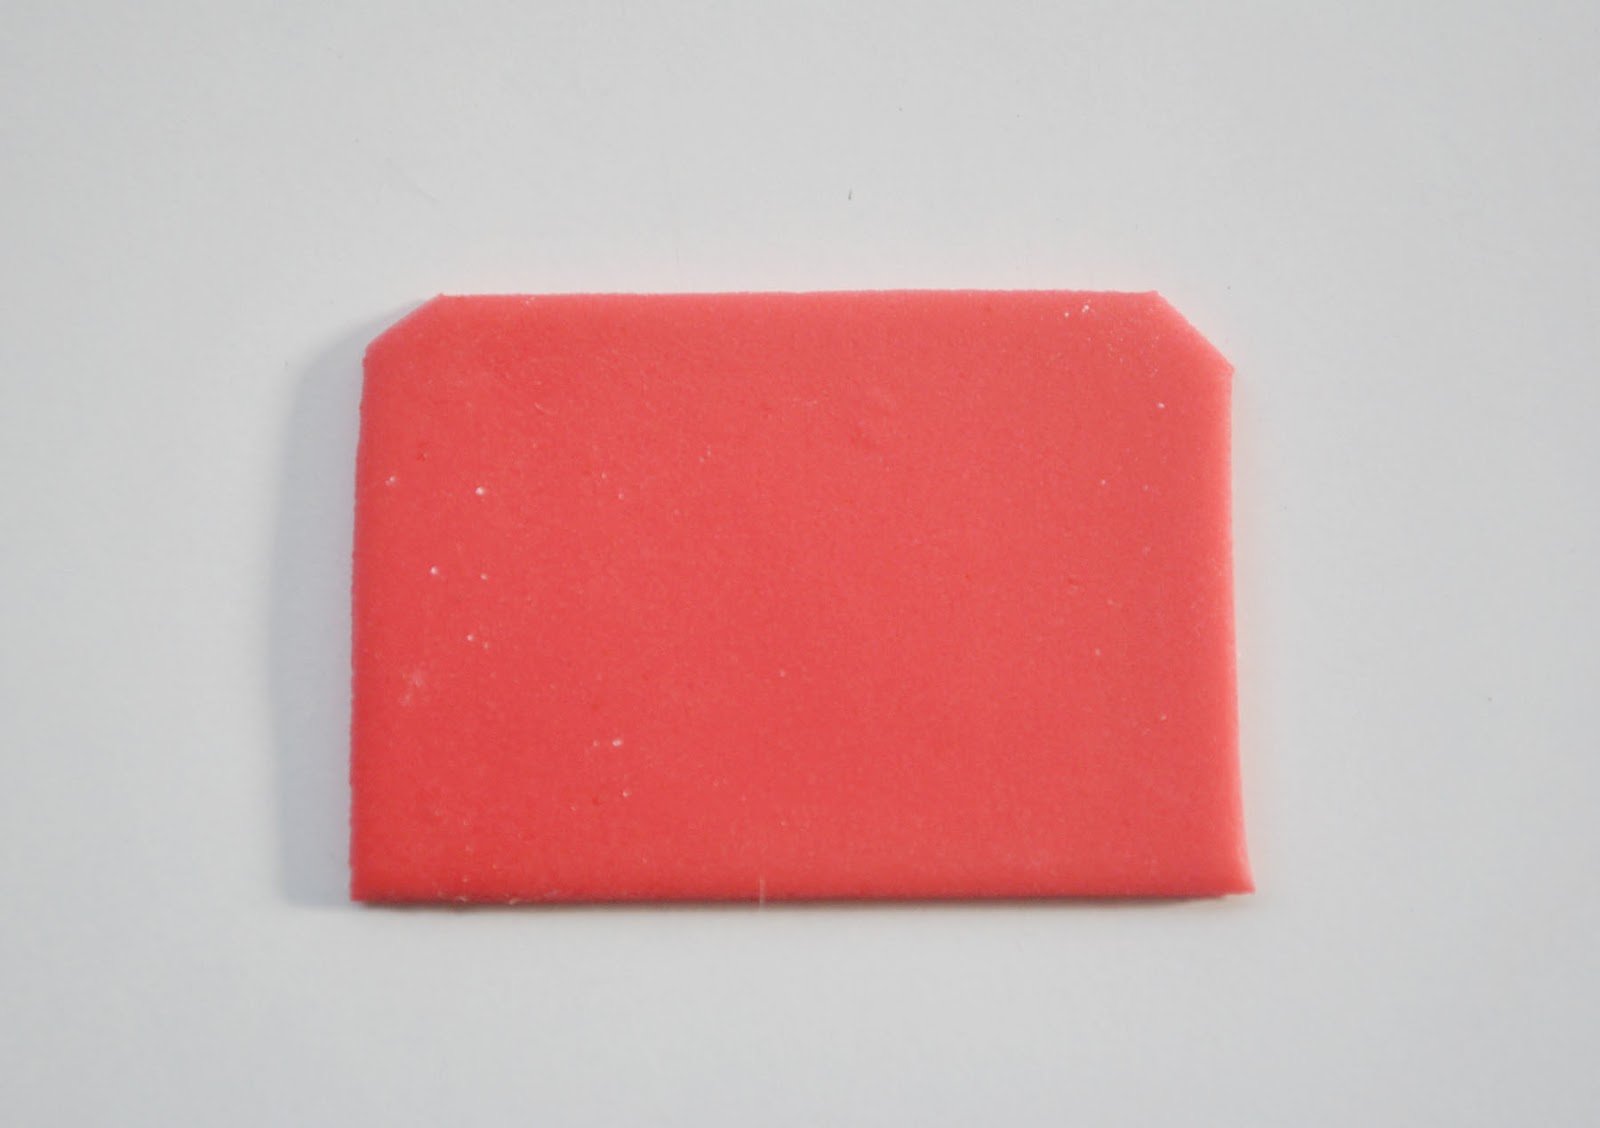
(1) Roll red fondant into a ball, press it flat and shape into a rectangle. Make sure to retain the round edges.


(6) Cut two of the sides, like so.


Got a tutorial request? Let Bake Happy Blogger know so she can see what she can do about it.
Enjoy the rest of the weekend, everyone!
Tidak ada komentar:
Posting Komentar