Sabtu, 15 September 2012

How to Make Plants vs Zombies Cupcakes - Zombies (5 of 5)


Related posts:


Hey Bake Happy friends! How did your week went?
As for me, I did lots of exciting things, well one is really embarrassing so I won't go into details on that. 

So let's see:
Last Monday, I showed you how to make the Sunflower from the very popular Plants vs Zombies game.
Then on Wednesday, I announced a giveaway on Facebook, if you haven't heard of it, head on to Bake Happy's Facebook page now! I'm giving away a 100-piece cookie cutter set. Exciting, yes?
Then on Friday, we celebrated The Mooncake Festival at the office by having a dice game! I won a few things! 
And now let's close the week by saving the best for last or should I say scariest for last? 


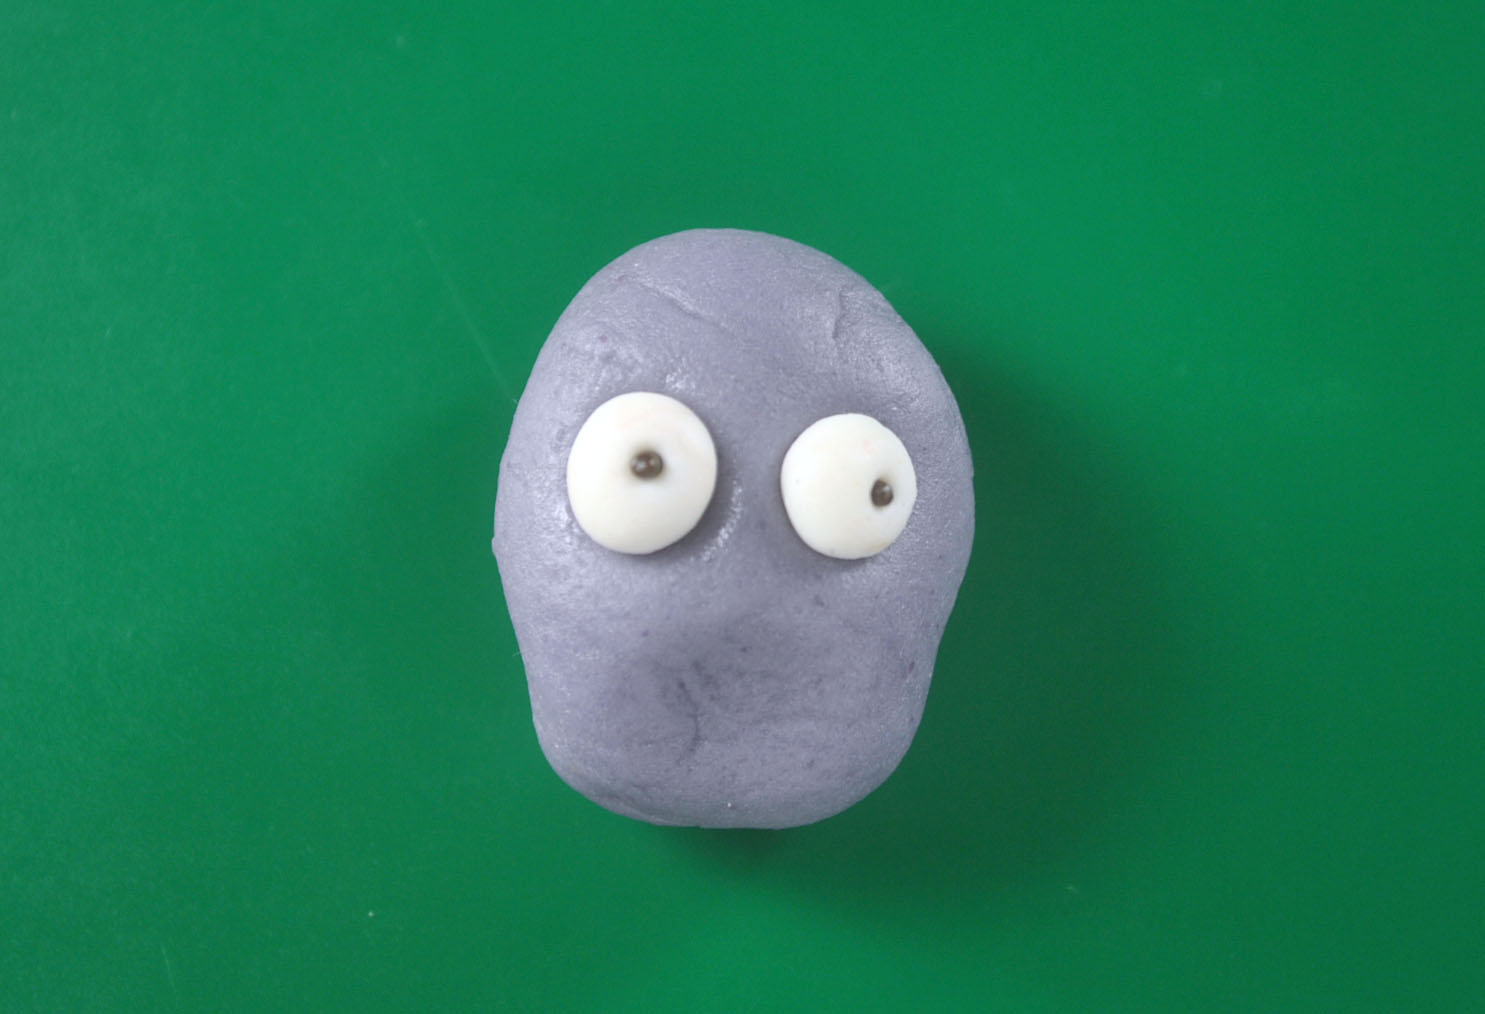
Yeah! It's time for the last installment of the Plants Vs Zombies cupcake topper tutorial. So far, we have the tutorial for Mr JalapeƱo, The Pea Shooter, Ms Sunflower, and Mr Potato Mine. Now, it's time for the Zombies to shine! Here's how to make them:

What we need:
Fondant in grey, maroon, white and light brown
Ball tool
Knife
Rolling pin
Brown sprinkles
Brush and water 

Here's how:
(1) Roll white fondant into a ball, flatten it by pressing it down.
 (2) Let it stand up and press two sides down.
 (3) Roll maroon fondant thinly, and cut a strip as high as the white fondant we prepared in step two.
 (4) Wrap the maroon strip around the white fondant. Leave lines/marks on where the you can cut up Mr Zombie's shirt.
 (5) And then cut it up and paste it like so :)
 (6) Next, roll two maroon balls for the sleeves
 (7) From the balls into long tear shapes, pressing the thinner end almost flat.
 (8) Further shape the sleeves. The sharper the edges the better.
 (9) Attach to Mr Zombie's body and add more details to the shirt.
 (10) Add more details, a white collar and a neck tie. 
 (11) And now for the face. Get some grey fondant, roll into a ball. Now, since we're making a zombie, it's okay not to smoothen things out. Leave a few creases here and there. It's okay :)
 (12) Use the ball tool, position the eyes
 (13) Add white fondant into the cavities created
 (14) Add small eyeballs using the brown sprinkles. Using a toothpick, press holes to where the nose should have been. Go and grab the ball tool again and create a cavity for the lips, using the maroon fondant, add Mr Zombie's tongue. 
 (15) Insert a toothpick into Mr Zombie's "neck"
 (6) Position the head and add the hair (using the sprinkles) here and there.
 Now that wasn't so hard was it? Hope you liked this series of tutorials my dear friends! :)


Tidak ada komentar:

Posting Komentar