Sabtu, 29 September 2012

Himalayan Pink Salt Cupcakes


Never. Never ever underestimate the power of a good chocolate cupcake.

Apparently I did. 

So when I posted this set of pictures on the internet, I didn't realize it will create such a buzz! Wow!

I came across Fleur de Sel cupcakes when I was searching for unique cupcake recipes from scratch and found an interesting one from Tasty Kitchen. The name intrigued me but actually it's quite simple, a chocolate base, a caramel filling, a chocolate frosting and a sprinkle of sea salt on top. Hmmm... I know I wan't to make my own version.


When I  made the Fleur de Sel cupcakes, I knew three things. I love the cake, I love the ganache but the caramel filling inside was not that good. The caramel I made was a bit bland. As you can see on the picture above, it was just too pale for my liking. 
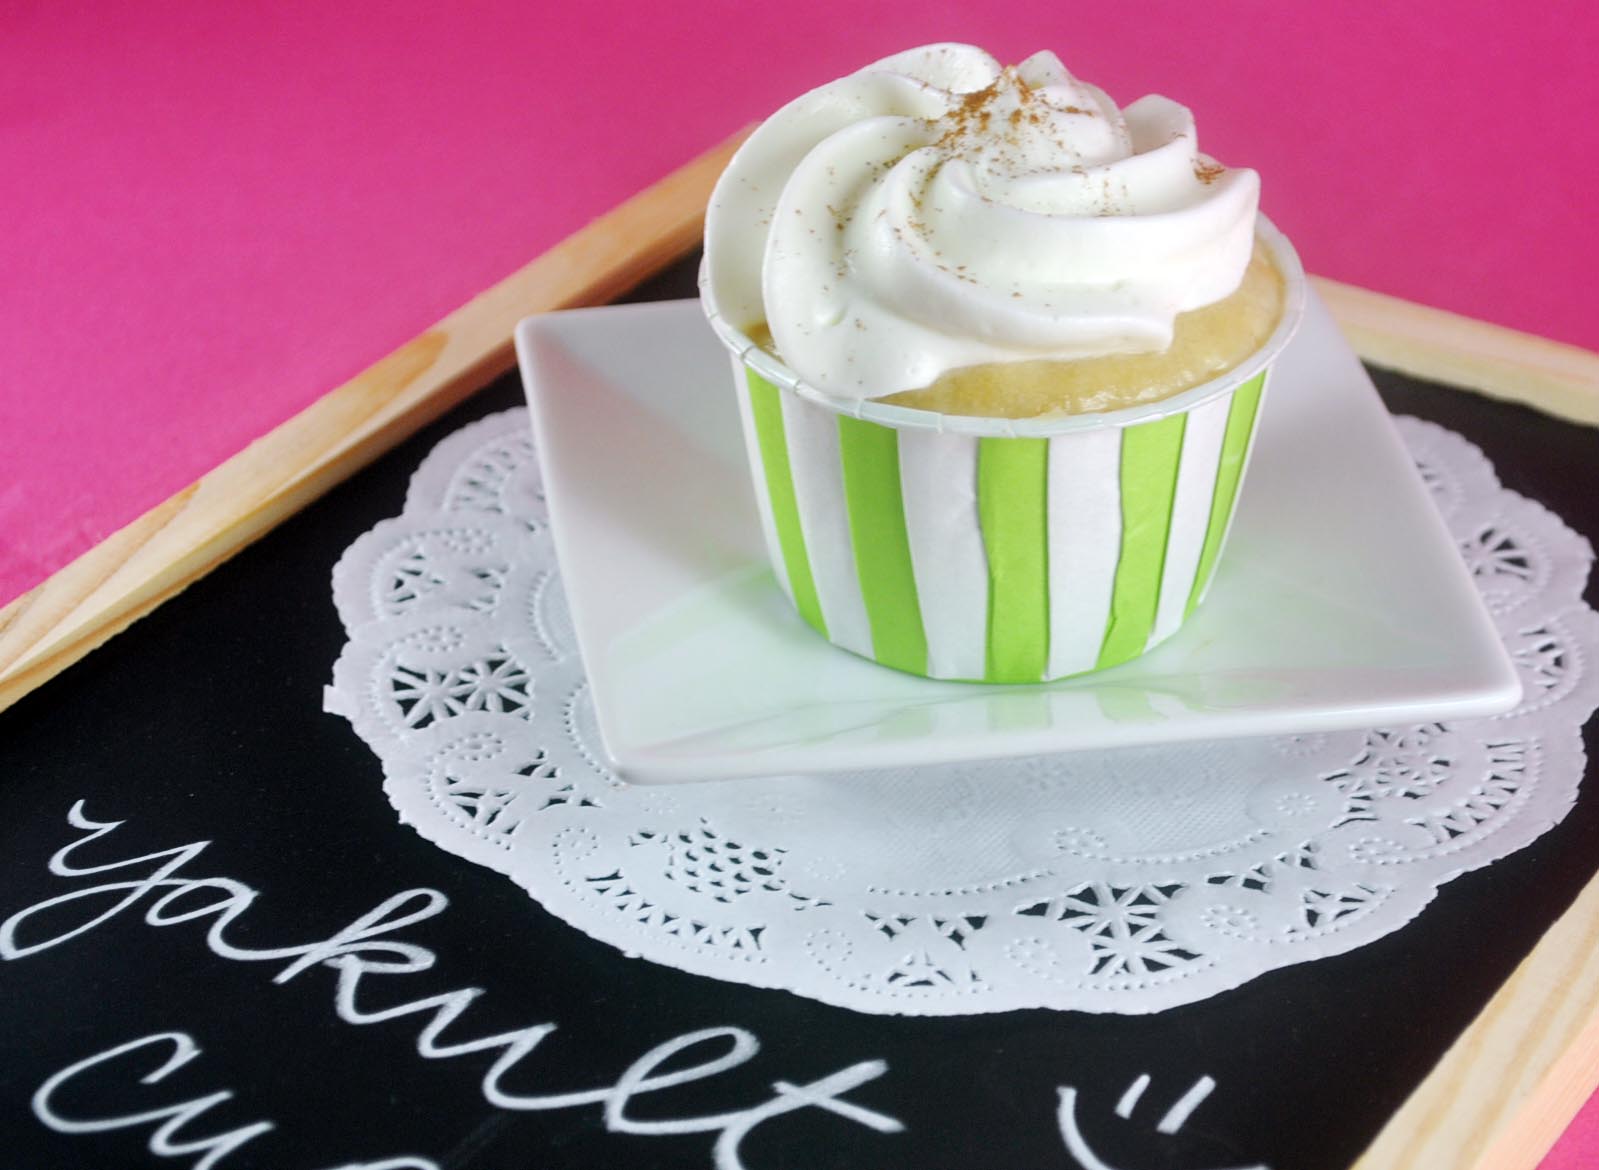
So I decided to do a recake and used Himalayan Pink Salt instead of Fleur de Sel. And ta-daah!! These cupcakes were born! 


Now, let's break down how to make cupcakes to parts. The ganache, the cake and the filling.
Himalayan Pink Salt Cupcakes

First up the Ganache. Very basic, just two things. 

Ingredients:
1 can Nestle Cream
400 grams dark chocolate

Here's how
(1) Chop chocolate and transfer into a bowl.
(2) Heat cream (in the can, there will be a liquid at the bottom, don't include that, just the cream) until it simmers (do not allow it to boil), pour cream over the chocolate. 
(3) Let sit for one minute then stir until combined.
(4) Let it cool in the fridge. From time to time, mix it well to cool it evenly to a piping consistency. Note that we won't we whipping up this one. Just cool it.
Second, the chocolate cupcakes. Of course I'm going to use this chocolate recipe. :) Now is the perfect time to bake it :)

Then the caramel filling. This time, I used Smitten Kitchen's recipe and I tell you, best 
I have ever tasted.


Caramel Pudding
adapated from Smitten Kitchen

Ingredients:

1/2 cup milk
6 tablespoons cornstarch
2 teaspoons pure vanilla extract
1 cup sugar
6 tablespoon water
3 1/2 cups milk

Here's How:
(1) Combime 1/2 cup milk, vanilla and cornstarch. Mix well until well combined. Set aside.
(2) In a saucepan, combine sugar and water. Cook over moderate heat. 
(3) Now, I used flash for the next pictures so you can see how the color changes. Caramel is very moody. There's a thin line between a good caramel and a burnt caramel. You need to keep your eyes open and your senses alert. Now it starts to boil. Action is starting! This step will happen in about 8 minutes.
Changing color very slightly...
Now it's in the color we want it, golden brown. It's as caramel as caramel can get.
(4) When it's achieved the color we want, remove from heat and add the 3 1/2 cups milk. The sugar will seize but don't be disappointed. Continue cooking and the sugar will melt into the milk. Cook for another 10 minutes.
(5) Gradually whisk the cornstarch mixture into the milk mixture. Cook again over moderate heat, stirring, until the pudding thickens, about one minute. Strain and transfer to a bowl. Let cool for a while. If you don't want a skin on top, cover it with a plastic wrap. Not me, too lazy. 
Okay, by now we've got the ganache, the cupcakes, the filling. Line them all up. Make sure to have the Himalayan Pink Salt on hand.
In the case of fillings, to make things less messy, use an apple corer to make a hole in the center.
Using a piping bag, fill up the cupcake with the yummy caramel.
Then pipe the ganache on top.
Lastly,  sprinkle with salt on top. 
Best eaten the day after. But since I can't wait, it's best eaten freshly made too :)

Minggu, 23 September 2012

Fondant Figures Tutorial - Little Girl


Related post:


Stay glued to your seats my dear Bake Happy friends! I am granting one request you have sent my way. This is a first really. I lot of you are curious as to how I make my fondant people (or gumpaste people depending on what you use) so today I am showing to you how to make a fondant figure of a little girl

And by first, like the Plants vs Zombies Tutorial, there will others more so make sure to keep on visiting Bake Happy, yeah? :)
For this tutorial, I must admit, I don't know a thing about little girls clothing (Ha! I also don't have much idea about big girls clothing, being a t-shirt/jeans - wash and wear kinda girl) so I went to GAP.com and searched for little girls dresses I can draw inspiration from. And, before I forget, the flesh colored fondant used for this tutorial is 50% Satin Ice Fondant and 50% Satin Ice Gumpaste. The rest are marshmallow fondant. 

ps: actually, it's really okay if you want to use gumpaste for this one - the title can very well be gumpaste figures tutorial - it's just that I love working with fondant :) So here it goes!
Fondant Figures Step by Step Tutorial - Little Girl

What we need:
Fondant in flesh, black, white, brown and pink
Fondant tools
Ball tools
Knife
Rolling Pin
Small piping tip #3
Buckeye brown food color
Small fine brush for details like eye brows and eye lashes
Brush and water to glue things up
Here's How:

(1) Roll brown fondant into a ball
(2) Press it down with the palm of your hand. 
(3) Let it stand up and press two sides down. 
(4) Press the ball tool down on the rounded tip
(5) Roll two small balls from the brown fondant. Then into tear shapes. Flatten the base and press into the sides of the little girls top Get some white fondant, roll and shape into a flat cylinder and attach to the base of the girls top.
(6) Roll some pink fondant flat. Cut up a long rectangle, fold horizontally.
(7) Make some pleats.
(8) Make sure to make it thin and real curly
(9) Using your fingers or ball tool, further flatten where the two sides/ends meet. 
(10) Paste into the white base. Coming along pretty fine, doesn't it? I am just a little annoyed with the little pleat on the center that didn't pleat rightly. It's all I can see :)
(11) Make the belt by rolling fondant thinly and cutting a thin strip. Roll it around where the brown  and pleated pink fondant meet. I love little details like this. And, I love it even more since it covers "dirty tracks".
(12) Using the piping tip, add small round pink fondant on the belt.
(13) Make a ribbon, and add some pink design as well.
(14) Attach the ribbon to the right side of the belt.
(15) To make shoes (w\e're making Mary Janes by the way), roll two small fondants into a ball.
(16) Flatten into tear shapes
(17) Squeeze the middle part inward, just slightly - enough to make a noticeable dent
(18) Press a ball tool on the narrower end.
(19) Roll two small balls from the white fondant. Then into tear shapes. Flatten the top.
(20) Attach to the shoe. 
(21) Roll white fondant thinly
(22) Cut half moons.
(23) Paste it into the shoes.
(24) Roll black fondant into a rope and place straps into the shoes. (Optional to paste some white sprinkles to serve as the button of shoe)
(25) Roll flesh fondant into two cylinders.
(26) Attach to the top of the socks.
(27) Roll white fondant into a rope
(28) And again to cover up the tracks (that is where the flesh part meets the socks part meet), paste the rolled white fondant around it and create some designs with a knife.
(27) To make the hands, roll flesh fondant into a cylinder - a long cylinder. 
(28) Press one end (leaving just a small part) back and forth to create a dent all around 
(29) Flatten the round part and cut a "v" at one side. Rub the "hands" to soften cut edges.
(30) Press knife into the the fondant to create the fingers.
(31) Now, do the other hand and attach to the sides of the little girl's shirt.
(32) Press toothpicks into the fondant feet. 
(33) Attach fondant feet to the white fondant where the pink skirt is glued into.
(34) Now, make the face. 
(35) It's actually the same step as the cupcake faces tutorial here. So go ahead and read up on it. But please come back, yeah?
(36) Attach the fondant head head on the fondant little girl's body. I used a toothpick to attach it.
(37) Now for the hair, roll some black fondant into a ball. Flatten it up and attach to the figure's head. 
(38)  Add some bangs and run the knife through the hair to add some details. Add some pigtails and pink ribbons too.
Here are some skirt and shoe details.
And some dress details. Don't you love how we can just add some tiny details like ropes and belts and it would completely cover some of our tracks? Leaving cake lovers wondering, how were we able to do that? Suddenly it's magic!
Before we end the post, here's a close up of the little girl's face.

and ps: if your wondering how do I stop fondant figures from sagging, before I place the fondant figure into the cake, I first insert one long barbeque stick from the fondant shoe all the way to the fondant head (so it's in an angle, not really 90 degrees straight) keeping in mind the toothpicks already inserted inside the fondant figure.
More fondant figures or should I say fondant people to come. Stay tuned, okay? :)

Rabu, 19 September 2012

Guest Post at Bakers Stock: How to Make Baptism Themed Cupcakes


Hey Bake Happy friends!

Guess what? I am soo happy to be Bakers Stock's guest today. I'm sharing how to make super easy, super fun and super cute baptism  themed cupcakes! Check it out HERE!


Selasa, 18 September 2012

One of my Favorite Online Shops in Manila: Party Starters by Michelle Malabanan


My Dearest Bake Happy Friends, 

Have I ever told you how much I love receiving mails, sweet messages, tweets and comments from you? Truly, I do.  You never know how much I have fun reading them - almost seems like a guilty pleasure. Sometimes, you make me giggle in the middle of the street at the first glace of your comment. Sometimes it just tugs my heart to know that you appreciate what I do and that the long hours baking and cake decorating are not for naught. That in my own little way, I have helped you somehow. Sometimes you just make my heart go pitter patter, especially you dear friends who love sending me lovely messages, long and short, you know who you are. I love reading every word of these. I answer as much and as timely as I can. From the bottom of my heart, thank you.

Today, I am answering a question lots of you ask me, and sometimes I get even asked offline which is quite a surprise. It's the "where did you get" question which typically goes like this - 

(1) Hi Aikko, just wanted to ask where you got those cool straws from the Temple Run Cupcake Topper Tutorial?
 or
(2) Hey Aikko, mind sharing where you got the cupcake cups you used for the Malted Yakult Cupcakes?
 
 or 
(3) Love the liners you used on this Fondant Designer Bag tutorial, may I know where you got it?
And because of these questions, I decided to do a series of my favorite online shops here in Manila.

First up is Michelle Malabanan's Party Starters (http://www.facebook.com/partystartersph). Michelle's online shop specializes in party favors and supplies.If you want a dessert table for your party the Amy Atlas way, Michelle is your go-to gal. It was on her shop that I went crazy and got all sorts of "accessories" I need to dress up and style my cupcakes like in the three posts I mentioned above. From her I got candy cups, little pails and straws and yet her shop has a lot more.
Okay, so admittedly, I went overboard and got a lot of paper straws.
 But then again since I have lots of them, I should post more drink recipes like this Wintermelon Tea with Rock Salt and Cheese, yes?
And don't you love these candy cups? Party Starters has it in so many colors and design I lost count.

Do check out the Party Starter's page if you have questions or pricelist requests, Michelle is super friendly and very accommodating :)

Party Starters
DIY Party Kits+Party Styling+Party Booths+Party Services+Party Supplies+Party Products

Michelle Malabanan
http://www.facebook.com/partystartersph
partystartersmail@gmail.com

Sabtu, 15 September 2012

How to Make Plants vs Zombies Cupcakes - Zombies (5 of 5)


Related posts:


Hey Bake Happy friends! How did your week went?
As for me, I did lots of exciting things, well one is really embarrassing so I won't go into details on that. 

So let's see:
Last Monday, I showed you how to make the Sunflower from the very popular Plants vs Zombies game.
Then on Wednesday, I announced a giveaway on Facebook, if you haven't heard of it, head on to Bake Happy's Facebook page now! I'm giving away a 100-piece cookie cutter set. Exciting, yes?
Then on Friday, we celebrated The Mooncake Festival at the office by having a dice game! I won a few things! 
And now let's close the week by saving the best for last or should I say scariest for last? 


Yeah! It's time for the last installment of the Plants Vs Zombies cupcake topper tutorial. So far, we have the tutorial for Mr JalapeƱo, The Pea Shooter, Ms Sunflower, and Mr Potato Mine. Now, it's time for the Zombies to shine! Here's how to make them:

What we need:
Fondant in grey, maroon, white and light brown
Ball tool
Knife
Rolling pin
Brown sprinkles
Brush and water 

Here's how:
(1) Roll white fondant into a ball, flatten it by pressing it down.
 (2) Let it stand up and press two sides down.
 (3) Roll maroon fondant thinly, and cut a strip as high as the white fondant we prepared in step two.
 (4) Wrap the maroon strip around the white fondant. Leave lines/marks on where the you can cut up Mr Zombie's shirt.
 (5) And then cut it up and paste it like so :)
 (6) Next, roll two maroon balls for the sleeves
 (7) From the balls into long tear shapes, pressing the thinner end almost flat.
 (8) Further shape the sleeves. The sharper the edges the better.
 (9) Attach to Mr Zombie's body and add more details to the shirt.
 (10) Add more details, a white collar and a neck tie. 
 (11) And now for the face. Get some grey fondant, roll into a ball. Now, since we're making a zombie, it's okay not to smoothen things out. Leave a few creases here and there. It's okay :)
 (12) Use the ball tool, position the eyes
 (13) Add white fondant into the cavities created
 (14) Add small eyeballs using the brown sprinkles. Using a toothpick, press holes to where the nose should have been. Go and grab the ball tool again and create a cavity for the lips, using the maroon fondant, add Mr Zombie's tongue. 
 (15) Insert a toothpick into Mr Zombie's "neck"
 (6) Position the head and add the hair (using the sprinkles) here and there.
 Now that wasn't so hard was it? Hope you liked this series of tutorials my dear friends! :)