Tampilkan postingan dengan label gumpaste figures. Tampilkan semua postingan

Jumat, 05 Oktober 2012

Fondant Figures Tutorial - Little Boy


Related posts:

It is a well known fact that some things are definitely meant for each other and are meant to be together. You with me on this? Like salt and pepper, peanut butter and jelly, macaroni and cheese. And how about bread and butter, sundae and fries, and Maya and Sir Chief? :)
And so, since there is a fondant figure step by step tutorial for a little girl here, it seems apt to have one for a little boy as well. Don't you think so?

Same rules apply okay? Okay to use gumpaste to make the figures, but then again working with gumpaste, you really need to be fast or the gumpaste figure you'll be making might crack while you're making adjustments.  I still prefer to work with marshmallow fondant but for this tutorial, the flesh colored ones are still 50% Satin Ice gumpaste and 50% Satin Ice fondant.
Oh and another thing, I'm not really sure what these are called, fondant figures or fondant figurines? Gumpaste figures or gumpaste figurines? Oh well, since we already  have a tutorial for a little girl somewhere in this blog, and now there is one for a fondant little boy, might as well call them fondant people (or gumpaste people) :)

Okay, so enough of the babble! Here it is!


Fondant Figures Step by Step Tutorial - Little Boy

What we need:
Fondant in flesh, black, white, brown, yellow and ivory
Fondant tools
Ball tools
Knife
Rolling Pin
Stitching Tool
Small piping tip #3
Buckeye brown food color
Small fine brush for details like eye brows and eye lashes
Brush and water to glue things up

Here's how:
(1) Get some ivory fondant, roll into a thick short rope
(2) Curl it into a letter "C"
(3) Cut the rounded ends
(4) Press ball tool into the "shorts" to create a cavity where we can place the legs later.
(5) Get some yellow fondant, roll into a ball.
(6) Then into an oval shape and attach to the shorts
(7) Add some details onto the short like a belt
(8) And some straps on the yellow shirt :)
 (9) Now for the legs, just easy. Just roll flesh fondant into two cylinders.
(10) Make the shoes roll two white small fondants into balls. Flatten into tear shapes. Squeeze the middle part inward, just slightly - enough to make a noticeable dent
(11) Press a ball tool on the narrower end.
(12) Roll white fondant thinly, cut 2 oval shapes. Attach to the shoes.
(13) Roll some white rope fondant on the edges.
 (14) It's coming along now! Yey! Here's a pic of attaching the legs to the shoes.
(15) For the sleeves, roll two small balls from the yellow fondant. 
(16) Then roll into tear shapes. Flatten the base.
(17) Attach the legs to the shorts.
(18) Attach sleeves to the sides of the little boy's top 
(19) To make the hands, roll flesh fondant into a cylinder - a long cylinder. Press one end (leaving just a small part) back and forth to create a dent all around 
(20) Flatten the round part and cut a "v" at one side. Rub the "hands" to soften cut edges. Press knife into the the fondant to create the fingers. Now, do the other hand. 
 (21) Attach to the sides of the little boy's shirt. At this point, I added a ball to liven things up.
 (22) And now we come to the most interesting part, the face.
 (23) It's actually the same step as the cupcake faces tutorial here. So go ahead and read up on it. But please come back, yeah?
(24) For the hair, roll some black fondant into a ball. Flatten it up.
(25) Attach to the figure's head. 
(26) Add some bangs
(27) Run the knife through the hair to add some details.
 (28) Add some fondant for the neck and attach the head to the body. 
Here's a close-up on some of the details.
Hmmm... I wonder what comes next after a tutorial for fondant figures for little boy and little girl? :) What do you think? Any requests? :)


Minggu, 23 September 2012

Fondant Figures Tutorial - Little Girl


Related post:


Stay glued to your seats my dear Bake Happy friends! I am granting one request you have sent my way. This is a first really. I lot of you are curious as to how I make my fondant people (or gumpaste people depending on what you use) so today I am showing to you how to make a fondant figure of a little girl

And by first, like the Plants vs Zombies Tutorial, there will others more so make sure to keep on visiting Bake Happy, yeah? :)
For this tutorial, I must admit, I don't know a thing about little girls clothing (Ha! I also don't have much idea about big girls clothing, being a t-shirt/jeans - wash and wear kinda girl) so I went to GAP.com and searched for little girls dresses I can draw inspiration from. And, before I forget, the flesh colored fondant used for this tutorial is 50% Satin Ice Fondant and 50% Satin Ice Gumpaste. The rest are marshmallow fondant. 

ps: actually, it's really okay if you want to use gumpaste for this one - the title can very well be gumpaste figures tutorial - it's just that I love working with fondant :) So here it goes!
Fondant Figures Step by Step Tutorial - Little Girl

What we need:
Fondant in flesh, black, white, brown and pink
Fondant tools
Ball tools
Knife
Rolling Pin
Small piping tip #3
Buckeye brown food color
Small fine brush for details like eye brows and eye lashes
Brush and water to glue things up
Here's How:

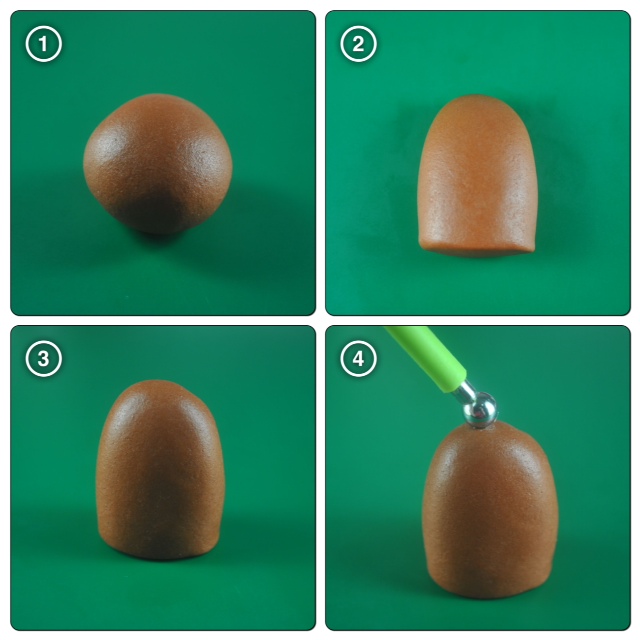
(1) Roll brown fondant into a ball
(2) Press it down with the palm of your hand. 
(3) Let it stand up and press two sides down. 
(4) Press the ball tool down on the rounded tip
(5) Roll two small balls from the brown fondant. Then into tear shapes. Flatten the base and press into the sides of the little girls top Get some white fondant, roll and shape into a flat cylinder and attach to the base of the girls top.
(6) Roll some pink fondant flat. Cut up a long rectangle, fold horizontally.
(7) Make some pleats.
(8) Make sure to make it thin and real curly
(9) Using your fingers or ball tool, further flatten where the two sides/ends meet. 
(10) Paste into the white base. Coming along pretty fine, doesn't it? I am just a little annoyed with the little pleat on the center that didn't pleat rightly. It's all I can see :)
(11) Make the belt by rolling fondant thinly and cutting a thin strip. Roll it around where the brown  and pleated pink fondant meet. I love little details like this. And, I love it even more since it covers "dirty tracks".
(12) Using the piping tip, add small round pink fondant on the belt.
(13) Make a ribbon, and add some pink design as well.
(14) Attach the ribbon to the right side of the belt.
(15) To make shoes (w\e're making Mary Janes by the way), roll two small fondants into a ball.
(16) Flatten into tear shapes
(17) Squeeze the middle part inward, just slightly - enough to make a noticeable dent
(18) Press a ball tool on the narrower end.
(19) Roll two small balls from the white fondant. Then into tear shapes. Flatten the top.
(20) Attach to the shoe. 
(21) Roll white fondant thinly
(22) Cut half moons.
(23) Paste it into the shoes.
(24) Roll black fondant into a rope and place straps into the shoes. (Optional to paste some white sprinkles to serve as the button of shoe)
(25) Roll flesh fondant into two cylinders.
(26) Attach to the top of the socks.
(27) Roll white fondant into a rope
(28) And again to cover up the tracks (that is where the flesh part meets the socks part meet), paste the rolled white fondant around it and create some designs with a knife.
(27) To make the hands, roll flesh fondant into a cylinder - a long cylinder. 
(28) Press one end (leaving just a small part) back and forth to create a dent all around 
(29) Flatten the round part and cut a "v" at one side. Rub the "hands" to soften cut edges.
(30) Press knife into the the fondant to create the fingers.
(31) Now, do the other hand and attach to the sides of the little girl's shirt.
(32) Press toothpicks into the fondant feet. 
(33) Attach fondant feet to the white fondant where the pink skirt is glued into.
(34) Now, make the face. 
(35) It's actually the same step as the cupcake faces tutorial here. So go ahead and read up on it. But please come back, yeah?
(36) Attach the fondant head head on the fondant little girl's body. I used a toothpick to attach it.
(37) Now for the hair, roll some black fondant into a ball. Flatten it up and attach to the figure's head. 
(38)  Add some bangs and run the knife through the hair to add some details. Add some pigtails and pink ribbons too.
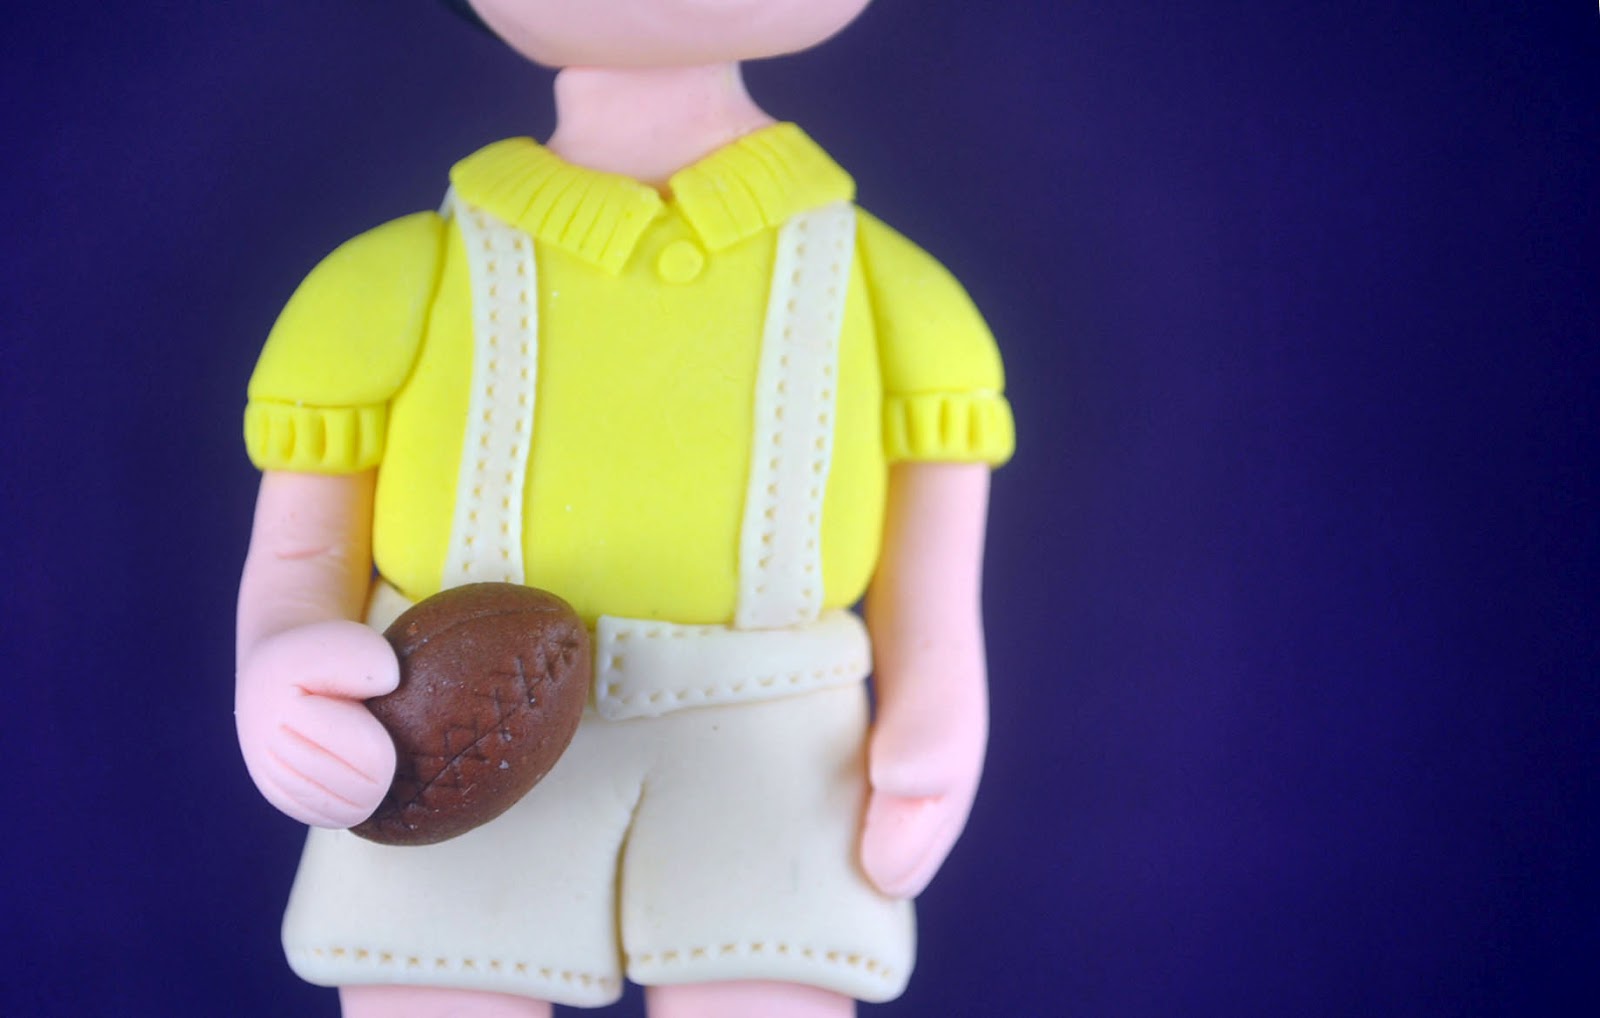
Here are some skirt and shoe details.
And some dress details. Don't you love how we can just add some tiny details like ropes and belts and it would completely cover some of our tracks? Leaving cake lovers wondering, how were we able to do that? Suddenly it's magic!
Before we end the post, here's a close up of the little girl's face.

and ps: if your wondering how do I stop fondant figures from sagging, before I place the fondant figure into the cake, I first insert one long barbeque stick from the fondant shoe all the way to the fondant head (so it's in an angle, not really 90 degrees straight) keeping in mind the toothpicks already inserted inside the fondant figure.
More fondant figures or should I say fondant people to come. Stay tuned, okay? :)