I am pretty sure I am not the only one in the world who mixes up her everyday vocabulary every now and then.
Sometimes I need to say “sinigang” or “sinangag” out loud to make sure I am using the correct term for the dish in question.
Or when eating too much and I have a feeling I need to cleanse my palate, is that “umay” or “uyam”?
And when you surprise me, there’s a time limit or just plain playing with me, I forget my right from my left. Do not ask me for directions, I might just send you to Kota Kinabalu by accident.

Want to know what else I am up to aside from my everyday vocabulary mishaps?
It's the type of cake you'd savor eating straight from the cake plate from the refrigerator at 3AM in the morning then get back to bed then wonder when you wake up if it is you who finished the whole cake or someone from an alternate parralel universe did.
It's that good.
 Miette's Tomboy Cake350F/45 minutes
Ingredients:
1½ cups all purpose flour
1¼ cups cocoa powder
1½ tsp baking soda
½ tsp baking powder
¾ tsp salt
2 oz 70% cacao chocolate, coarsely chopped
1 cup boiling water
1 cup buttermilk
½ teaspoon vanilla extract
2 large eggs
½ cup vegetable oil
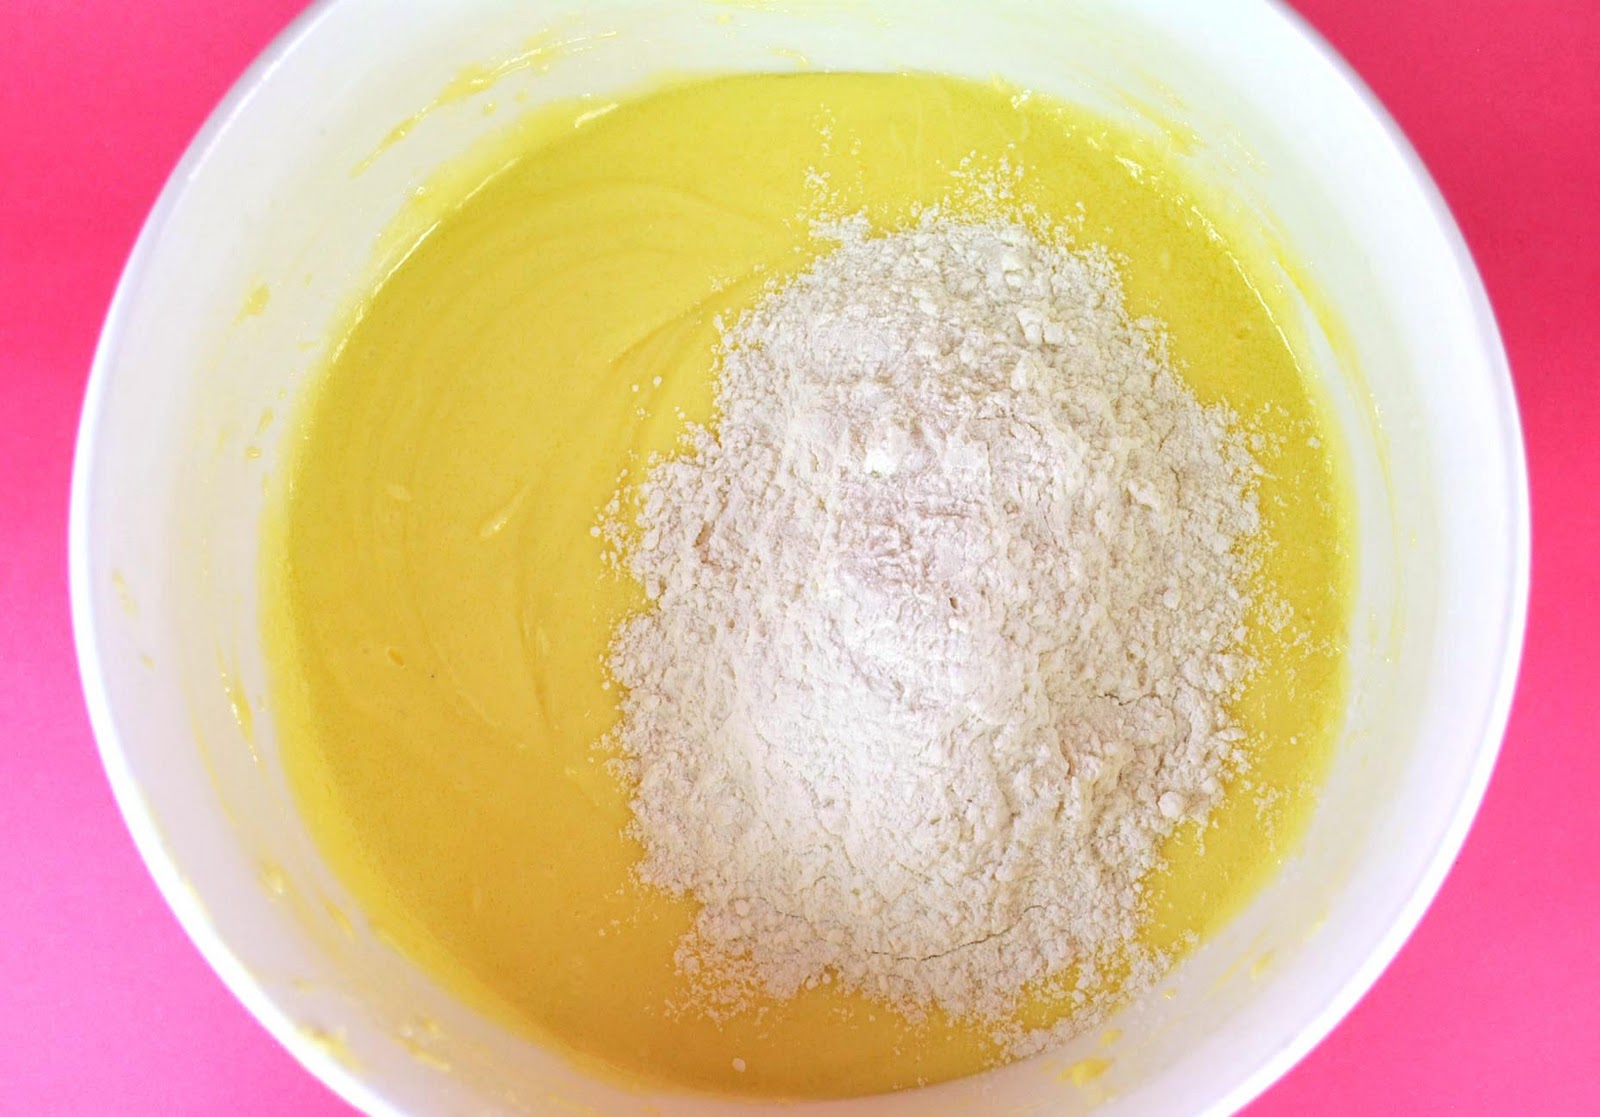
2¼ cups sugarProcedure:(1) Liberally butter two 6-by-3-inch regular or contour cake pans and dust with sifted cocoa powder. Tap out the excess cocoa.(2) Sift together the flour, cocoa powder, baking soda, baking powder, and salt into a bowl and set aside.(3) Put the chocolate in a heatproof bowl and pour the boiling water over it. Whisk until the chocolate is melted. Let the mixture cool for 15 minutes.(4) In a separate bowl, whisk together the buttermilk and vanilla. Set aside.
(5) In the bowl of a stand mixer fitted with the whisk attachment, whisk the eggs on high speed until foamy, about 2 minutes. Reduce the speed to low and slowly pour in the oil, whisking until combined, about 30 seconds. Raise the speed to medium and whisk until fully incorporated, about 30 seconds longer.(6) Reduce the speed to low and slowly pour the cooled chocolate mixture into the egg mixture. Slowly pour in the buttermilk and vanilla mixture. (7) Add the sugar and whisk until the batter is smooth and liquid, about 2 minutes.(8) Stop the mixer. Remove the bowl and add the sifted dry ingredients and mix until just incorporated, preferably by hand, lifting and folding in from the bottom center. Using a rubber spatula, scrape down the sides of the bowl and mix again just briefly by hand. The batter may still look a little lumpy, but stop mixing.(9) Pour the batter through a medium-mesh sieve into a large measuring cup or bowl to remove any lumps. Press against the solids in the sieve with a rubber spatula to push through as much batter as possible, then discard the lumps. Divide the batter between the prepared pans. Bake until the tops spring back when lightly pressed and a tester inserted in the centers comes out clean, about 45 minutes.
(10) Transfer to wire racks and let cool in the pans for about 20 minutes. When the cakes are cooled enough to handle the pans but still a tad warm to the touch, carefully run an offset spatula around the edges of the pans to loosen them, then invert the cakes onto the racks and remove the pans. Let cool for about 20 minutes longer. Wrap the cakes tightly in plastic wrap and refrigerate to ensure that the interiors are completely cooled before decorating, at least 1 hour or for up to 3 days. To freeze, wrap tightly in a second layer of plastic and store in the freezer up to 2 months.
Miette’s Vanilla Buttercream
makes about 6 cups
Ingredients
2 cups sugar
1/3 cup water
5 large egg whites
1 tsp cream of tartar
3 cups unsalted butter (room temperature)
2 tsp vanilla extract
Procedure:
(1) In a small saucepan over medium heat, combine the sugar and water. Clip a candy thermometer to the side of the pan. Cook the mixture until it reaches 248 degrees F, 5 to 10 minutes, keeping a constant eye on it.(2) Meanwhile, combine the egg whites and cream of tartar in the bowl of a stand mixer fitted with the whisk attachment. When the sugar syrup reaches 240 degrees F, whisk the egg whites on medium-low speed until soft peaks form. Slowly pour in the syrup, raise the speed to high, and whisk until soft peaks form.(3) When the sugar syrup reaches 248 degrees F, immediately pour into a heat-proof measurer. Reduce speed to low and very carefully drizzle the syrup into the mixer bowl, away from the whisk so the hot syrup doesn’t spatter. Be careful because the syrup is very hot. When you have added all of the syrup, raise the speed to high and beat until the mixture is cool to the touch (an instant-read thermometer should register 65 to 70 degrees F), 5 to 10 minutes.
(4) Only when the meringue is cool enough should you begin adding the butter. Reduce the speed to medium. With the mixer running, drop in the butter, 1 tablespoon at a time, waiting until each is incorporated before adding another. The mixture may deflate and begin to look curdled. Raise the speed to high and continue to add tablespoon-size pieces of butter, making sure each is completely combined before adding more. When all of the butter has been added, the frosting should be smooth and thick. Add the vanilla and mix to combine.To frost a Tomboy Cake, you'd only need 3 cups of buttercream.
To make raspberry buttercream, for every cup, stir in 3 tablespoon of raspberry juice until well combined and smooth.Assembling the Tomboy Cake(1) Divide cake into layers. Mine produced four but I used only three layers as it will look impossibly tall if I use all.(2) Using a 1M tip in a piping bag filled with buttercream, pipe frosting on top of the first layer.(3) Repeat twice until all 3 layers have been topped with frosting.
(4) For the top layer, pipe a ring of buttercream around the edge, leaving a 1/8-inch margin. Fill in the center with slightly more frosting than the inner layers. Using a small offset spatula, smooth the center first by rotating the cake stand, then gradually work out to the edges, pushing the frosting out very slightly as you go.
(5) If desired, in the center of the cake, scoop out a little hole in the frosting to make a setting for the rose. Nestle the rose in the hole and arrange the leaf next to it at a 45-degree angle. Very carefully transfer the cake on the board to a presentation platter.
Meg suggested that the cake is best eaten at room temperature. However, I much prefer to eat it cold, when the frosting just melts silky smooth in your mouth and the almost absence of sugary sweet flavor makes you focus on the chocolatey goodness.