Two days ago - There's this old school Disney Cartoon starring a baby seal and a grumpy Donald Duck which inspired this post. I have been trying to find the video somewhere but no such luck. I remember seeing the cutest baby seal ever but the story had him crying (which almost made my five year old self cry as well) and his tears formed a ginormous snow ball. I can't remember how it ended but that sad baby seal made an impact on me.
Apparently, it did not leave an impact on me. At all.
Ahhh... So now what am I going to do with this tutorial? Here I am thinking it's a seal all along when it's a penguin. Oh well, here's the tutorial anyway. Perhaps a fondant penguin tutorial will be on the works.
This baby seal looks cute anyway. Just saying.

What we need:
Fondant in gray and black
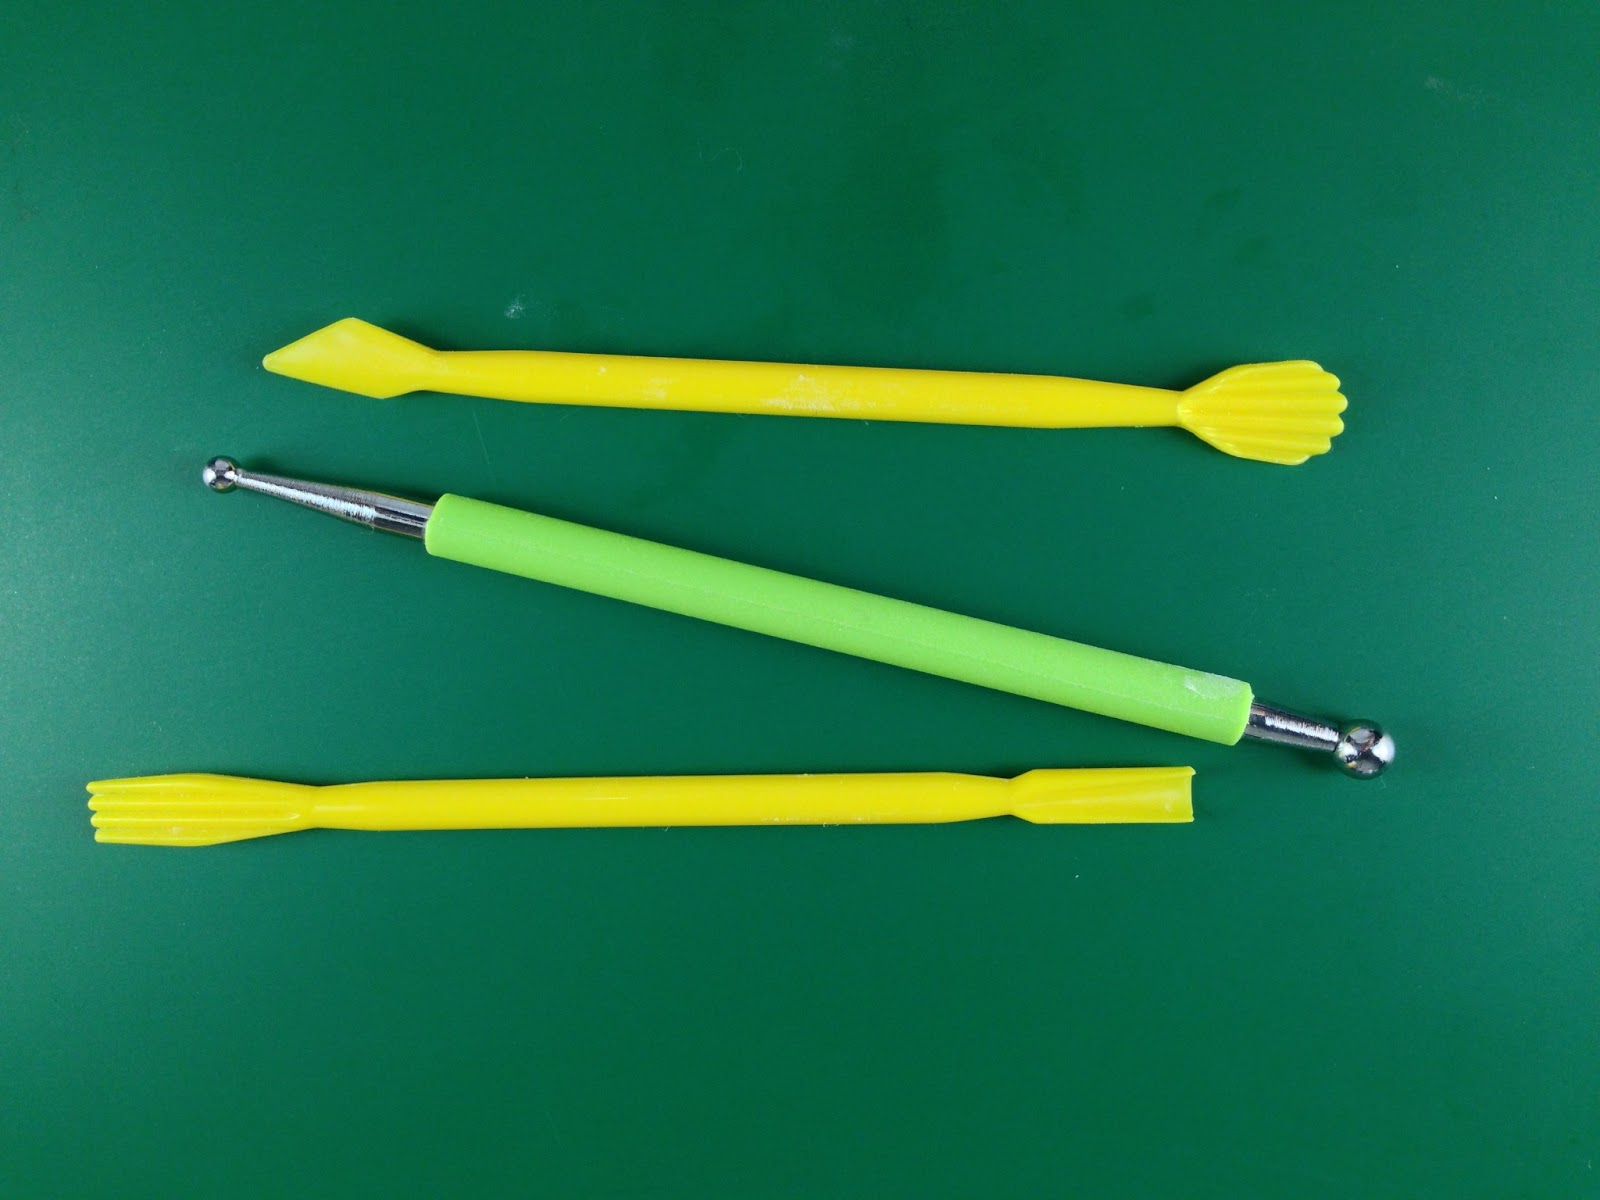
Fondant tools
Water and brush to glue things together
White sprinkles
Toothpicks
Silver luster dust (optional)
(1) Roll gray fondant into a raindrop shape.


(9) This step is optional, since seals are shine, we can brush the seal with silver luster dust for an added effect.

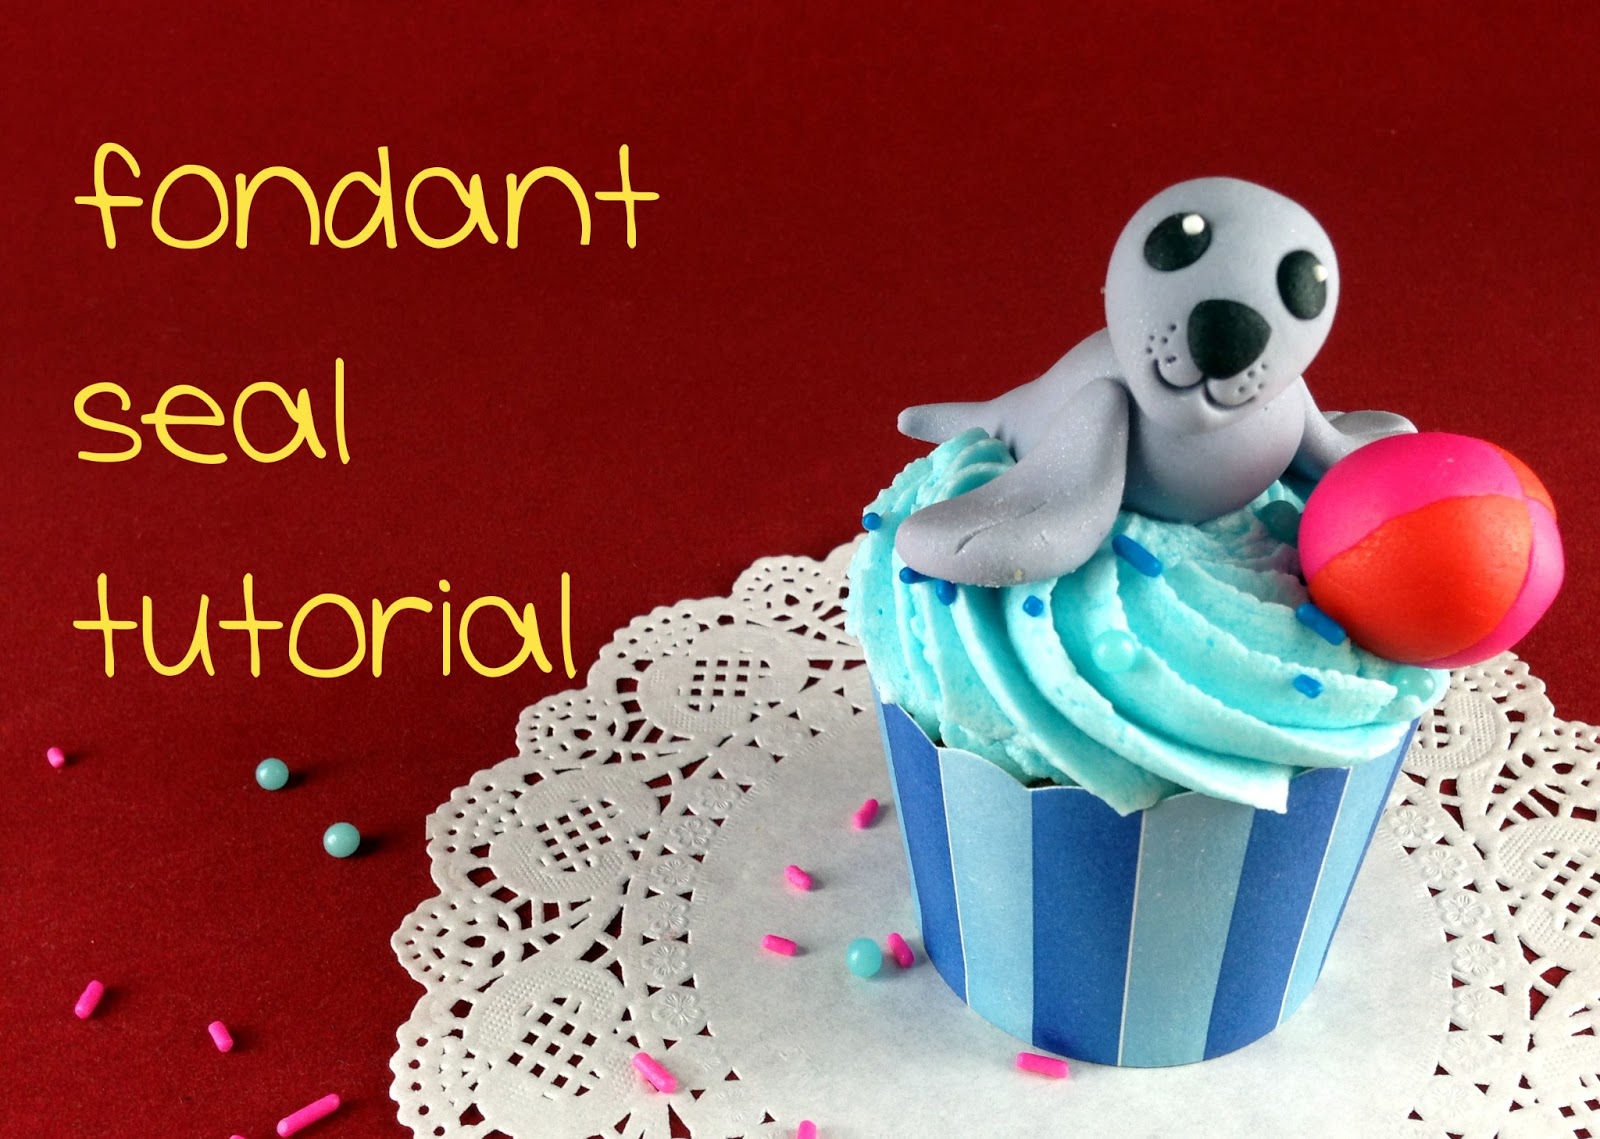
Easy peasy, yeah? Perfect for a under the sea themed party or a circus themed one! :)

Tidak ada komentar:
Posting Komentar