Rabu, 17 Juli 2013

Fondant Bubble Gum Dispenser Tutorial


We had a little field trip at Celebrations Party Central a few weeks back, didn't we? I bought a few things, all cute. There was this very intricately designed paper straws I immediately put to use in this post, then there were these yellow polka dot paper napkins! So bright! And then there were these... bubble gum dispensers. If there was a race on cuteness, these bubble gum dispensers went to the moon and back before any other cuteness contender could even finish a quarter of the race. This little baby here will be stationed at my place in the office for the time being. 
And so, as you can see, the bubble gum dispenser is the inspiration for this post. And it's really easy. You can do it while sleeping. Wait... okay, so not while sleeping. You can finish way before ... you can complete it by  the time... You'll be done as soon as...

So I ran out of words. Just trust me on this one.. It's easy.
Fondant Bubble Gum Dispenser Tutorial

What we need:
Fondant in red, white, black and blue
Round cutter
Sprinkles in different colors
Rolling pin
Water and brush to glue things together.


Here's how:
(1) Roll white fondant into a ball

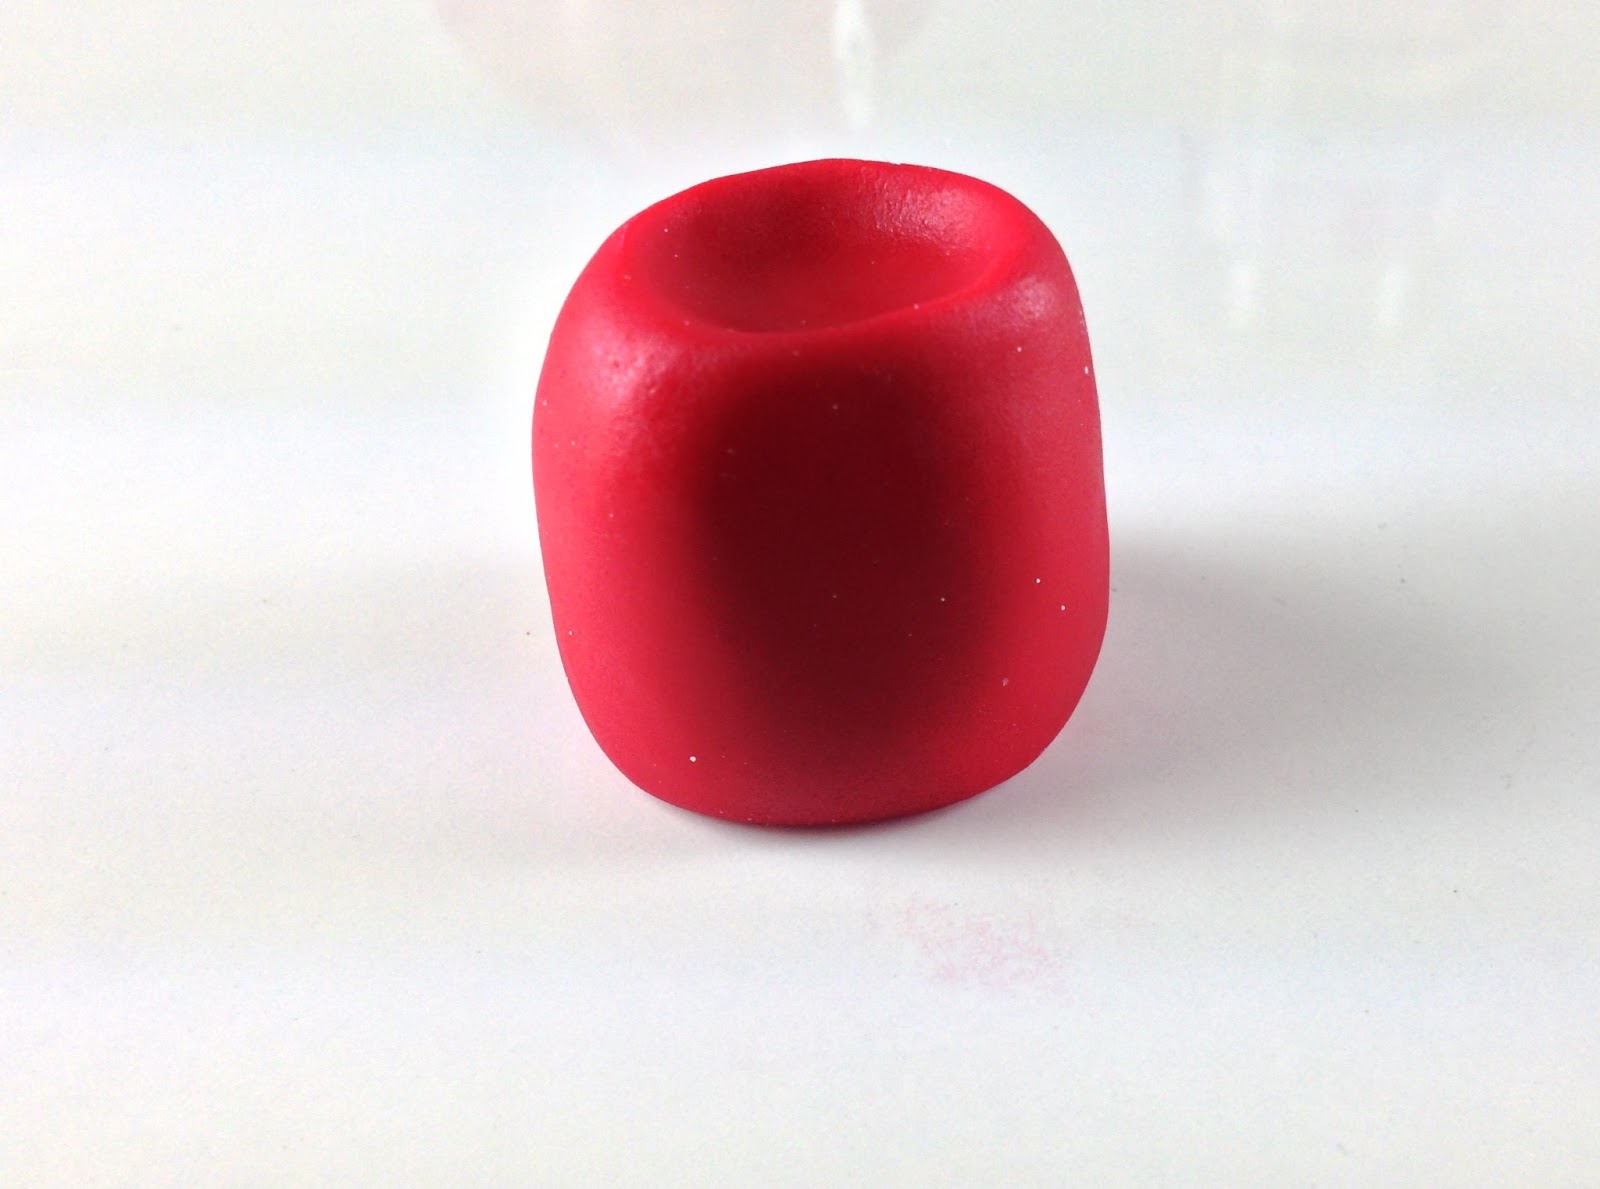
 (2) Shape red fondant into a big marshmallow. 
 (3) Brush the lower part of the white fondant with water then dip it into the sprinkles
(4) Place it on top of the red fondant then add a round piece of red fondant on top of the white one. 
 (5) Add some details like the small round red ball on top and the dispenser opener at the bottom
 (6) Lastly, add a bubble gum (I chose the color blue) at the dispenser for some touch of realism :)
Hope you liked this one, everyone! Till the next tutorial! 

Minggu, 14 Juli 2013

Crumpy Cookies


A few weeks ago, I got home to find this very nicely put package waiting for me. Real pretty, isn't it?
Guess what it is? There were bottles of Crumpy in it! I can not wait to get my hands on them and bake something out of this wonderful spread! The possibilities are infinite! I have thought long and hard on what to make, cupcakes, pies, cakes, ice cream? Wait... I haven't done cookies recently, I guess it's about time. 
I made Crumpy Chocolate Hazelnut Cookies. But the name is a bit long so I settled for a simpler one, Crumpy Cookies. Chocolate hazelnut spread based cookie with chocolate chips sprinkled with rock salt. The battle of (uh... I mean, the medley) of the sweet and the salty... oh yes! It's on!!!
Crumpy Cookies
350F / 4 dozen cookies

What we need:
1/2 cup white sugar
1/2 cup brown sugar, packed
1/2 cup butter
1 egg
1 cup Crumpy Chocolate Hazelnut Spread
1 teaspoon vanilla
1/2 teaspoon salt
1/2 teaspoon baking soda
1 1/2 cups flour
2 cups chocolate chips
Himalayan Pink Sea Salt or rock salt
Here's how:
(1) Sift all dry ingredients together, 
(2) Cream butter, white and brown sugar until combined. 
 (3) Add in the egg.
 (4) Mix in Crumpy Chocolate Hazelnut Spread 
 (5) Add in the dry ingredients
 (6) Fold in the chocolate chip cookies
 (7) I used a ice cream scooper that holds a teaspoon of a cookie batter to make the cookies. Before baking, sprinkle some rock salt on the cookies first. 
 (8) Bake for 7 minutes at 350F.
I was supposed to bring some at work, apparently fate intervened. Before the cookies even cooled, poof! It was gone! Just like that... The names of those who enjoyed will be withheld. crispy, chewy, oh so sweet with a hint of salty... need I say more? Got to move from my seat and go bake some more. 


Thanks to Tonette of Flyace Corp for sending some bottles of Crumpy over at the Bake Happy kitchen! :)

Kamis, 11 Juli 2013

Happy Birthday, Bake Happy!


Today marks Bake Happy's fifth anniversary! Yey!!!


I cannot believe time flew so fast.  I can still remember the day I started this blog. What I wanted initially was just a creative outlet  (I didn't even have an idea what a Marshmallow Fondant was). Until right before our very eyes, yours and mine, Bake Happy evolved to what it is today.

I just wanted to take this opportunity to THANK YOU, my dearest and darling-est friends, for the love (yes, I am claiming each and everyone of you love me), encouragement, support and inspiration.

Thank you for taking the time out from your busy lives to send me lovely mails. I have giggled, sometimes held back a laugh (as I was walking to work and wouldn't want bystanders to think I'm weird), smiled and sometimes shed tears of joy because of your messages. When I say, they mean a lot, they really do. More than you'll ever know. 

Thank you for leaving wonderful comments here, on Facebook, on Twitter and on Instagram. I always get bubbly excited when I see what you have to say. You never fail to put a smile on my face. 

Thank you for appreciating what I do. I am telling you, it's not easy. Juggling Bake Happy with my everyday work (well not every day, weekends excluded), my family and friends - among other important stuff, it's hard work. I sometimes take a step back and try to think about this blog from another perspective. Is it worth it to put so much heart, so much time, so much dedication to this little space in the blogosphere? Would I want to do things any other way? 

And my answer would always be Yes and No. 
  • Is it worth it to put so much heart, so much time, so much dedication to this little space in the blogosphere? --> Definitely a Yes!

  • Would I want to do things any other way? --> Uh uh, no. 

And you know why? Simply because doing all these make me happy. Which is essentially, what this blog is all about. Sometimes, on a Sunday after completing a couple of posts, I just want to crash on my bed and put my feet up because I am tired. Yes, I am tired but a happy kind of tired. I just would not have it any other way. 

So thank you my dear Bake Happy friends for appreciating the work I do to keep Bake Happy up and running, alive and kicking. Whenever I feel I lack the inspiration or I feel down, I just remember you and I smile and things are all alright again. We've bonded over a passion for baking. I cannot thank you enough for sharing this journey with me.

I would also want to grab this opportunity to thank my friends for their encouragement and willingness to taste everything I bake. You guys rock! And most of all I'd like to thank my family for their unending support. Thank you to my sister Lisa, the rock I lean on, the one who goes all out in supporting me and the one who just knows when to step in when I feel overwhelmed with a Bake Happy project, to my Pops who would drop any commitment just to accompany me to all of my caking adventures, to my Ma and Mom for always being there when I need help, a hug or a suman sa latik. My fam-bam is simply the best!

And so, to celebrate Bake Happy's five years of existence, we are moving to a new domain! I have been putting this off for years but this July, this is happening. 


Bake Happy is moving to www.bakehappy.net 


So this is the time to change your bookmarks and update your blog readers to continue to receive updates from Bake Happy.  I am soooo excited for this! I hope you are, too! :)


I am looking forward to more baking adventures with all of you! Here's to more blog posts, more tutorial videos and more recipes on Bake Happy!

Selasa, 09 Juli 2013

Fondant Kangaroo Tutorial


Caroline Channing and Max Black are two of my favorite girls right now. They're there next to NCIS, Bones, Castle and Family Guy -  my favorite TV shows. Oh I miss Family Guy, I never get to watch as often as I use to.
Anyway, Caroline Channing and Max Black are the adorable duo that make up Two Broke Girls - a sitcom about... well... 2 broke girls (ha!) saving up for a cupcake business in New York City. One is broke since forever (that would be Max) and the other has been broke fairly recently (that would be Caroline). And because of their circumstances, they form an unlikely bond. 

I must have been living in a cave the past two years! And I can't believe I just knew of them just now. Oh well, I just rewatched the season 1 at least three times now and it doesn't get old. I can't wait for the September release of season 2! No spoilers, please!

And so, while waiting for the season 2 DVD, I am keeping myself occupied by showing you how to make a kangaroo cake or cupcake topper in fondant. My initial plan was just to show you how to make Mrs Kangaroo herself, but I thought I'd include making the little kiddos as well. Hope you like it!
Fondant Kangaroo Tutorial

What we need:
Fondant in brown, light brown, black and pink (optional)
Small ball tools
Half moon tool
Rolling pin
Ribbon silicon mold (optional)
Water and brush to glue things together. 
Here's how:
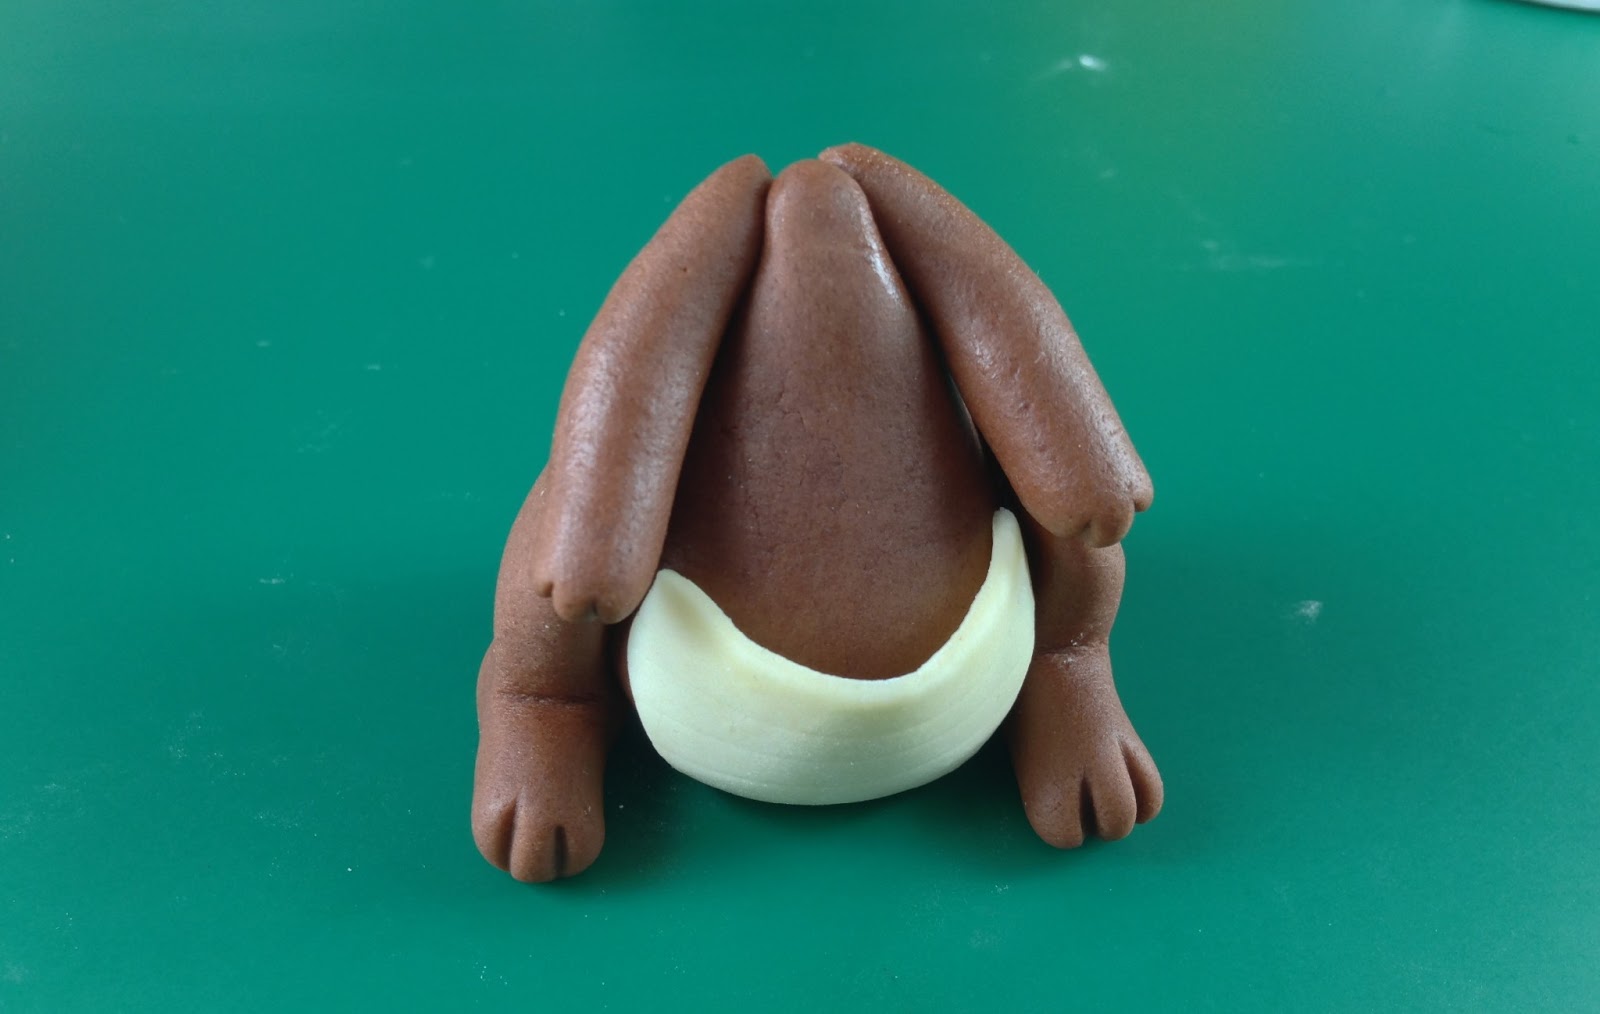
(1) Shape brown fondant into a bog raindrop
(2) Roll the light brown fondant thinly and cut a half circle. Attach to the kangaroo's belly like a pouch, leaving an opening at the top.
(3) To make the legs, shape 2 pieces of brown fondant like a microphone. 
(4) Curl it to sort of make the ends meet
(5) Pinch the middle part and flatten the upper part. 
(6) Attach to the kangaroo's body Attach the hands as well, made from short cylindrical shapes.
(7) To make the head. Shape another raindrop, this time smaller than the body's. Attach a black nose at the tip.
(8) Add the eyes, using black pearls. 
(9) Make the ears
(10) And attach them to the head. 
(11) Add some face details using the half moon fondant tools.
(12) This step would be optional, add some ribbon plus some baby kangaroos! So cute!
The kiddos are easy to make, just a smaller version of Mrs Kangaroo and just have dots for their eyes.

Till the next post! :)

Minggu, 07 Juli 2013

Chewy Blondies Recipe


I didn't know of blondies until just a few years ago. 
My friend and I were crossing the intersection to go back to our office when she passingly mentioned that her cousins when they were still in college use to bake blondies. 

I my mind the world suddenly moved in slow motion (while my actual mind was in fast panic motion - almost blabbering -what-?-blondies-?-I-never-heard-of-that-before-!-What-are-blondies-?-How-come-I-didn't- know-of-them-?-What-else-in-the-confectionary-world-am-I-missing?-I-need-to-research!)

Apparently, they are brownies less the chocolate and can also be called blonde brownies which can further be shortened to blondies. 

And I am telling you, this is a prime example of how the simplest ingredients can make something oh so out of this world magnificent. I brought a few to the office when I baked them and someone told me it would an injustice not to share these blondies. Since I cannot bake for all of you my dear friends, I am sharing the recipe. Here it is! Hope you like it!
Blondies
adapted from Smitten Kitchen
350F/16 squares

What we need
1/2 cup butter
1 cup packed brown sugar
1 large egg
1 teaspoon vanilla
Pinch salt
1 cup all-purpose flour
1 cup chocolate chips

Here's how:
(1) In a small saucepan, melt butter. Turn off the heat.
 (2) Mix in brown sugar. Let it cool. Once cooled, using an electric mixer, beat until smooth.

 (3) Add in egg and vanilla then the dry ingredients (flour and salt).
 (4) Mix in chocolate chips.
 (5) Coven an 8x8 pan with parchment paper and pour in the batter. Bake for about 20-25 minutes or until done.

Selasa, 02 Juli 2013

Senin, 01 Juli 2013

Cotton Candy Cupcakes


Whatever the question, milk is the answer.

Need to sleep soundly?
             Drink milk
How do you enjoy a chocolate chip cookie?
             With milk
Want a yummier cotton candy?
             Add milk (in powder form that is).
Ahh cotton candy... whoever invented this amazing treat will get a hug from me. For reals. Thinking out of the box - that is what he or she did when cotton candy was created. I mean, literally, it's just sugar that has been spun. Yes, just sugar! Sugar guys, just sugar! Boy I am amazed! Can anything get any simpler than that? Can you feel me excitedly jumping up and down my chair as I type this? Because that is what I am doing.... okay probably not, but I am close to doing that right now. Oh cotton candy. The things you make me do.

Anyway, will the creator of this heavenly treat, please stand up? I owe you a hug. Or better yet, you can have some of these cotton candy cupcakes. You, my dear Bake Happy friends,  can have some, too! Come on, I know you want one!
Cotton Candy Cupcakes
adapted from The Complete Magnolia Bakery Cookbook
350F/25 cupcakes

What we need

For the cupcakes
2 3/4 cups all-purpose flour
2 teaspoons baking powder
1/2 teaspoon salt
1 cup (2 sticks) unsalted butter
2 cups sugar
4 large eggs
1 cup milk
3 drops cotton candy flavoring
2 cups cotton candy (do not pack)


For the Icing
1 cup butter unsalted
2 cups icing sugar
1 drop cotton candy flavoring
1/8 cup of milk (or cream) - optional

soft pink food gel color
1 cup cotton candy
Here's how:
(1) Sift together/dry whisk flour, baking powder and salt. Set aside. Cream butter and sugar until light and fluffy.
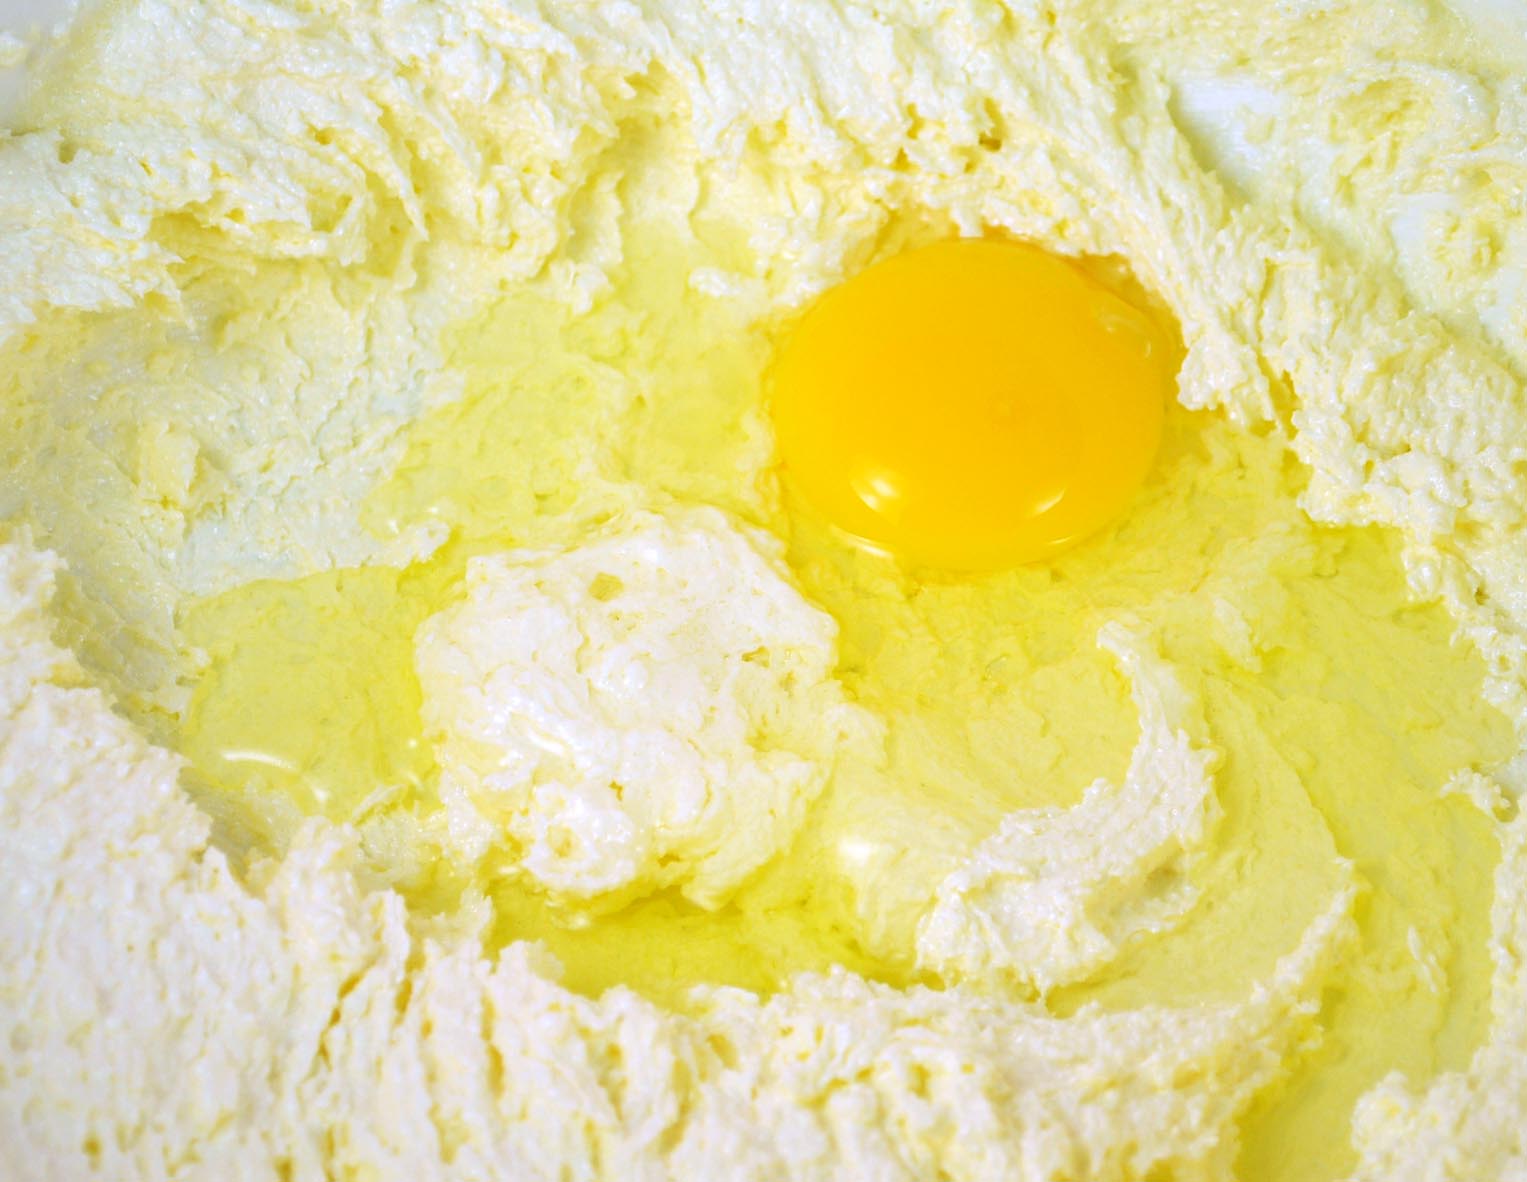
(2) Add eggs one at a time, slowly.
(3) Add a third of the dry ingredients, then half of the milk. Repeat till all is combined. Then add cotton candy flavoring
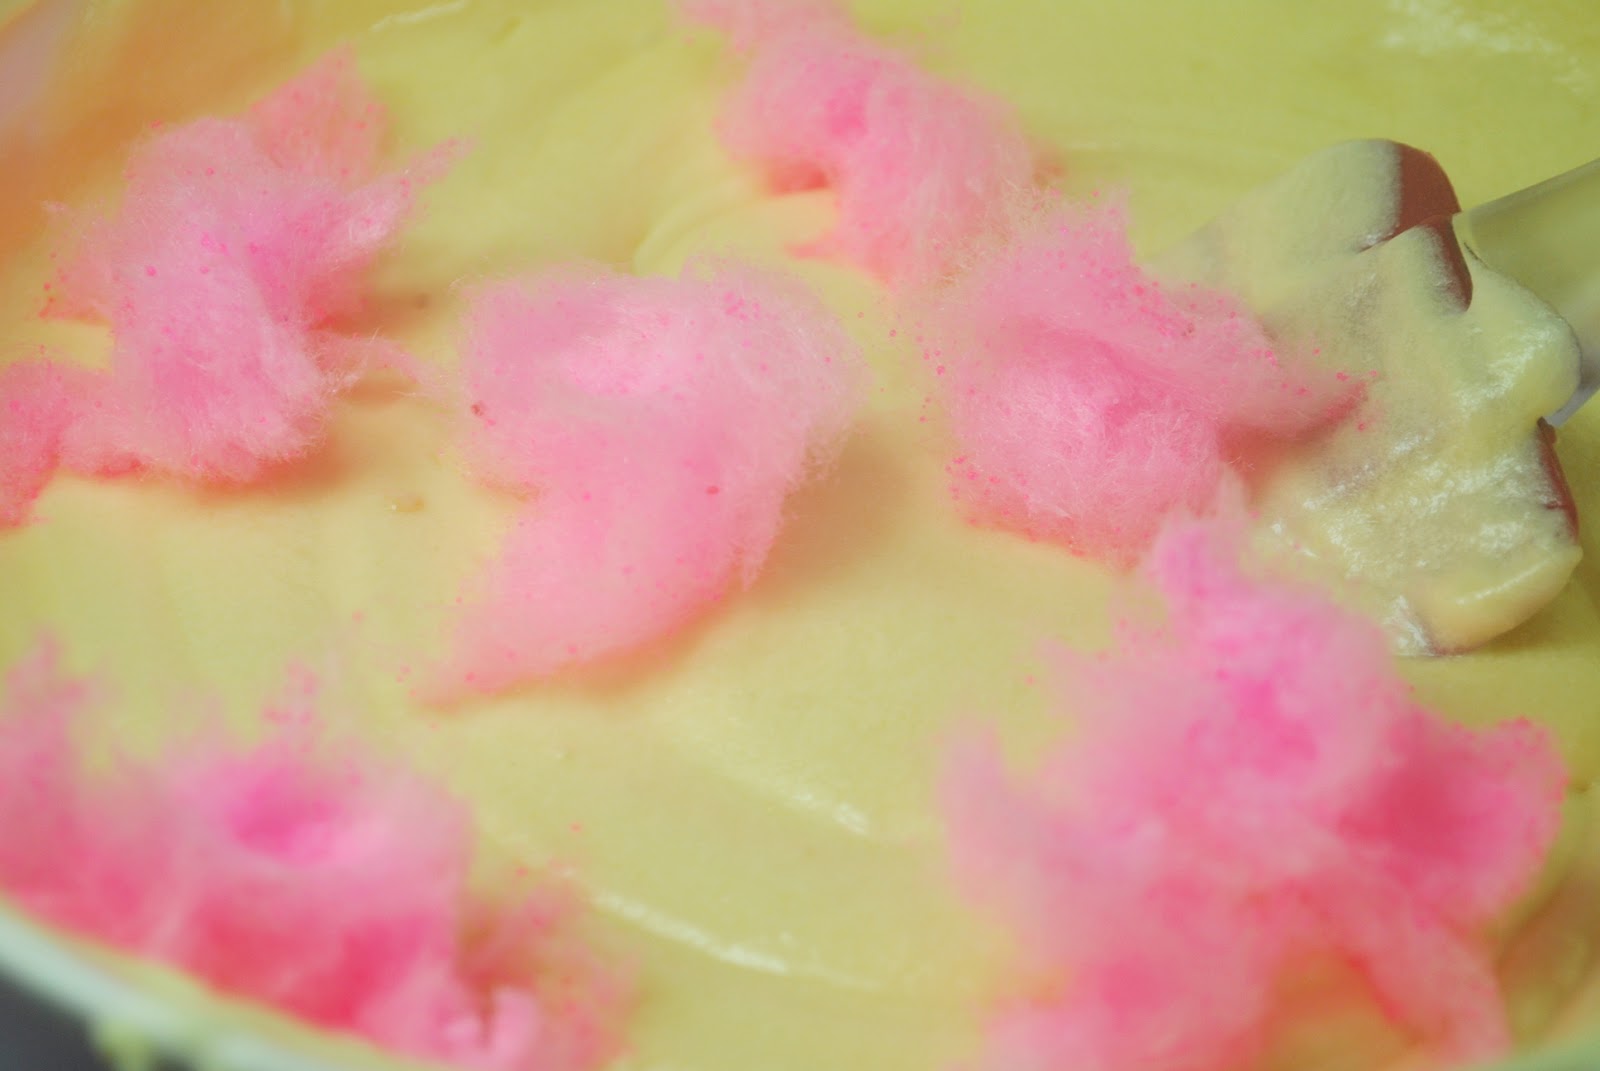
(4) Add two cups of cotton candy using a spatula. Mix until you see streaks of pink. Fill cupcake liners until two thirds full and bake for 15 minutes
(5) To make the frosting, cut up butter into small chunks. Beat until smooth, about 3 minutes. Add sifted confectioner's sugar gradually. At some point, the frosting will look like bread crumbs. Just add milk or cream and beat some more. Lastly, add 1 drop cotton candy flavoring and the cotton candy.
As an added treat, let's make some Cotton Candy Ravioli to serve as the cupcake topper. I saw a picture of this from the Georgetown Cupcakes Girls New Book, Sweet Celebrations. I thought of making my own version.

Super easy really. Get some marshmallow fondant, roll it thinly. Add small balls of cotton candy.
The cover it with another thinly rolled marshmallow fondant and cut into squares. Yummy!
But of course, going old school, topping a cotton candy cupcake with cotton candy, will do just fine as well. Totally.