Tampilkan postingan dengan label Cupcake faces. Tampilkan semua postingan

Selasa, 04 September 2012

How to Make Cupcake Faces (Intermediate Version)


Related posts:

And now we come to the conclusion of this series, which makes me sad but also quite excited! Today we'll be making cupcake faces from scratch, no molds to help us out like in the average version and no 2D versions like in the easy version. Since we're making this from scratch, we really need a lot (as in a lot) of patience, you still with me? I hope so. 

This is quite interesting but also a looooong and picture heavy post. I tried to decrease the number of pictures on this one but I wanted to show you how I made it exactly hence - just too many pictures. 

I've experimented with a lot of faces for fondant, I've even posted one one Facebook but this technique just seems more apt to be placed on top of cupcakes. Can I also tell you that I even bought a Moxie Girlz doll and stared at it long and hard to study how to make the face, hahaha! :) Hope you like it guys!
I've also been experimenting with fondant and for this tutorial, the flesh colored ones are 50% Satin Ice Fondant and 50% Satin Ice Gumpaste. Though I must tell you, marshmallow fondant still tastes better, at least for me :)
Fondant Faces Intermediate Version:

What we need (for the basics):
Fondant in flesh, white, black, brown and your desired hair color
Fondant tools
Brush and water
 Here's how:
(1) Roll flesh fondant in oval shape
 (2) Using a fondant tool (or your finger) make an indentation in the middle of the soon-to-be face. This will be place where we'll add the eyes later.
 (3) Here's the side view. Oops I know what you'll be saying - "Aikko, there's a crease on the head!" Don't you worry, it will be covered by hair later on so it really won't matter :)
 (4) Using the ball tool, shape the sides of the nose.
 (5) Flatten the part where we will be placing the nose opening.
 (6) Using the hook-like fondant tool (sorry, I don't know what it's called, do you?), shape it into a nose.
 (7) Add the opening of the nose
 (8) Using the hook-like fondant tool, shape the nose some more till it resembles well... a nose of course :)
 (9) Mark the ends of the lips
 (10) Run a line to link it, resembling a smile
 (11) Now, using the hook-like fondant tool (you see this tool is one of the most important when making faces), press down on the lower lip, bringing it closer to the line we drew in step 10. Do it for both ends.
 (12) It should now look like this, lower lip is now more defined but we are not yet done.
 (13) Using a pointed fondant tool, press it on the ends of the lips, to make the fondant face smile some more.
 (14) Now repeat step 11 but this time on the upper lip and make sure the hook-like fondant tool is curved away for the lip (oh I do hope my instructions are making sense... :) please let me know if it's not)
 (15) Shape the upper lip some more until you're satisfied on how it looks like.
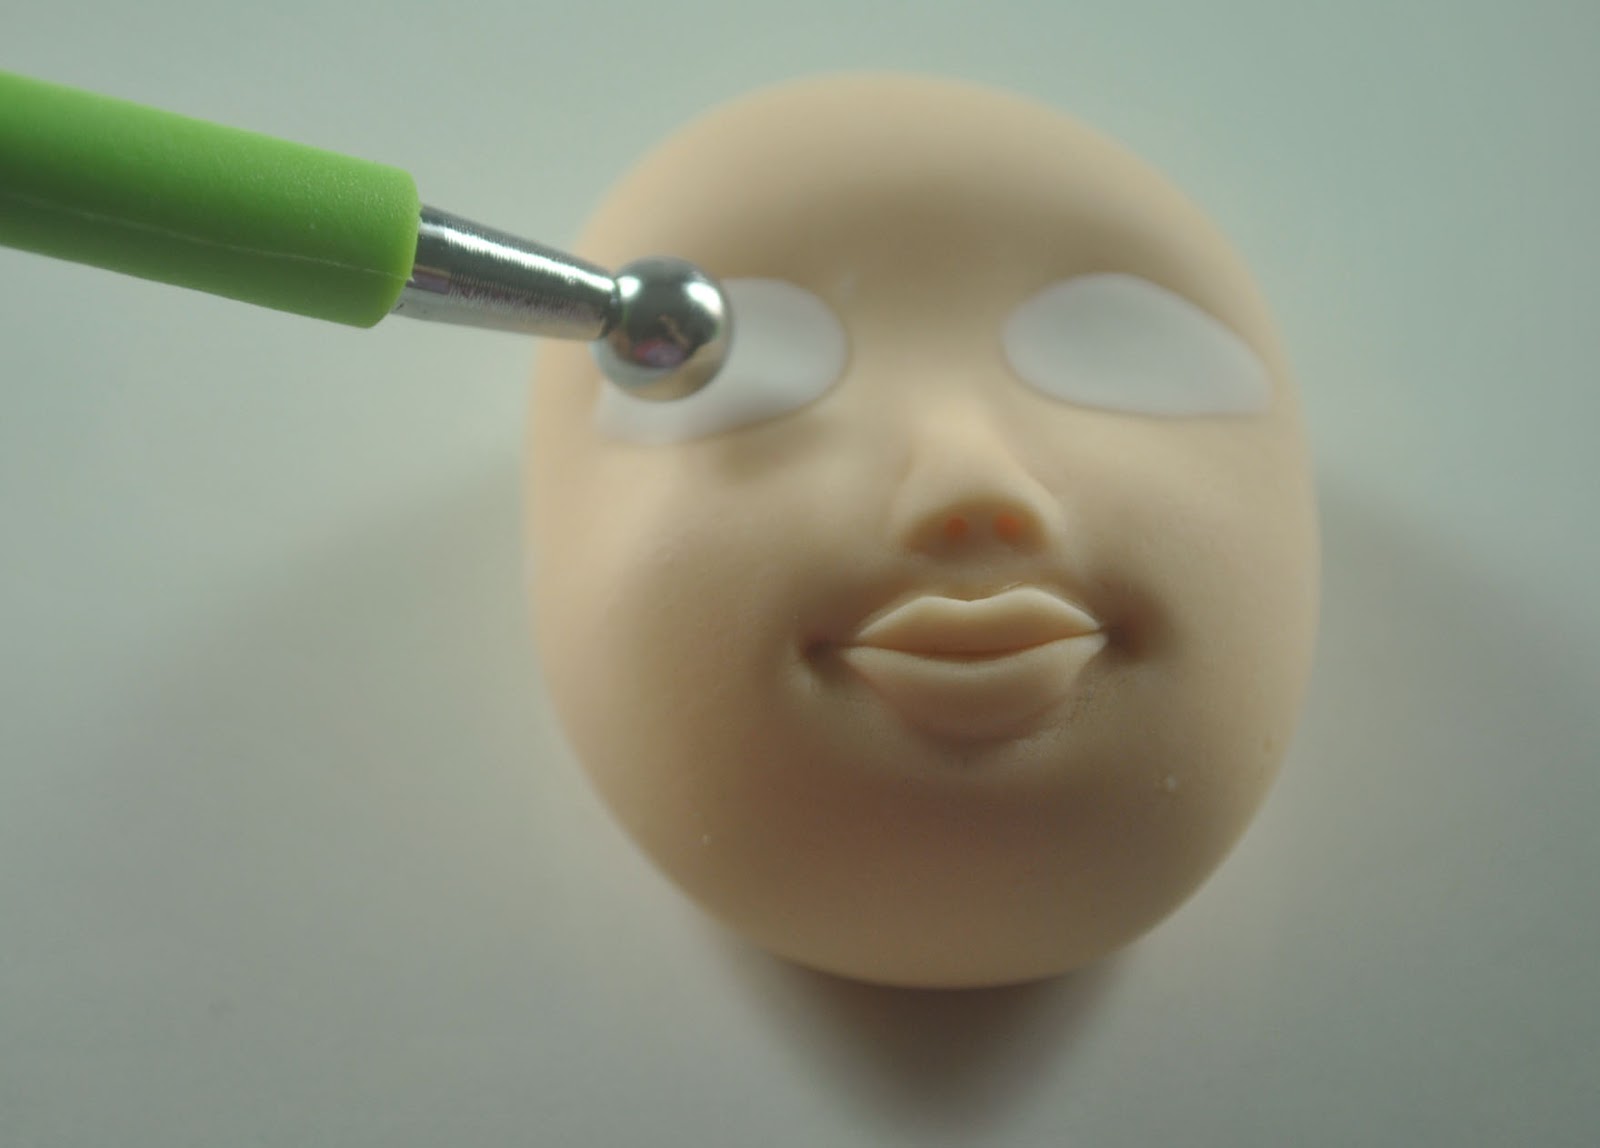
 (16) Roll small white fondant for the eyes. 
 (17) Flatten it using the ball tool.
 (18) Add the eyeballs using the brown and black fondant.  Now we have a generic face we can now turn into a girl or a boy depending on the details we'll create on the face. Oh, and before I forget, add a white sprinkle on both eyes to make them sparkle.
 (19) For girls, paint the brows in one movement. Add lashes as well. And if you have pink powder food color, add some blush and some color on her lips this time using white and pink gel colors. If your making fondant faces for boys, make sure to paint the brows in small strokes.
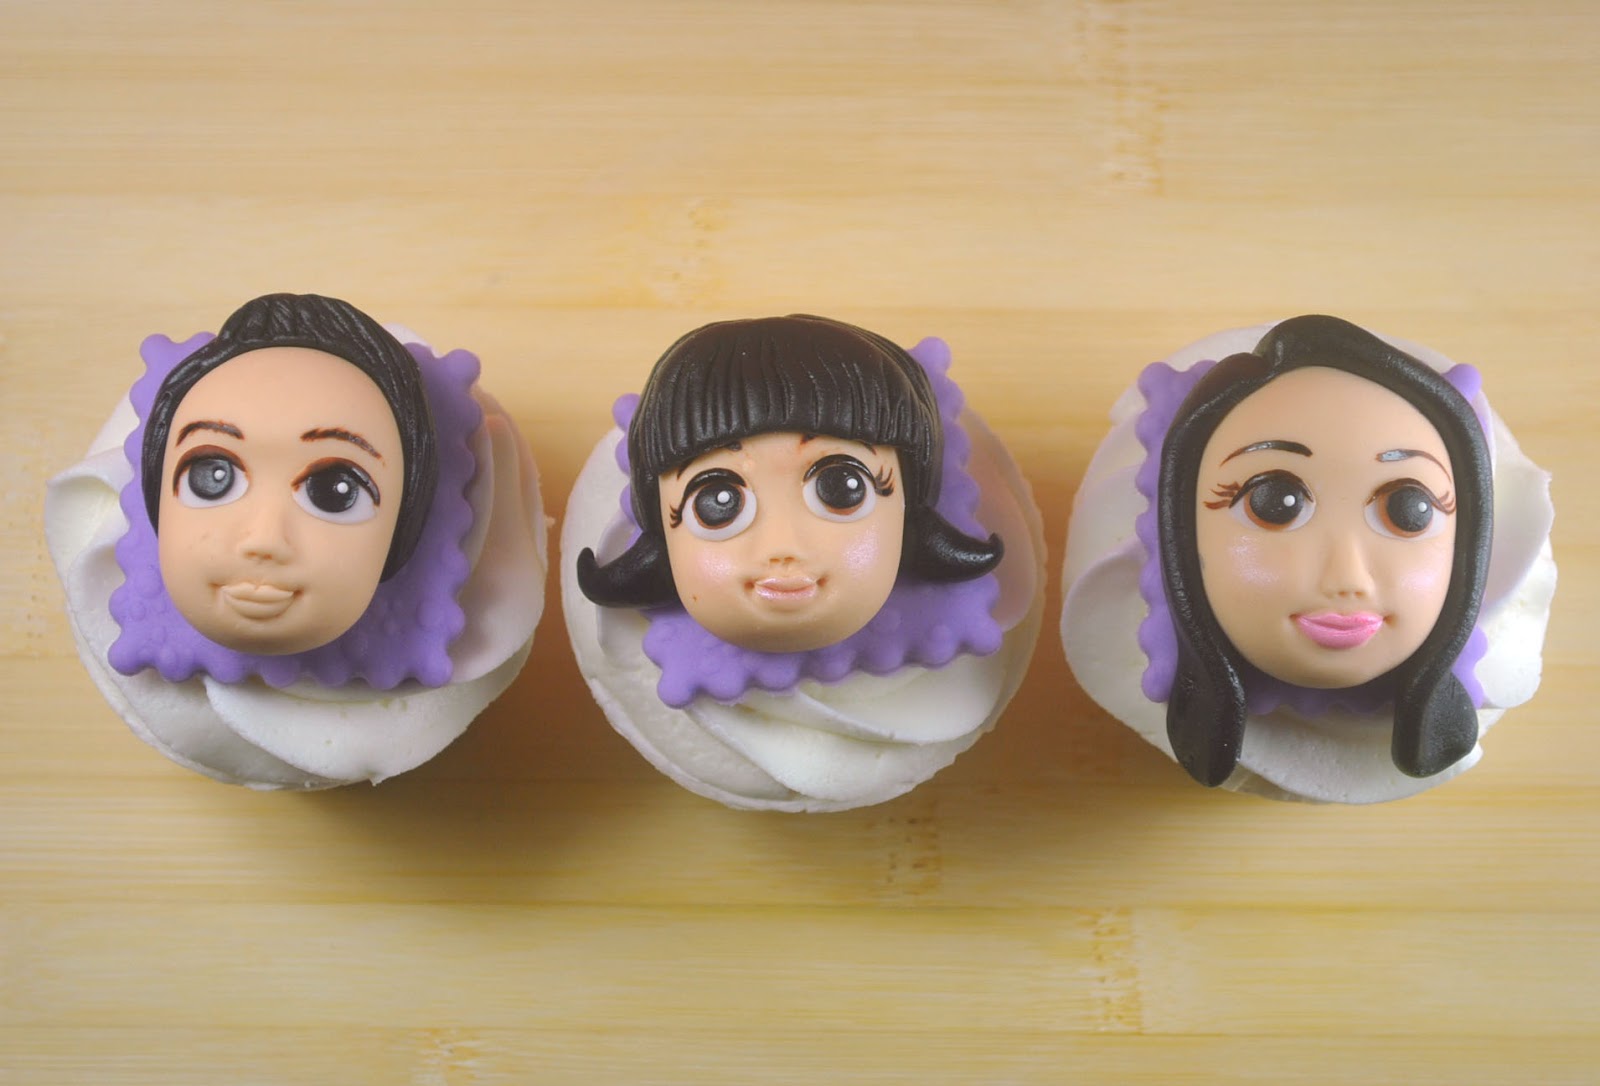
 (18) Using the same technique from step 1 to 19, I created three faces from left to right, a little girl, a lady and a gentleman :)
 (19) Now for hair, for the little girl, roll black fondant into a long rope make sure the length extends from ear to ear. Add some pigtails.
 (20) Add some bangs and run the knife through the hair to add some details.
 (21) For the gentleman, roll black fondant into a long rope make sure the length extends from ear to ear.
 (22) Press the knife onto one side, to resemble the place where the hair parts. 
 (23) Run the knife through the hair to add some details.

  (24) For the lady, roll black fondant into a long rope make sure the length extends up to her imaginary shoulders :) 
 (25) Flatten the hair with a rolling pin. 
 (26) Attach the hair to the head.
 (27) Press the knife onto one side, to resemble the place where the hair parts. Run the knife through the hair to add some details.
 Here they are one top of cupcakes. Like the average version these faces can also be used on top of a fondant figure should you decide to make one. And that my friends will be our topic coming soon - fondant figures.


Kamis, 30 Agustus 2012

How to Make Cupcake Faces (Average Version)


Remember when I said that there is an average (and intermediate version) to this post? We'll I'm keeping my promise today, half of it anyway because today I'm going to show you how to make cupcake faces - average version. As for the other half of my promise, please see the last picture for this post, yeah?

I considered this the average version because it's slightly more complicated than the easy one especially making the hair but nevertheless, still easy. So let's start?

What we need:
Fondant in Flesh and Black
Food coloring in white and brown
Silicon face molds (I got mine from Baking Buddies)
Small brush
Cornstarch
Here's how:
(1) Lightly brush mold with cornstarch
(2) Press some flesh fondant onto the mold. Wait for five minutes then using the knife, scrape of excess fondant gently. You see below, the pressed fondant is now flat.
(3) Unmold, see easy :)
(4) Create as many faces as you need
(5) Paint white food coloring into the eyes
(6) If your making girls, you can brush some pink powder into their cheeks. I used orchard pink luster dust but you can also use pink powder food color if you have some.
(7) Now add the eye details using the brown food coloring, add brows and eyeballs. For boys, make sure to   paint the brows in small strokes. For girls, paint the brows in one movement. Add lashed for girls as well.
(8) Now we're doing the hair for the boy fondant face. Shape black fondant into three short ropes as below.
(9) Paste two of the black fondant
(10) Paste the remaining fondant at the center then use a fondant tool to press lines to the fondant to resemble hair.
(11) Here's an option for the hair for the girl fondant face. Roll a black fondant into a long black rope. Make sure the edges are pointed. Attach to the head of the girl.
(12) Curl the ends outwards. Roll two small tear shaped black fondant, attach as the girls bangs.
(13) For another option for the girl fondant face, roll a short fondant into a rope, attach to the girl's head. Add bangs.
(14) Using a fondant tool or knife, press lines into the black fondant to resemble hair.
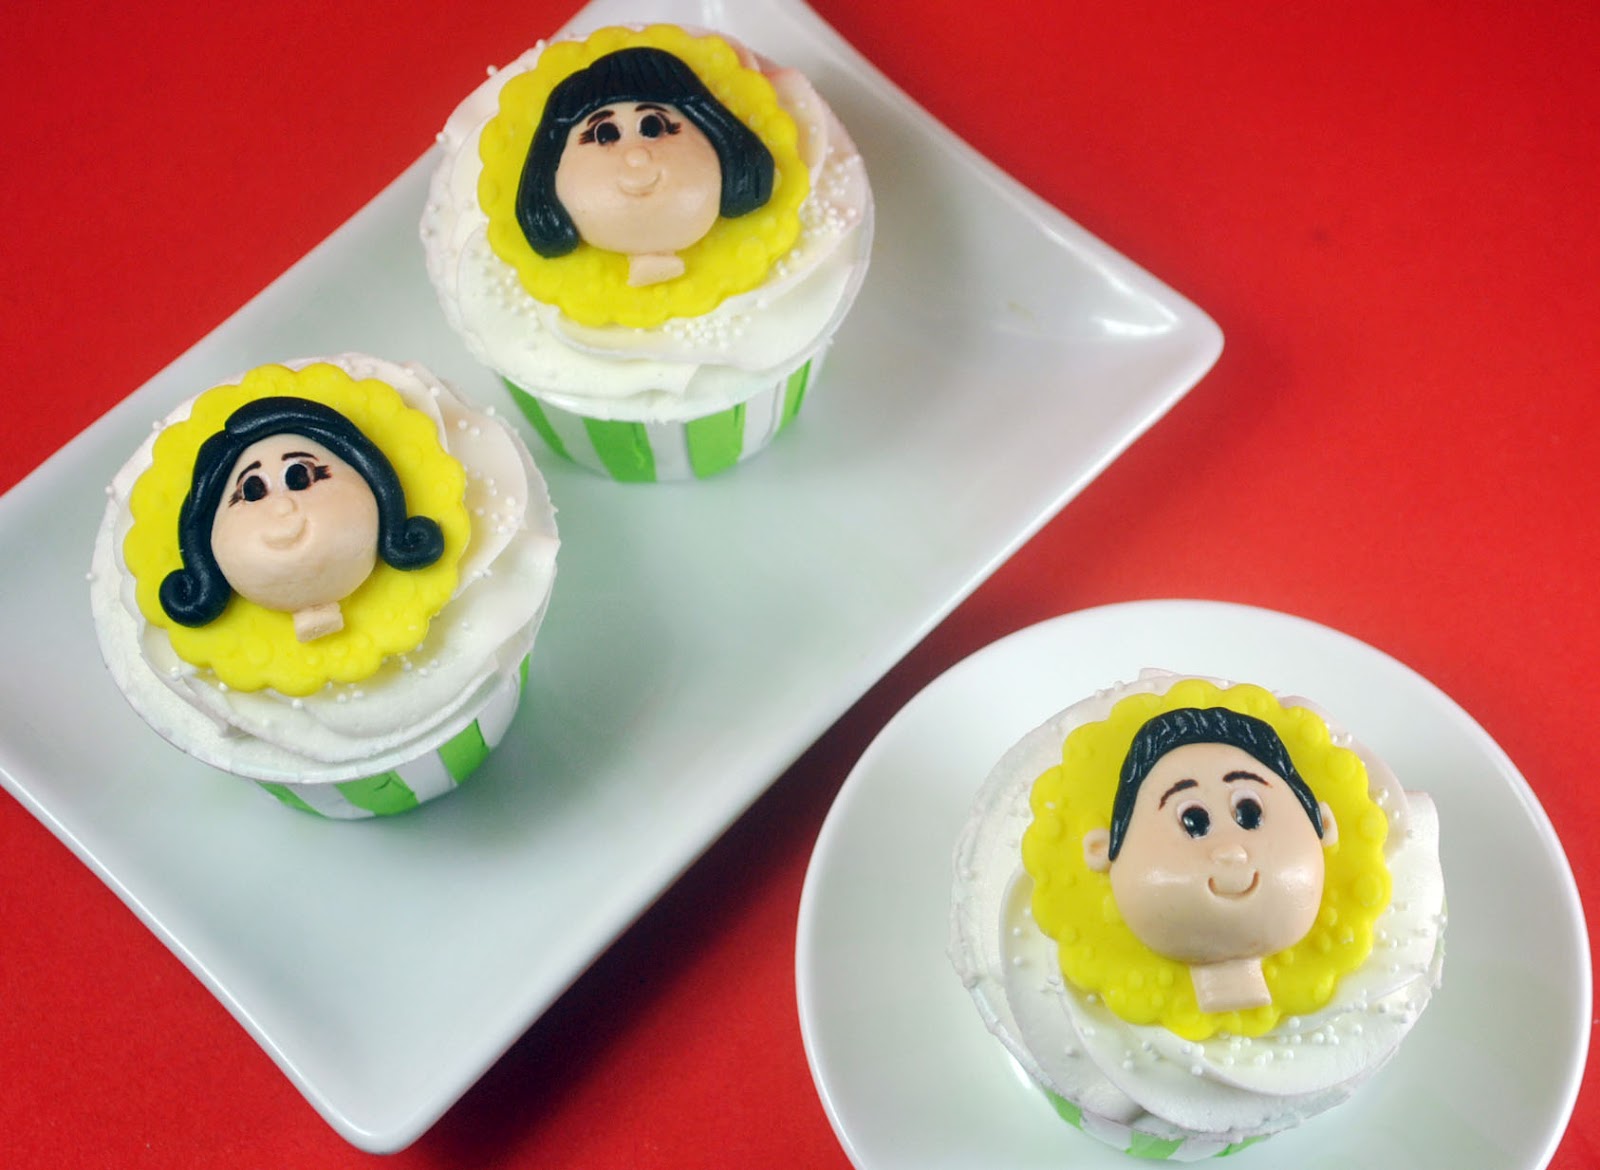
And so, here they are on top of the cupcakes. Although, these faces can also be used on top of a fondant figure should you decide to make one.
Want to see what we have for the intermediate version for this series? Here's what we'll be making on Bake Happy - coming this September! Make sure to watch out for it! :)