Senin, 01 Juli 2013

Cotton Candy Cupcakes


Whatever the question, milk is the answer.

Need to sleep soundly?
             Drink milk
How do you enjoy a chocolate chip cookie?
             With milk
Want a yummier cotton candy?
             Add milk (in powder form that is).
Ahh cotton candy... whoever invented this amazing treat will get a hug from me. For reals. Thinking out of the box - that is what he or she did when cotton candy was created. I mean, literally, it's just sugar that has been spun. Yes, just sugar! Sugar guys, just sugar! Boy I am amazed! Can anything get any simpler than that? Can you feel me excitedly jumping up and down my chair as I type this? Because that is what I am doing.... okay probably not, but I am close to doing that right now. Oh cotton candy. The things you make me do.

Anyway, will the creator of this heavenly treat, please stand up? I owe you a hug. Or better yet, you can have some of these cotton candy cupcakes. You, my dear Bake Happy friends,  can have some, too! Come on, I know you want one!
Cotton Candy Cupcakes
adapted from The Complete Magnolia Bakery Cookbook
350F/25 cupcakes

What we need

For the cupcakes
2 3/4 cups all-purpose flour
2 teaspoons baking powder
1/2 teaspoon salt
1 cup (2 sticks) unsalted butter
2 cups sugar
4 large eggs
1 cup milk
3 drops cotton candy flavoring
2 cups cotton candy (do not pack)


For the Icing
1 cup butter unsalted
2 cups icing sugar
1 drop cotton candy flavoring
1/8 cup of milk (or cream) - optional

soft pink food gel color
1 cup cotton candy
Here's how:
(1) Sift together/dry whisk flour, baking powder and salt. Set aside. Cream butter and sugar until light and fluffy.
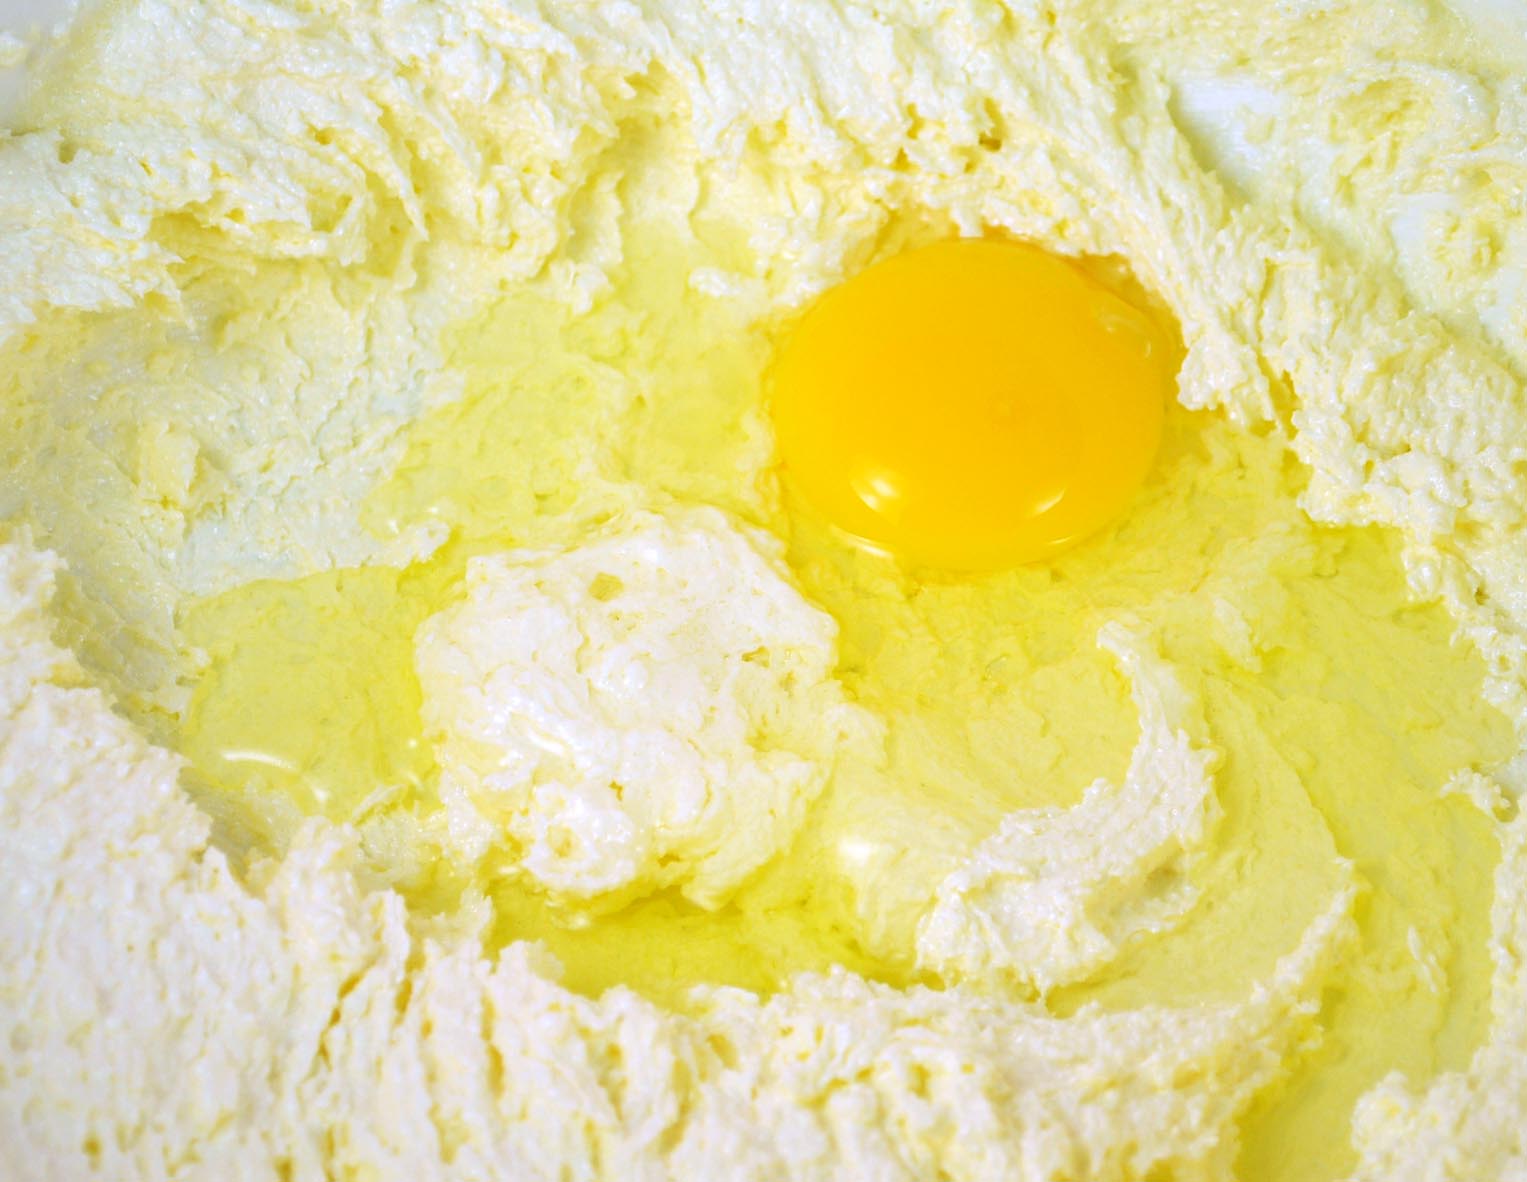
(2) Add eggs one at a time, slowly.
(3) Add a third of the dry ingredients, then half of the milk. Repeat till all is combined. Then add cotton candy flavoring
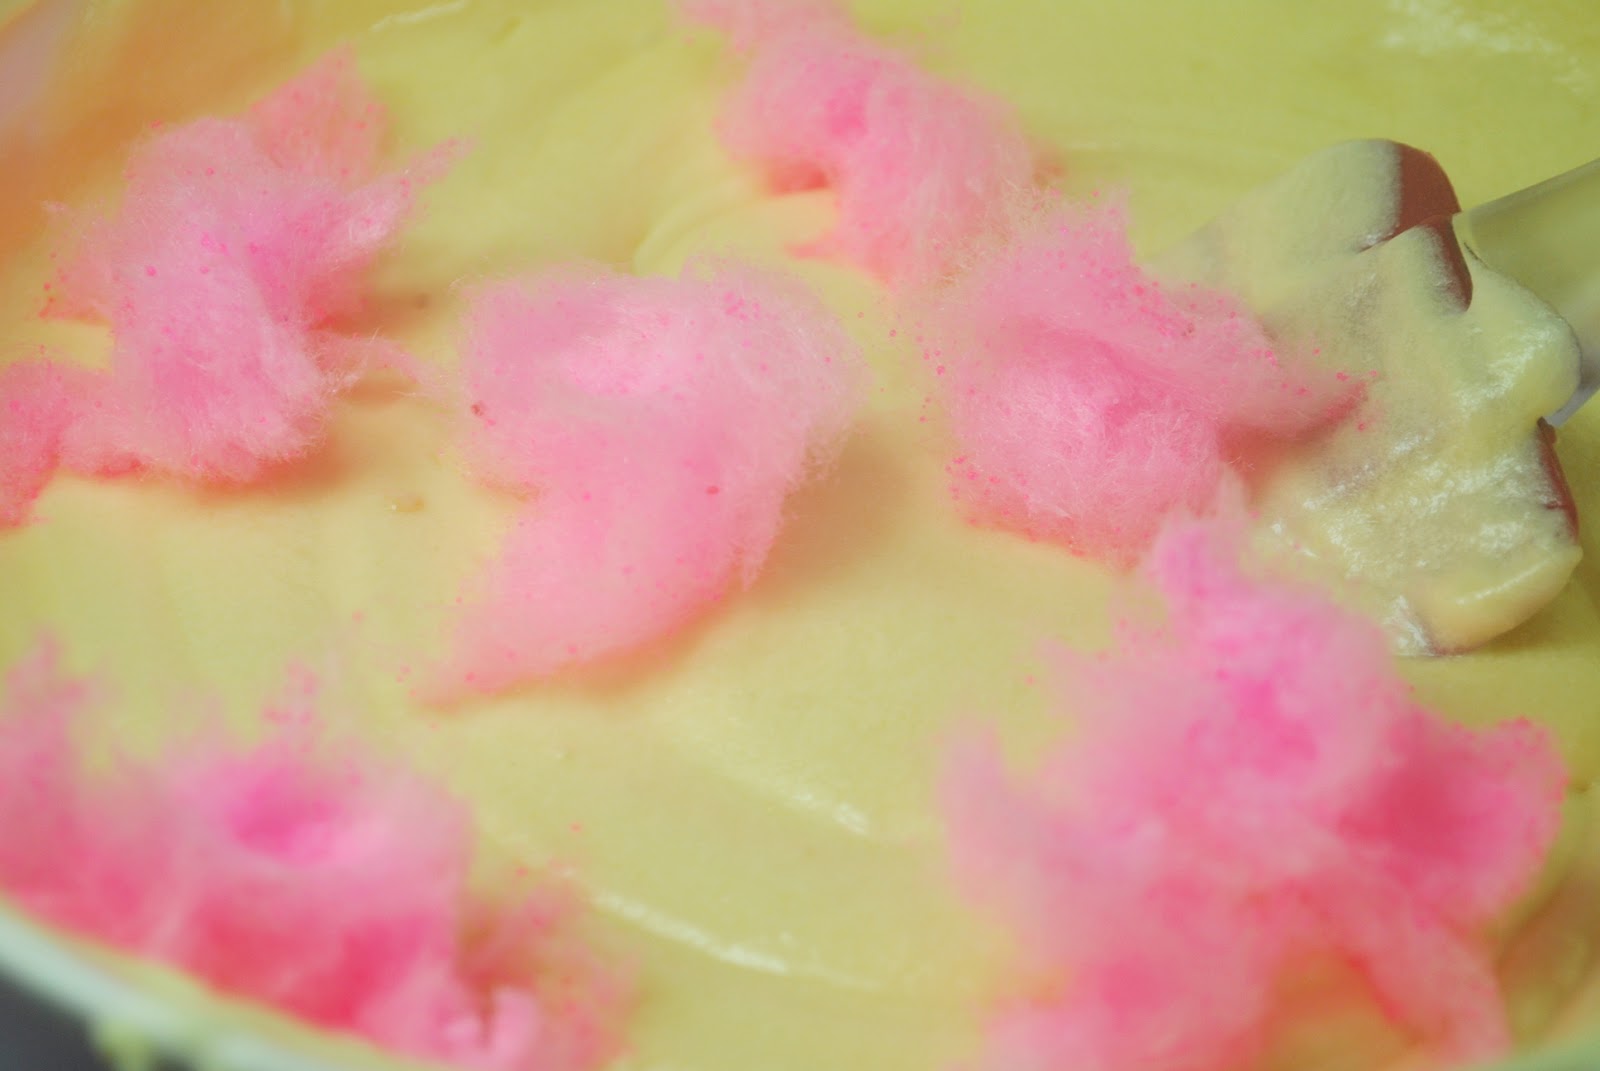
(4) Add two cups of cotton candy using a spatula. Mix until you see streaks of pink. Fill cupcake liners until two thirds full and bake for 15 minutes
(5) To make the frosting, cut up butter into small chunks. Beat until smooth, about 3 minutes. Add sifted confectioner's sugar gradually. At some point, the frosting will look like bread crumbs. Just add milk or cream and beat some more. Lastly, add 1 drop cotton candy flavoring and the cotton candy.
As an added treat, let's make some Cotton Candy Ravioli to serve as the cupcake topper. I saw a picture of this from the Georgetown Cupcakes Girls New Book, Sweet Celebrations. I thought of making my own version.

Super easy really. Get some marshmallow fondant, roll it thinly. Add small balls of cotton candy.
The cover it with another thinly rolled marshmallow fondant and cut into squares. Yummy!
But of course, going old school, topping a cotton candy cupcake with cotton candy, will do just fine as well. Totally.

Rabu, 26 Juni 2013

Peanut Butter and Jelly Cupcakes


Do you know what I am thinking of right now?
As in right this very minute? 

I am afraid that if I click on "Save", I might accidentally click on "Publish".
And that my dear friends is my greatest blogging fear (next to having nothing to post and having dull pictures in a post)

If you happen to have a blog on Blogger, you probably know what I am talking about. That button "Save" is sitting prettily next to "Publish" and I am not liking it one bit. What if I did accidentally click on "Publish" when I just want to hit "Save" and all of you see how disorganized my thoughts could be? Okay... yes I know, it-is-not-the-end-of-the-world level but I might just faint (there is a stronger term for that but this is a wholesome blog so faint would just have to do) from embarrassment. 

And if that happens, I just hope there are still some of these Peanut Butter and Jelly Cupcakes left to console me. Totally my type of comfort food even if don't need comforting, like right now because I know I won't accidentally click on "Publish" when I just want to hit "Save" because I am overly conscious about it. 

Enough of me babbling. Here's the recipe. 

Oh, and by the way... when I say Peanut Butter and Jelly, I mean Guava Jelly. Peanut butter is best paired with guava jelly. I wouldn't have it any other way. 

Take two - 

Enough of me babbling. Here's the recipe. 
Peanut Butter and Jelly Cupcakes
adapted from: Martha Stewart's Cupcakes
375F/22 Cupcakes
What we need:

For the cupcakes
1 3/4 cups all-purpose flour
1/4 teaspoon baking soda
3/4 tablespoon baking powder
1/2 teaspoon salt
3/4 cup butter
1 1/3 cups sugar
2/3 cup  peanut butter
3 large eggs
1/2 cup sour cream
1/2 teaspoon pure vanilla extract
3/4 cup chopped roasted nuts
Guava Jelly, for topping

For the Icing: 
6 ounces cream cheese
1/3 cup confectioners' sugar
1/2 teaspoon salt
1 cup creamy peanut butter (not natural)
1/2 teaspoon pure vanilla extract
1/2 cup heavy cream

Here's how:
(1) Combine flour, baking soda and baking powder. This will be the dry ingredients.  In a separate bowl, combine vanilla and sour cream and this will be the wet ingredients. Set both aside for later. Cream butter and sugar until light and fluffy. 
(2) Add the peanut butter.
(3) Add the eggs one at a time. Make sure mixture is well combined before adding the next one. 
(4) Add one third of the dry ingredients. 
(5) Add one half of the wet ingredients. Continue until all are combined. Fill cupcake liners until  2/3rds full. Bake for 15-18 minutes or until golden brown. 
(6) Using an electric mixer, mix cream cheese, confectioners' sugar and vanilla extract. 
(7) Then add salt and peanut butter. In a separate bowl, whip cream until soft peaks form. Fold the whipped cream into the peanut butter mixture. 
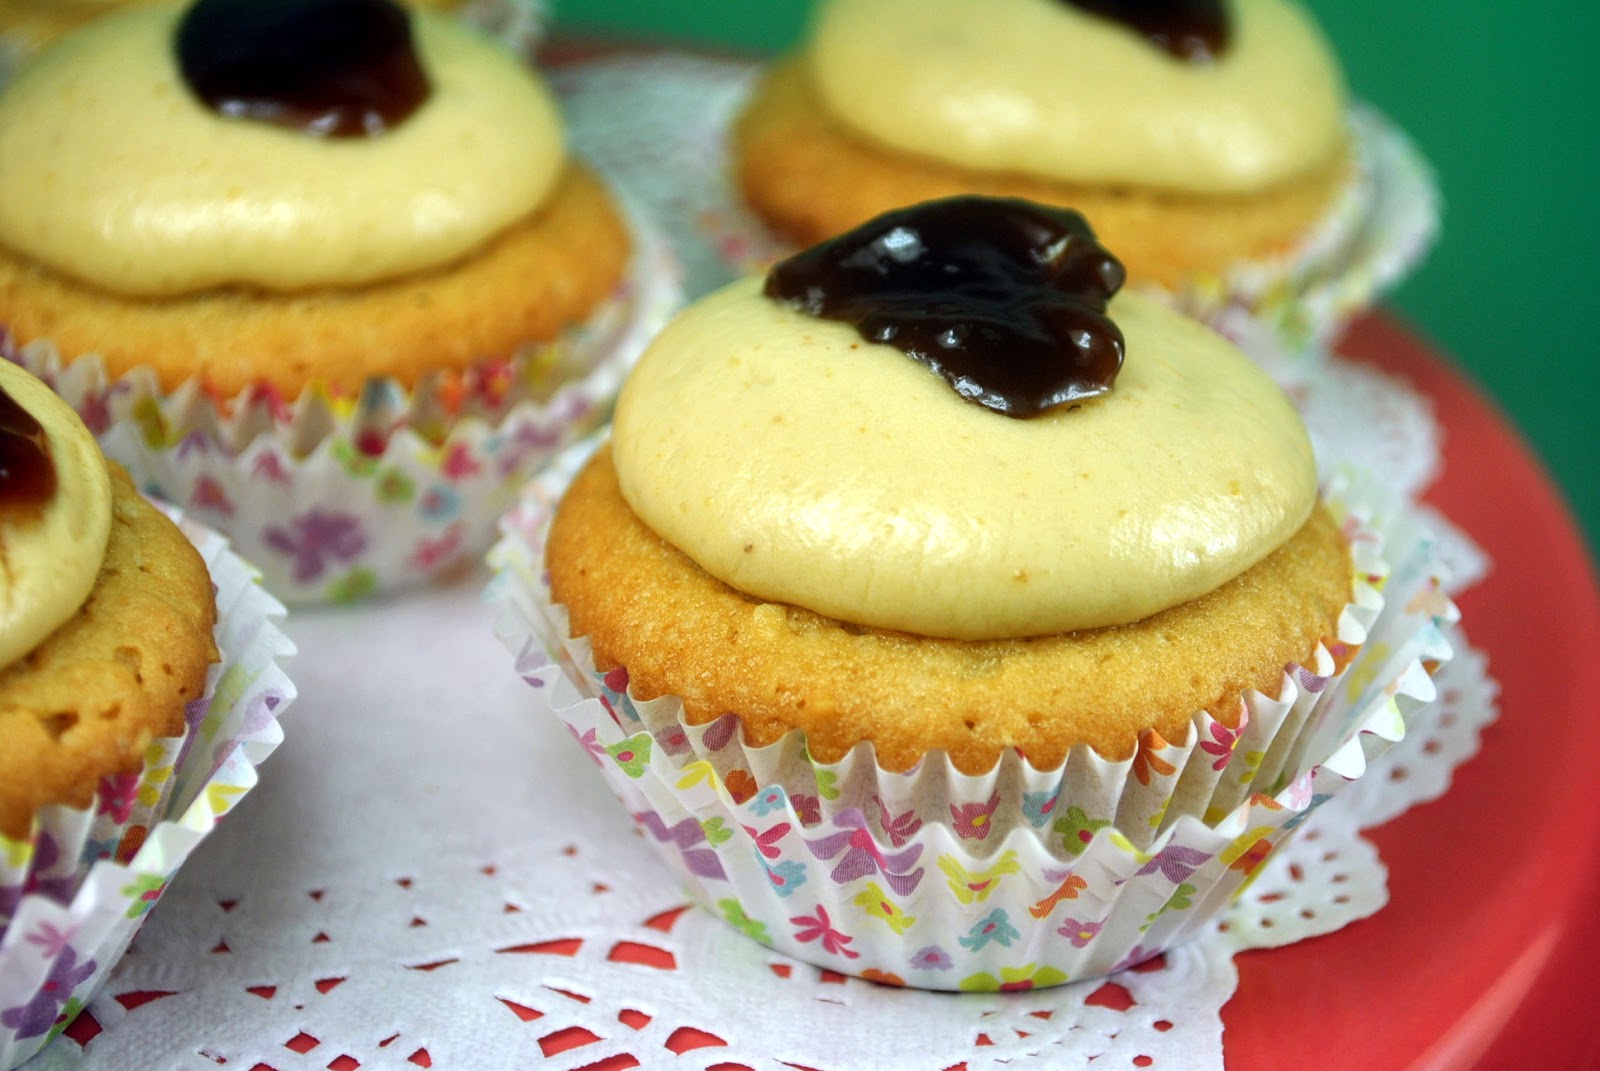
(8) To finish, pipe frosting into the cupcakes and add a teaspoonful of guava jelly. 

Yes, I said it before - peanut butter and guava jelly.  I wouldn't have it any other way. 

Selasa, 25 Juni 2013

Bake Happy's Baking Bucket List


Ladies and Gentlemen, what we have here is a list. 

I love lists. Don't you? List of things to buy at the grocery, list of tasks for the office, lists of posts to write. Heck, maybe I can even make a list of my lists. It just feels so good to scratch tasks off a list! Oh, what a rush!!!

So today, I am sharing one of my lists. My Baking Bucket List. A list of all the things I want to bake in the coming months... years... decades...  or however long it might take.

Let's call this my working list. Things can be added depending on what I want to make. And of course, things can get scratched off when they get completed. 

I'm not sure why I just thought of this now, because this is definitely a post for someone who's just starting out a baking blog. Because if I posted this five years ago then I should have  scratched these (among others) off - 


Anyway, sharing with you my list. I can not wait to get started on them!


Bars

  • Blondies
  • Lemon Bars

Bread
  • Bagels
  • Cinnamon
  • Dinner Rolls
  • Donuts
  • Ensaymada
  • Foccacia
  • Mamon
  • Pan de Sal

Cake
  • Angel Food Cake
  • Black Forest Cake
  • Brazo de Mercedes
  • Cassava Cake 
  • Chocolate Blackout Cake
  • Devil's Food Cake
  • Mango Cake
  • Neapolitan Cake
  • Nelusko
  • New York Cheesecake
  • Pandan Cake
  • Pound Cake
  • Sachertorte
  • Taisan
  • Tres Leches Cake
  • Upside Down Cake
  • Vanilla Chiffon Cake

Cookies
  • Biscotti
  • Black and White Cookies
  • Gingersnaps
  • Lengua de Gato
  • Oatmeal Raisin Cookies
  • Peanut Butter Cookies
  • Scones
  • Shortbread Cookies
  • Sugar Cookies
  • Thumbprint Cookies
  • Whoopie Pies

Muffins
  • Banana Muffins
  • Blueberry Muffins
  • Choocolate Muffins
  • Corn Muffins
  • Mantecadas

No - Bake
  • Bananas Foster
  • Buttermilk Pancakes
  • Charlotte
  • Crepes
  • Marshmallows
  • Panna Cotta
  • Pastillas
  • Peppermint Patties
  • Polvoron
  • S'mores
  • Tibok-Tibok
  • Trifle
  • Yema

Pie
  • Banana Cream Pie
  • Banoffee Pie
  • Boston Cream Pie
  • Buko Pie
  • Caramel Tarts
  • Chocolate Cream Pie
  • Classic Apple Pie
  • Fruit Tarts
  • Grasshopper Pie
  • Lemon Meringue Pie
  • Missussippi Mud Pie
  • Pecan Pie


Pudding
  • Banana Pudding
  • Bread Pudding
  • Butterscotch Pudding
  • Chocolate Pudding

Others
  • Apple Strudel
  • Baked Alaska
  • Banana Split
  • Churros with Chocolate Sauce
  • Cream Puffs
  • Crème Brulee
  • Eclairs
  • Millefeuille
  • Pavlova
  • Peach Cobbler
  • Souffle
  • Sylvannas
So, baking or otherwise, what's on your bucket list?

Minggu, 23 Juni 2013

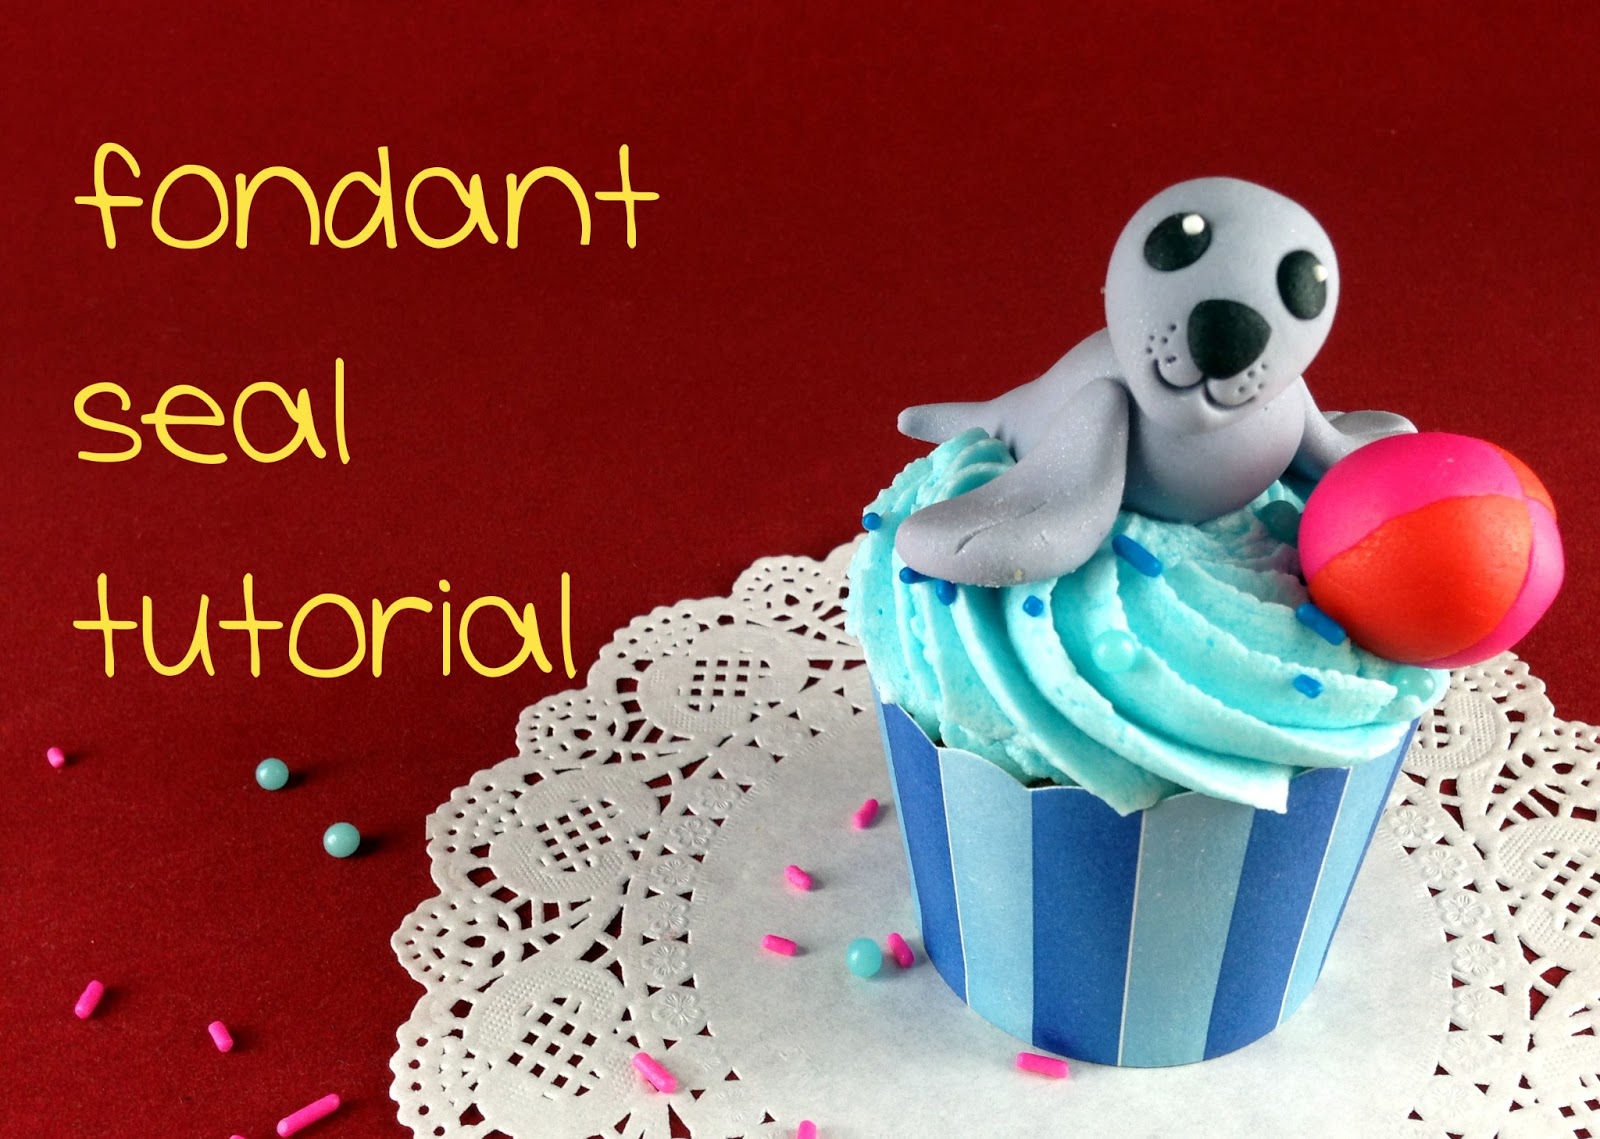
Fondant Seal Tutorial


Two days ago - There's this old school Disney Cartoon starring a baby seal and a grumpy Donald Duck which inspired this post. I have been trying to find the video somewhere but no such luck. I remember seeing the cutest baby seal ever but the story had him crying (which almost made my five year old self cry as well) and his tears formed a ginormous snow ball. I can't remember how it ended but that sad baby seal made an impact on me. 
Today - While doing my usual chores, a ding suddenly dinged in my head and realized the cute baby animal from the Disney video was not a seal at all but a penguin! A cute penguin! Oh my!

Apparently, it did not leave an impact on me. At all. 

Ahhh... So now what am I going to do with this tutorial? Here I am thinking it's a seal all along when it's a penguin. Oh well, here's the tutorial anyway. Perhaps a fondant penguin tutorial will be on the works.  

This baby seal looks cute anyway. Just saying. 
Fondant Seal Tutorial

What we need:
Fondant in gray and black
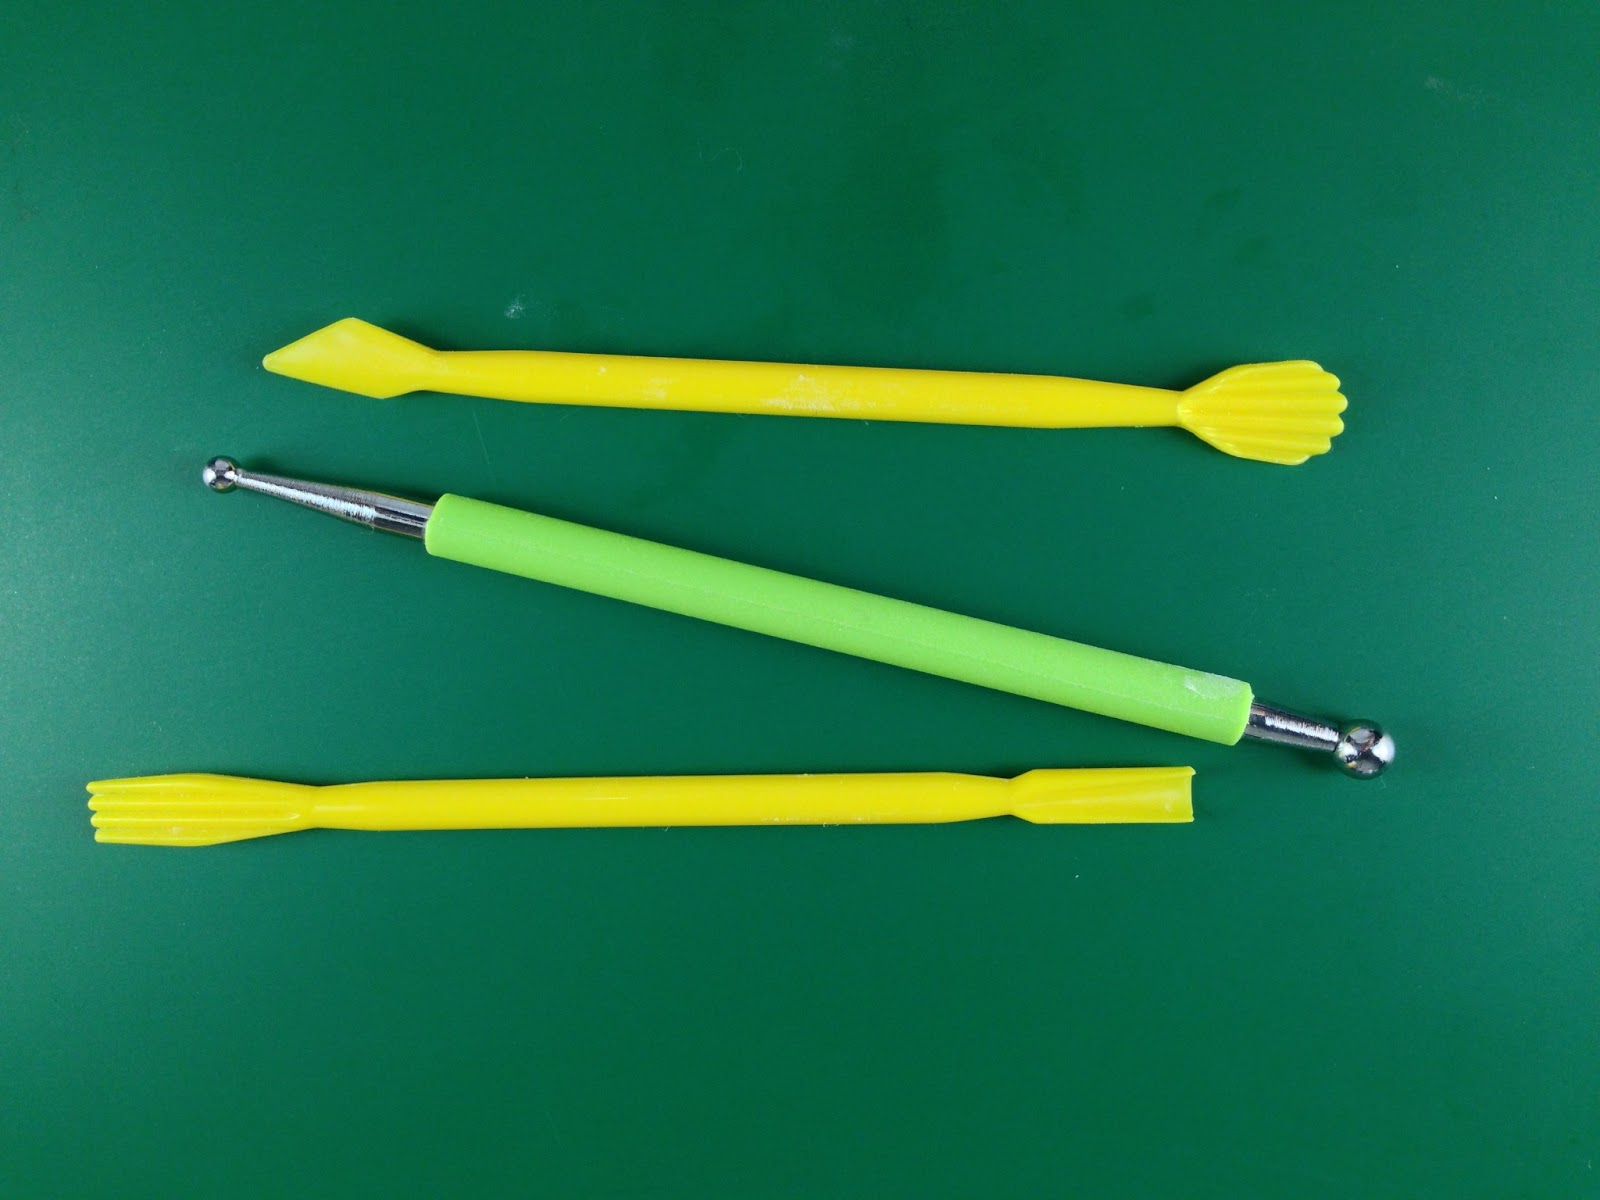
Fondant tools
Water and brush to glue things together
White sprinkles
Toothpicks
Silver luster dust (optional)
Here's how:
(1) Roll gray fondant into a raindrop shape. 
(2) Cut the tip into two, flatten it and curl it outwards. Have something (like in my case a fondant tool) support the seal's upper body. 
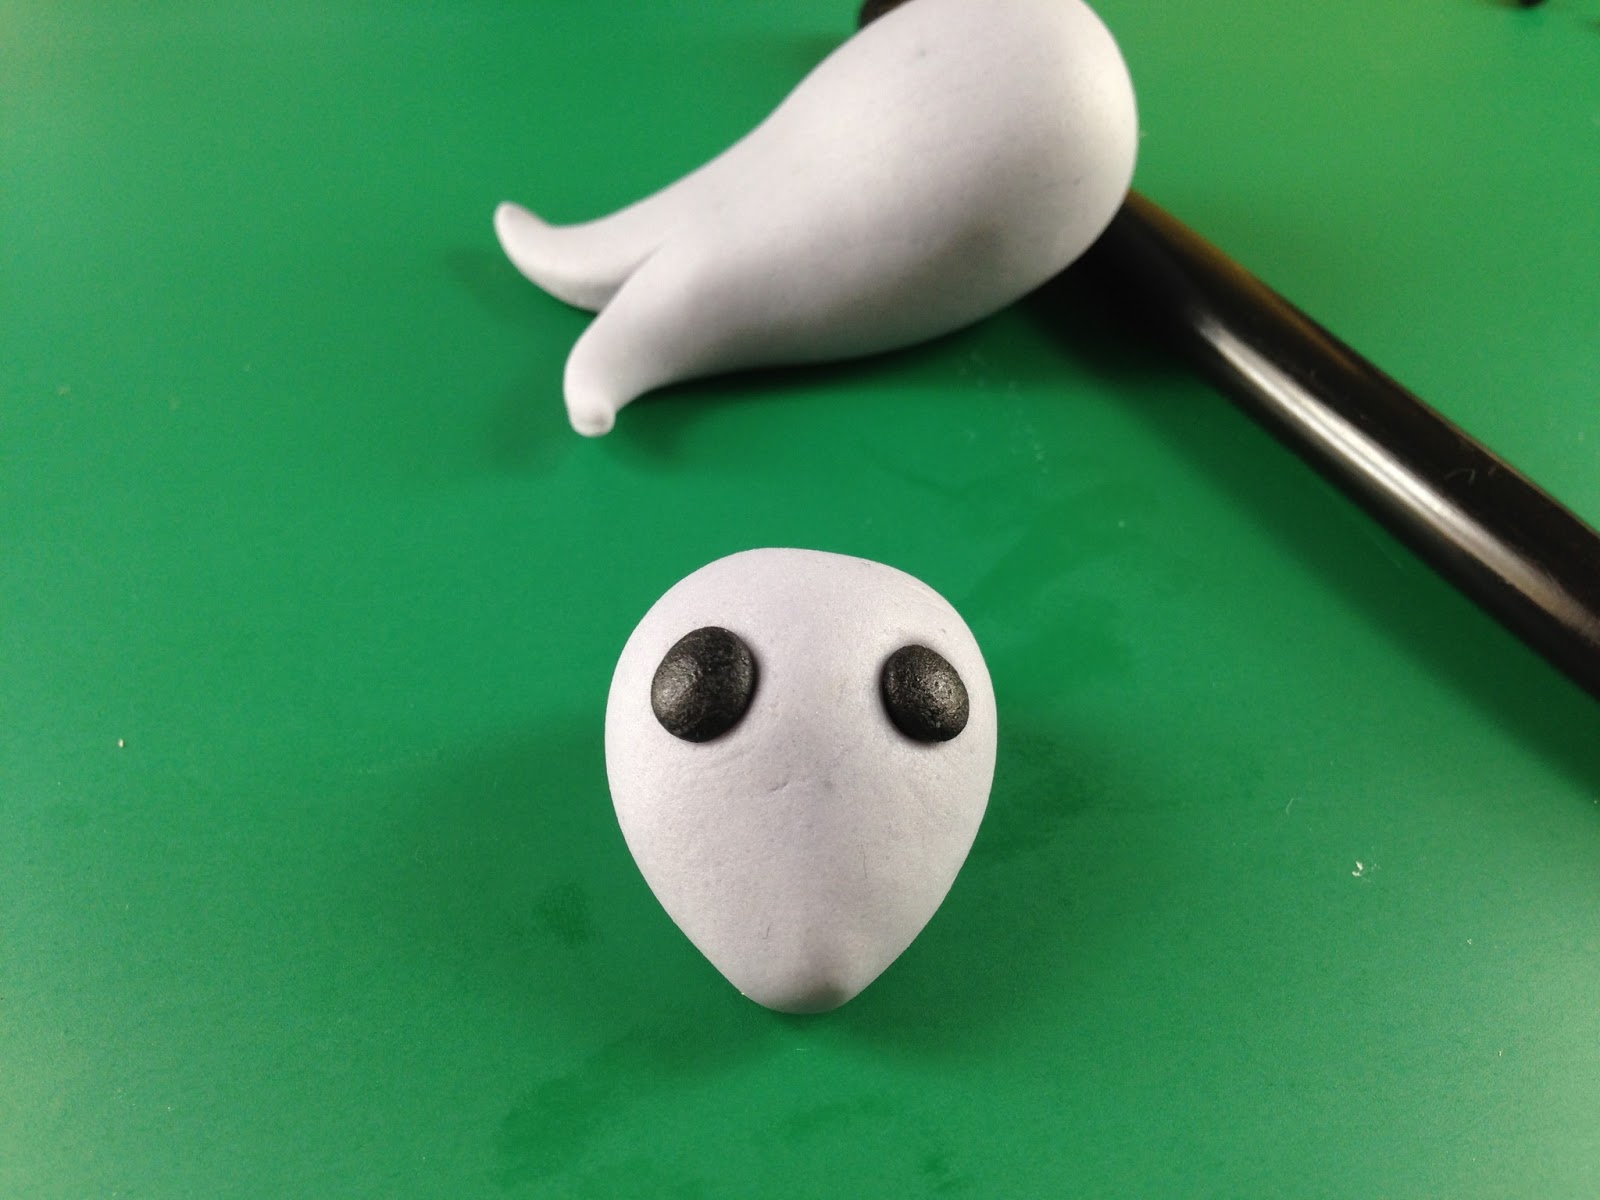
(3) For the head, roll gray fondant into a tear shape. Add the eyes,
(4) Press the half moon fondant tool into the face to form the lips. 
(5) Add the nose and whiskers. 
(6) To make the seals flippers, roll gray fondant into small raindrop shapes. 
(7) Flatten them and leave knife marks. 
(8) Attach the head and flippers to the body. 
(9) This step is optional, since seals are shine, we can brush the seal with silver luster dust for an added effect. 
Easy peasy, yeah? Perfect for a under the sea themed party or a circus themed one! :)

Rabu, 19 Juni 2013

How to Make a Fondant Shih Tzu Cupcake Topper


If you follow me on Instagram (I'm bakehappy there), you would know what I am about to announce here. 

Yes, it's official (it has been since February). I am no longer the youngest in the family. I am now the middle child. This little girl right here is Alexa, our youngest. 
I am not sure how other middle children felt when the latest addition to their families arrive but when I first looked into her adorable little puppy eyes and she looked into mine, I knew then, she has my heart at the palm of her hands. Wait, that should be paws.

Want to see more of her? A few weeks ago, I brought her home a new friend. Alexa meet Alexis. Alexis, Alexa. She was thrilled.
And this one was taken the day I returned from my Bacolod trip. Jenno and Ely gave me a box of a lovely chocolate cake to bring home. When I tool the cake out of the box, guess what? Alexa took possession of the cake box as if it were her home.
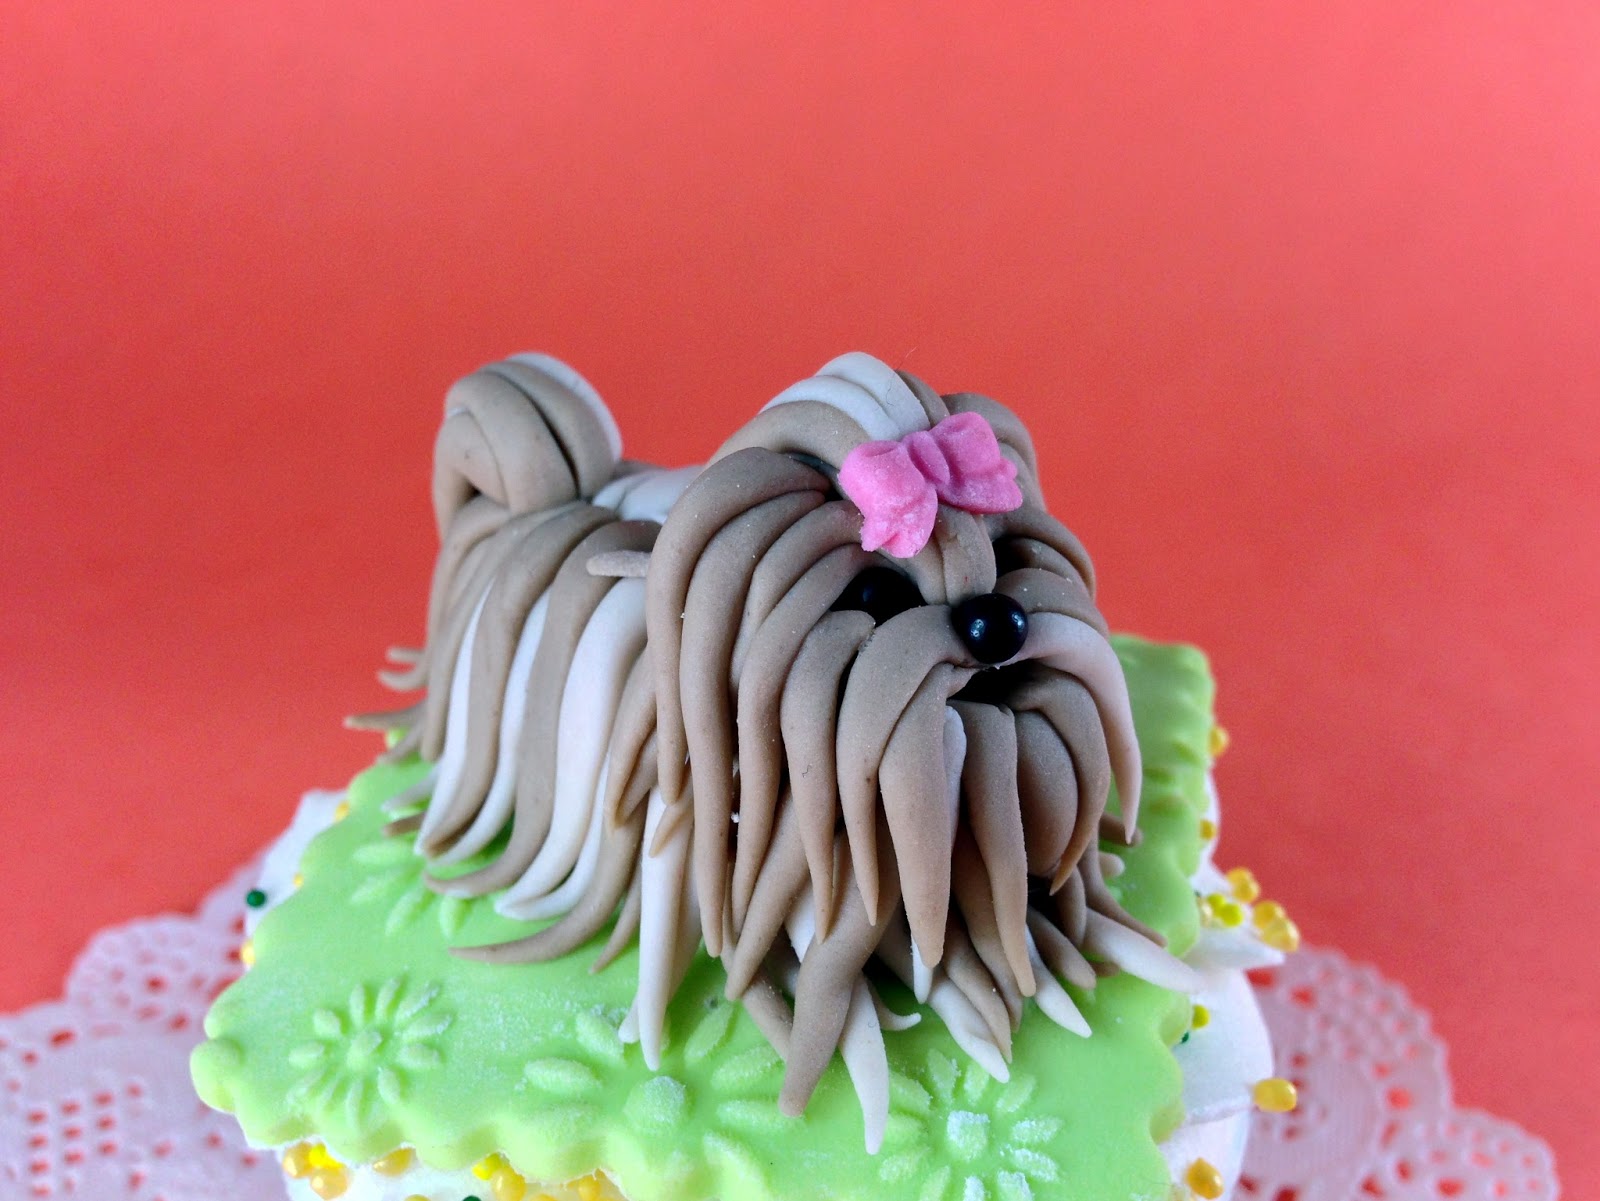
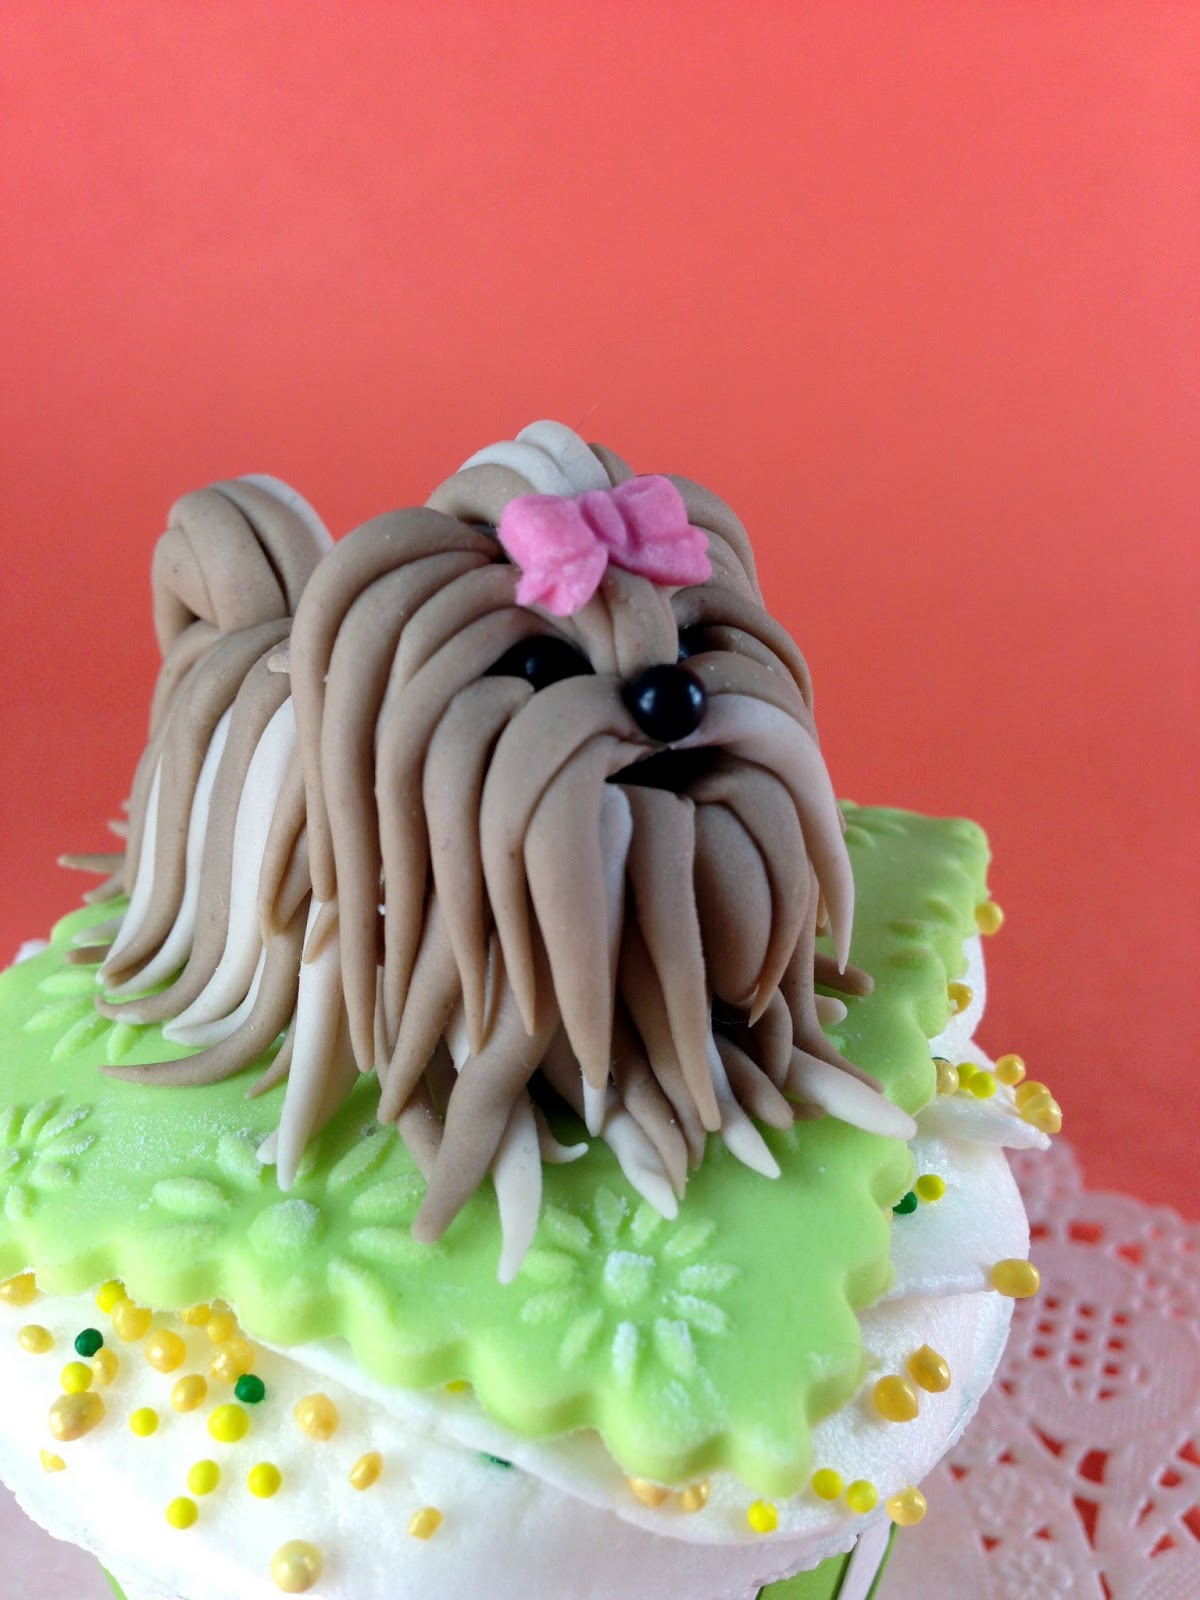
So for the tutorial today, I thought of making a fondant version of Alexa. Okay, not exactly her but of a Shih Tzu. 
We're still not sure if we'd want to grow her hair to its Rapunzel-esque potential when she grows up, seeing that it's hot here in our country. Maybe to the extent that is manageable and comfortable for her. She is the boss after all.
Alexa's fondant version might look mighty complicated but really, this is one tutorial that is easy to master. Here's how.
Fondant Shih Tzu Topper Tutorial

What we need:
Fondant in two shades of brown (or just one shade if you want) and pink
Black sugar pearls (we need just three, two for the eyes, one for the nose)
Knife
Half moon fondant tool
Ribbon mold (optional)
Brush and water to glue fondant together
Here's how:
(1) Roll brown fondant into a short sausage. This will be little Shih Tzu's body. Roll fondant into looooong tear shapes. Practice now, as you will be making lots of these all the way to step #10 below. 
(2) Attach it around the little dogs body. I did two layers, enough to cover the base. 
(3) To make the tail, gather a bunch of looooong tear shape fondant strips.
(4) Then curl it around one end. At the other end, attach a small ball for the face then add the eyes. 
(5) Then roll fondant into looooong tear shape and cover the whole face.
Shih Tzu's have really long hair that parts in the middle. 
So make sure to emphasize that as you work along. And don't forget to add the little dog's nose. 
(8) Add more tear shapes for the ears. 
(9) Then add some more from the nose to the back of the head. 
(10) To make the ponytail, gather a bunch of looooong tear shape fondant strips.
(11) Then attach it to the dog's forehead and lastly, add a cute as a button ribbon. 
Pretty simple right? Seeing as the whole time, we just make several long tear shapes! It's just a matter of where to place it strategically to make our little dog look like a Shih Tzu. 

Hope you like this everyone! :)