Related posts:
You do know that I have a thing for crime procedural dramas, right? There's NCIS (the orginal one), then there's Bones, then there's Warehouse 13. Warehouse 13 isn't really a crime procedural drama but I so love the steampunkish vibe the show has so I watch it as well. But right now... I am totally obsessed with Castle. Castle and Beckett, otherwise known by the portmanteau: Caskett, haha!
Ahh Castle... I am officially counting the hours until the weekend when I can focus on watching the season 4 marathon. So probably on Monday, my rant would be "I can't wait for September to kick off the first episode for season 5".
But right now, I can totally sense you pressuring me to go on with the show... I mean, go on with the tutorial. After all, I did promise one more bag tutorial before I move on to other equally (if not even more) exciting things right?


Fondant in teal, white and gray
Stitching tool (or toothpick or knife)
Silver dragees
Silver Luster Dust (optional)
Silicon button design mold (optional)Knife
Brush and water

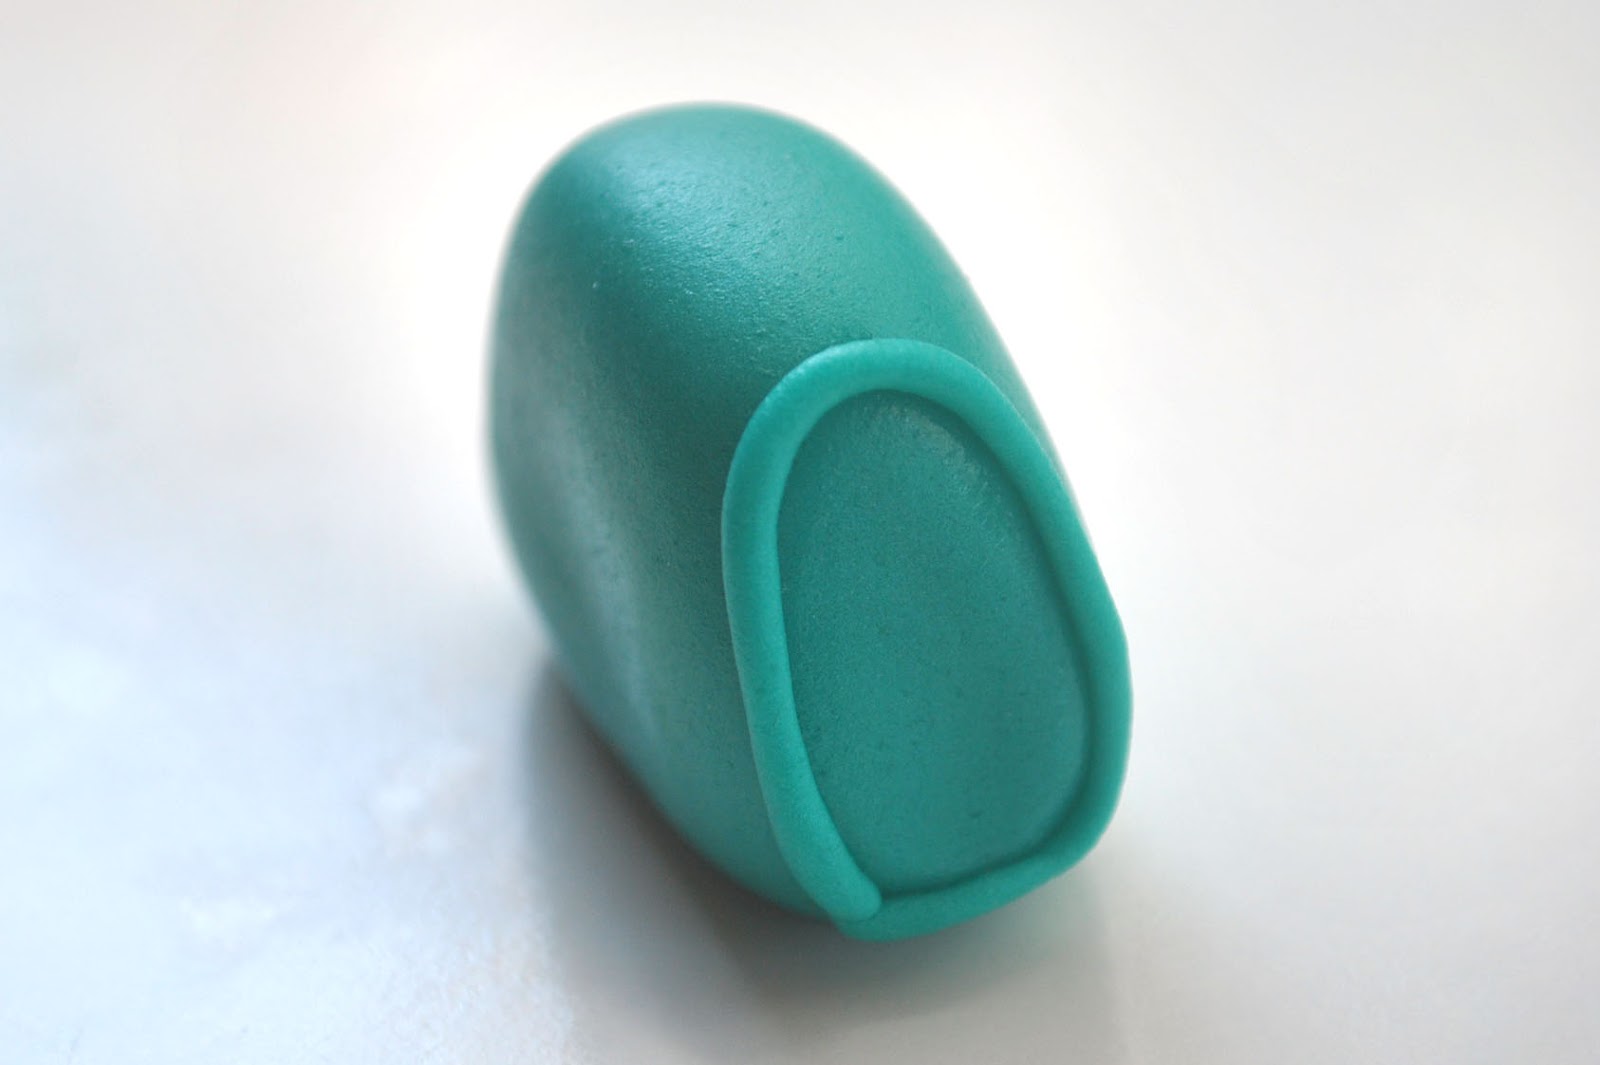
(1) Roll fondant into a ball


Oops, I digress... using your thumb (manicured or unmanicured is fine :)) and index finger, press the flattened ball together then press again this time in a downward direction. This will give the bag a stable base to stand on.


(9) Now now now, this part is optional since silicon molds are not always available. For this bag, looking at it right now, it just looks plain/bare. By having a focal point, it'll lively things up, hence the silicon molds. If you don't have the silicon molds, you can cut out a small fondant flower or a simple fondant rose and it will do just fine as well.
If you happen to have the silicon molds, here's how I did it. Press a small amount of the gray fondant into one of the molds then unmold.


How to Make Fondant Designer Bag Cupcake ToppersHow to Make a Designer Red Purse Fondant Cupcake TopperAnd if you visit Bake Happy's Facebook page 's Photo Album, there's even one extra speedy tutorial there :)

Tidak ada komentar:
Posting Komentar