Related Posts:
Bake Happy Blogger's Tip of the Day:
Do nothing once in a while.
Sometimes we just go on with our lives without stopping and smelling the roses along the way.
Bake Happy Blogger's Tip to self:
Follow Bake Happy Blogger's Tip of the Day.
Because although you can still see me on Facebook, Twitter, Pinterest and Instagram ('m bakehappyonline), I haven't had the chance to blog the past week because June has been a very very very busy month at work. Plus my nose bled (figuratively). If you know what I mean.
So for July, I am planning to do nothing once in a while. Oh dear, just thinking about it makes me feel so bored already! Okay, I'll just do nothing until I can't stand it then off to making treats for you again. There that sounds (and feels) much better. Guess you can't take the baker out of me.


What we need -
Fondant in ivory and white
Stitching tool (or toothpick or knife)
Fondant in ivory and white
Stitching tool (or toothpick or knife)
Rolling pin
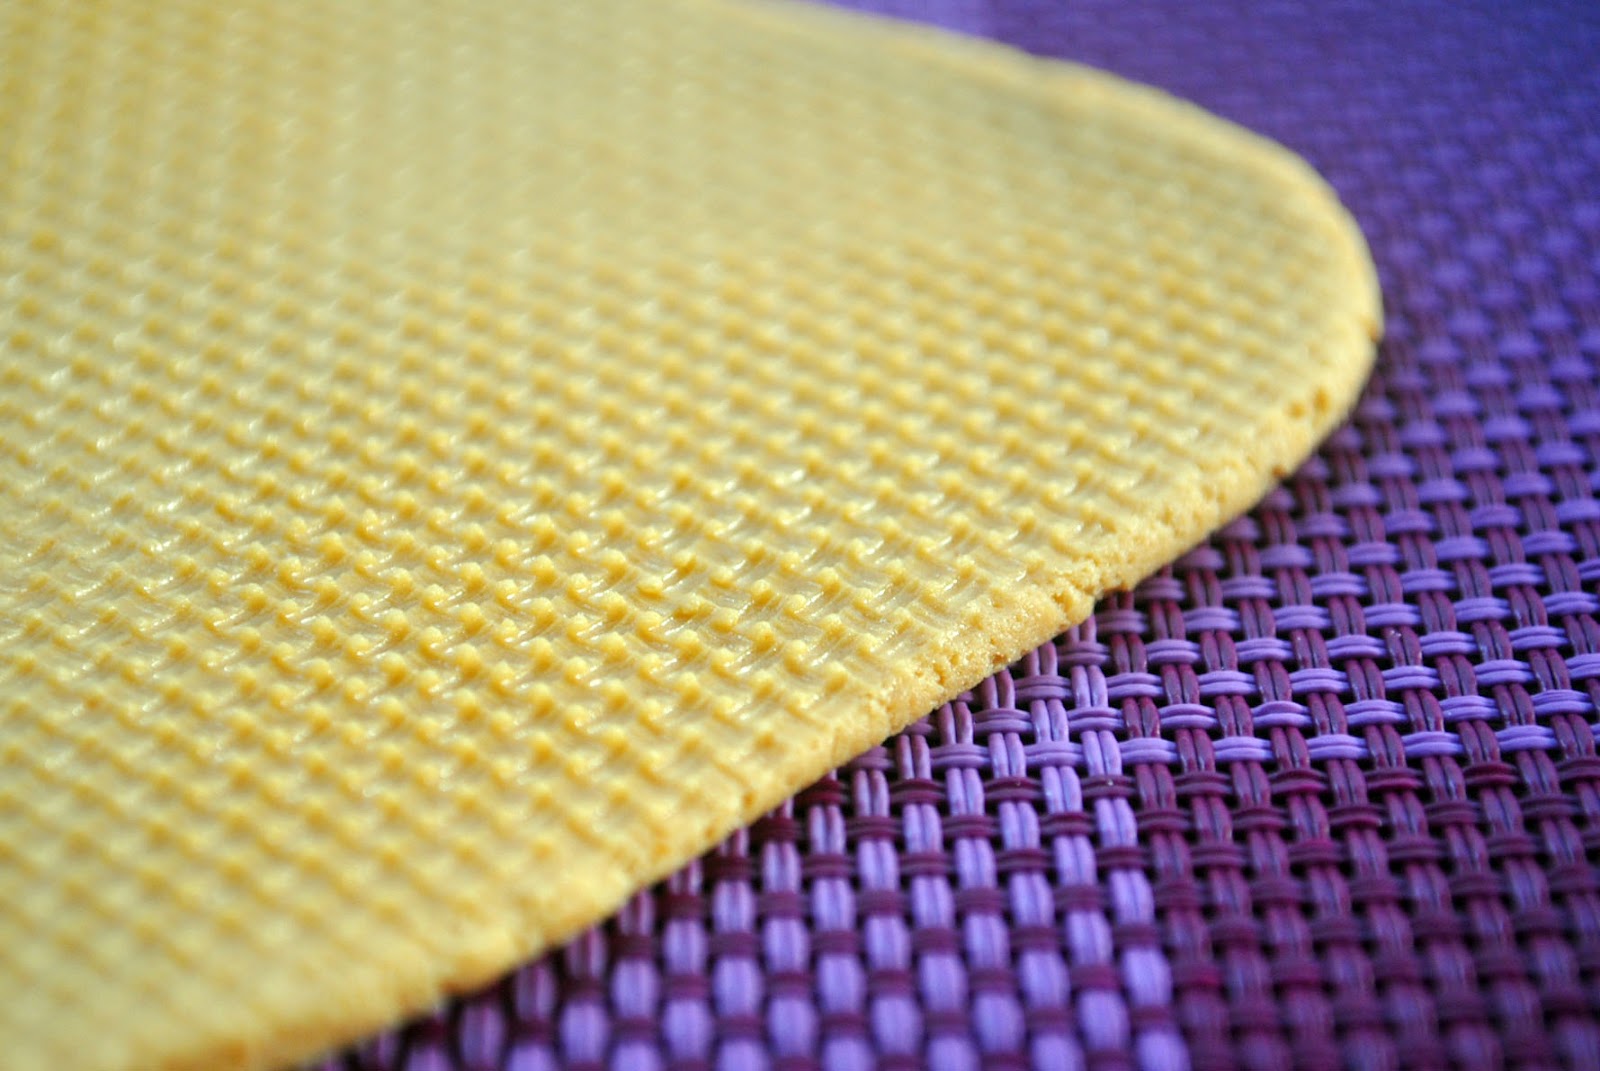
Placemat with textured design (optional)
Knife
Brush and water
Knife
Brush and water
Pattern cut out of paper
- 4.5 x 2.5 cm
- 4.5 x 3.5 cm
- 4.5 x 1 cm
- 3.5 x 1 cm

(1) Roll ivory fondant into a ball, then shape it into a Toblerone-esque shape. This will be the base structure of the bag.


- 2 - 4.5 x 3.5 cm (this will be the front and back of the bag) optional to run the stitching tool through the right and left sides.
- 1 - 4.5 x 2.5 cm (this will be the cover/overlap of the bag
- 2 - 3.5 x 1 cm (this will be the sides of the bag)


(7) Add details using the white fondant. At this point, to make the topper fancier, you can also paint it gold or silver using luster dust.


Tidak ada komentar:
Posting Komentar