Once again I am currently in a dilemma on what to call these cupcakes. Want to know what post titles I came up with?
- P & F cupcakes (a.k.a Pillow and Footwear Cupcakes) - oh my, I am cringing! For a Valentine post that doesn't seem romantic.
- Happily Ever Cupcakes - because these cupcakes are Cinderella inspired. The shoe being the reason why Cindy (let's call her Cindy) and Prince Charming got together.
- Cinderella Cupcakes - it couldn't get any more direct than that. But then again, I didn't make glass slippers so I can not claim outright that these are Cinderella Cupcakes
In the end I settled with Shoe Cupcakes because simply put, they are just that - lovely shoes. I have been meaning to make Cinderella themed cupcakes for a while now because it's is my fave fairy tale when I was a kid and let's keep the next sentence a secret between the two of us. I devour every adaptation of it, be it books or a TV series or a film or a soundtrack or a musical.
And what better way to show my apprecition for Charles Perrault's beloved story than by making some shoe cupcakes. And in true Cinderella fashion, let's put it on top of a pillow similar to how the palace people presented the shoe to Cinderella. Shoe Cupcakes Tutorial
What we need:Fondant in Pink, Baby Pink (for the Baby Pink one, I used a ready made fondant from Wilton), Gray and PurplePink and Silver Luster DustLady's Miniature Shoe Set - I got mine from Baking BuddiesRolling PinFondant Extruder (optional) Stitching Tool (Optional)Assorted centers silicon mold (Optional) also from Baking BuddiesBrush for dustingBrush and water to paste things togetherHere's How:(1) Roll pink fondant and cut out the shoe parts (except the heel and the sling at the back). (2) Make sure to brush the cutters and the fondant generously with cornstarch so it will easily come off. (3) To make the heel, roll a small piece of pink fondant into a ball(4) Then shape it into a... I don't know what shape it is... a semi round and semi cylinder combined? Anyway, follow the below shape.(5) Flatten the round part and roll the other end thinly. Make sure to sharpen the edges to make it look like a heel.(6) Attach the heel to the shoe. (7) Now, time to add the strap. Just brush the shoe with a bit of water on the edges. Let it dry for a while. (8) With a dry brush, dust the shoe with pink luster dust. (9) Let it ... sparkle!(10) Now, to add an accent, get a small piece of gray fondant and use the Assorted Centers Silicon Mold and the silver luster dust to make an accent for the shoe.(11) Paste the accent onto the middle of the front strap.
(12) Now to make a pillow. Shape a purple fondant into a square with a rounded edges.
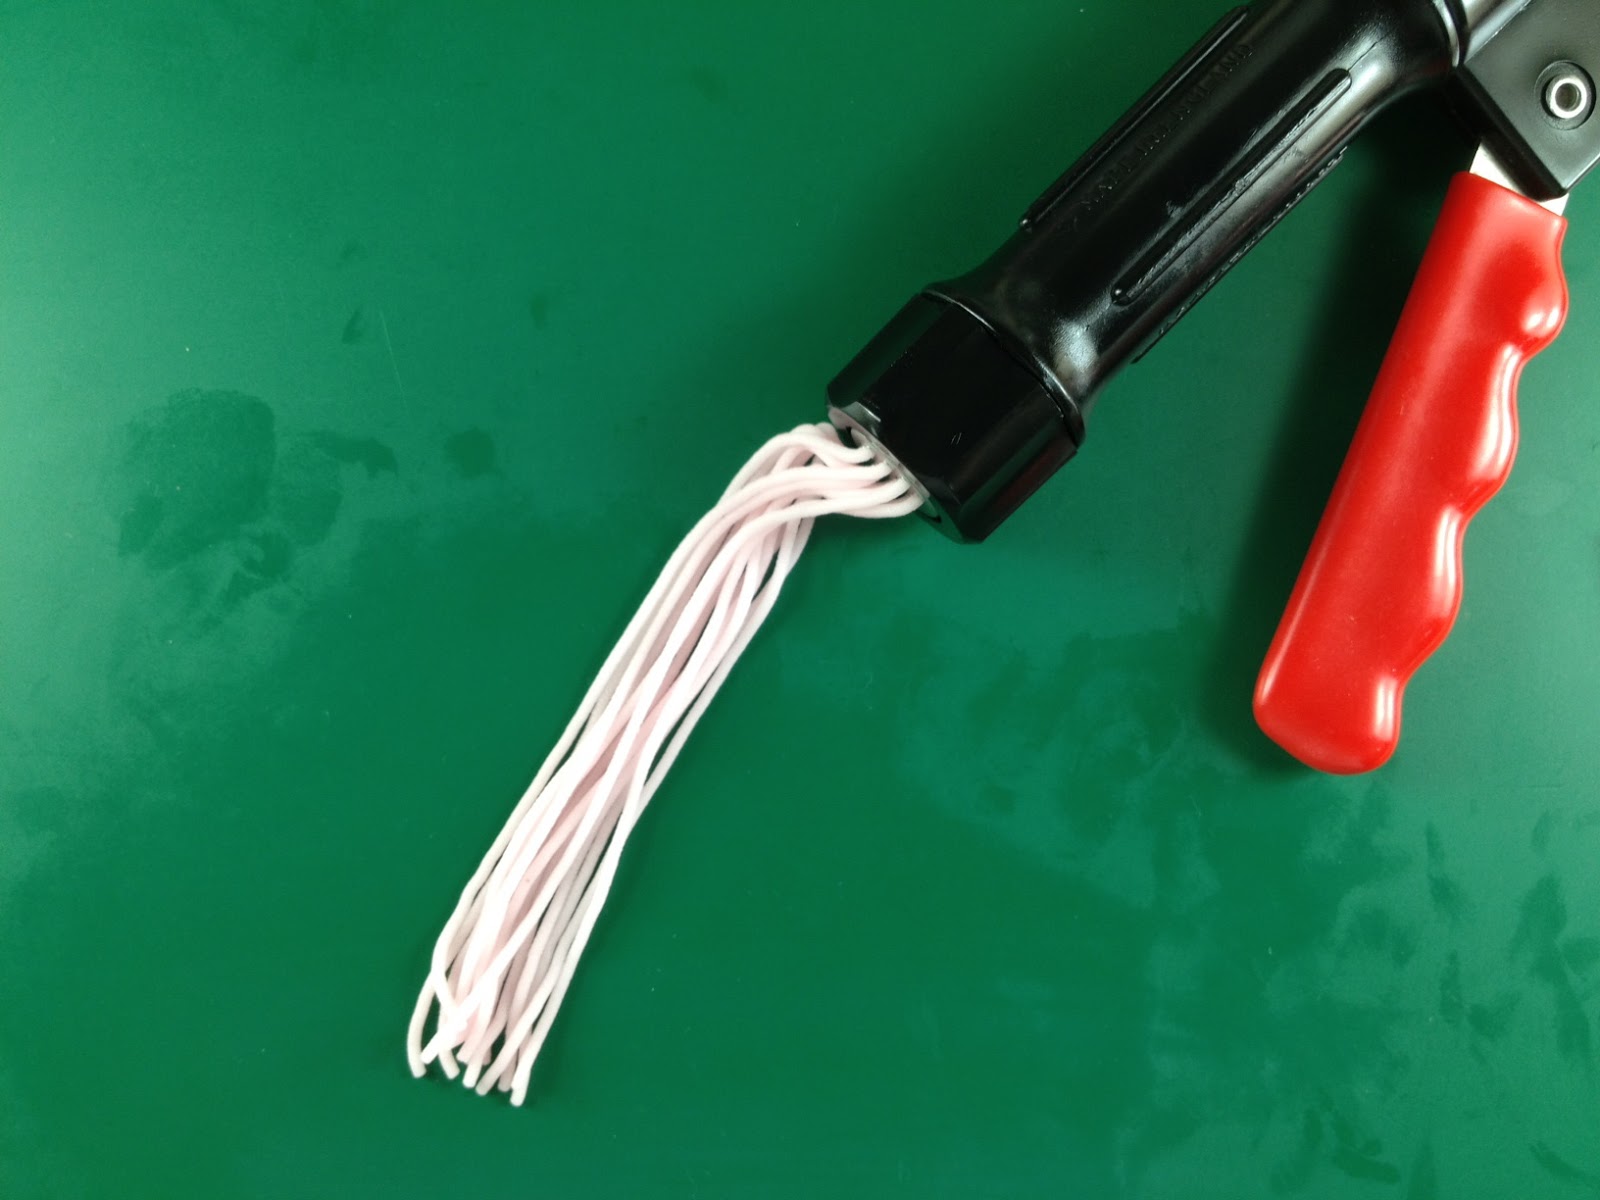
(13) Place some piece of baby pink fondant onto the extruder
(14) Get ready to extrude :)
(14) Get two strings and twirl them together(15) Place them on the pillow(16) Get a small piece of baby pink fondant and use the Assorted Centers Silicon Mold to make round accents on the corners of the pillows(17) Run the stitching tool on the surface the pillow in a crisscross fashion to make a pillow design
(18) Place the shoe on top of the pillow. I inserted a toothpick running from the heel to the pillow for extra support. Remember, prevention is better than cure. This is true even for cupcake toppers.
Putting the shoe on top of a pillow gives it a royal vibe doesn't it?