Kamis, 30 Agustus 2012

How to Make Cupcake Faces (Average Version)


Remember when I said that there is an average (and intermediate version) to this post? We'll I'm keeping my promise today, half of it anyway because today I'm going to show you how to make cupcake faces - average version. As for the other half of my promise, please see the last picture for this post, yeah?

I considered this the average version because it's slightly more complicated than the easy one especially making the hair but nevertheless, still easy. So let's start?

What we need:
Fondant in Flesh and Black
Food coloring in white and brown
Silicon face molds (I got mine from Baking Buddies)
Small brush
Cornstarch
Here's how:
(1) Lightly brush mold with cornstarch
(2) Press some flesh fondant onto the mold. Wait for five minutes then using the knife, scrape of excess fondant gently. You see below, the pressed fondant is now flat.
(3) Unmold, see easy :)
(4) Create as many faces as you need
(5) Paint white food coloring into the eyes
(6) If your making girls, you can brush some pink powder into their cheeks. I used orchard pink luster dust but you can also use pink powder food color if you have some.
(7) Now add the eye details using the brown food coloring, add brows and eyeballs. For boys, make sure to   paint the brows in small strokes. For girls, paint the brows in one movement. Add lashed for girls as well.
(8) Now we're doing the hair for the boy fondant face. Shape black fondant into three short ropes as below.
(9) Paste two of the black fondant
(10) Paste the remaining fondant at the center then use a fondant tool to press lines to the fondant to resemble hair.
(11) Here's an option for the hair for the girl fondant face. Roll a black fondant into a long black rope. Make sure the edges are pointed. Attach to the head of the girl.
(12) Curl the ends outwards. Roll two small tear shaped black fondant, attach as the girls bangs.
(13) For another option for the girl fondant face, roll a short fondant into a rope, attach to the girl's head. Add bangs.
(14) Using a fondant tool or knife, press lines into the black fondant to resemble hair.
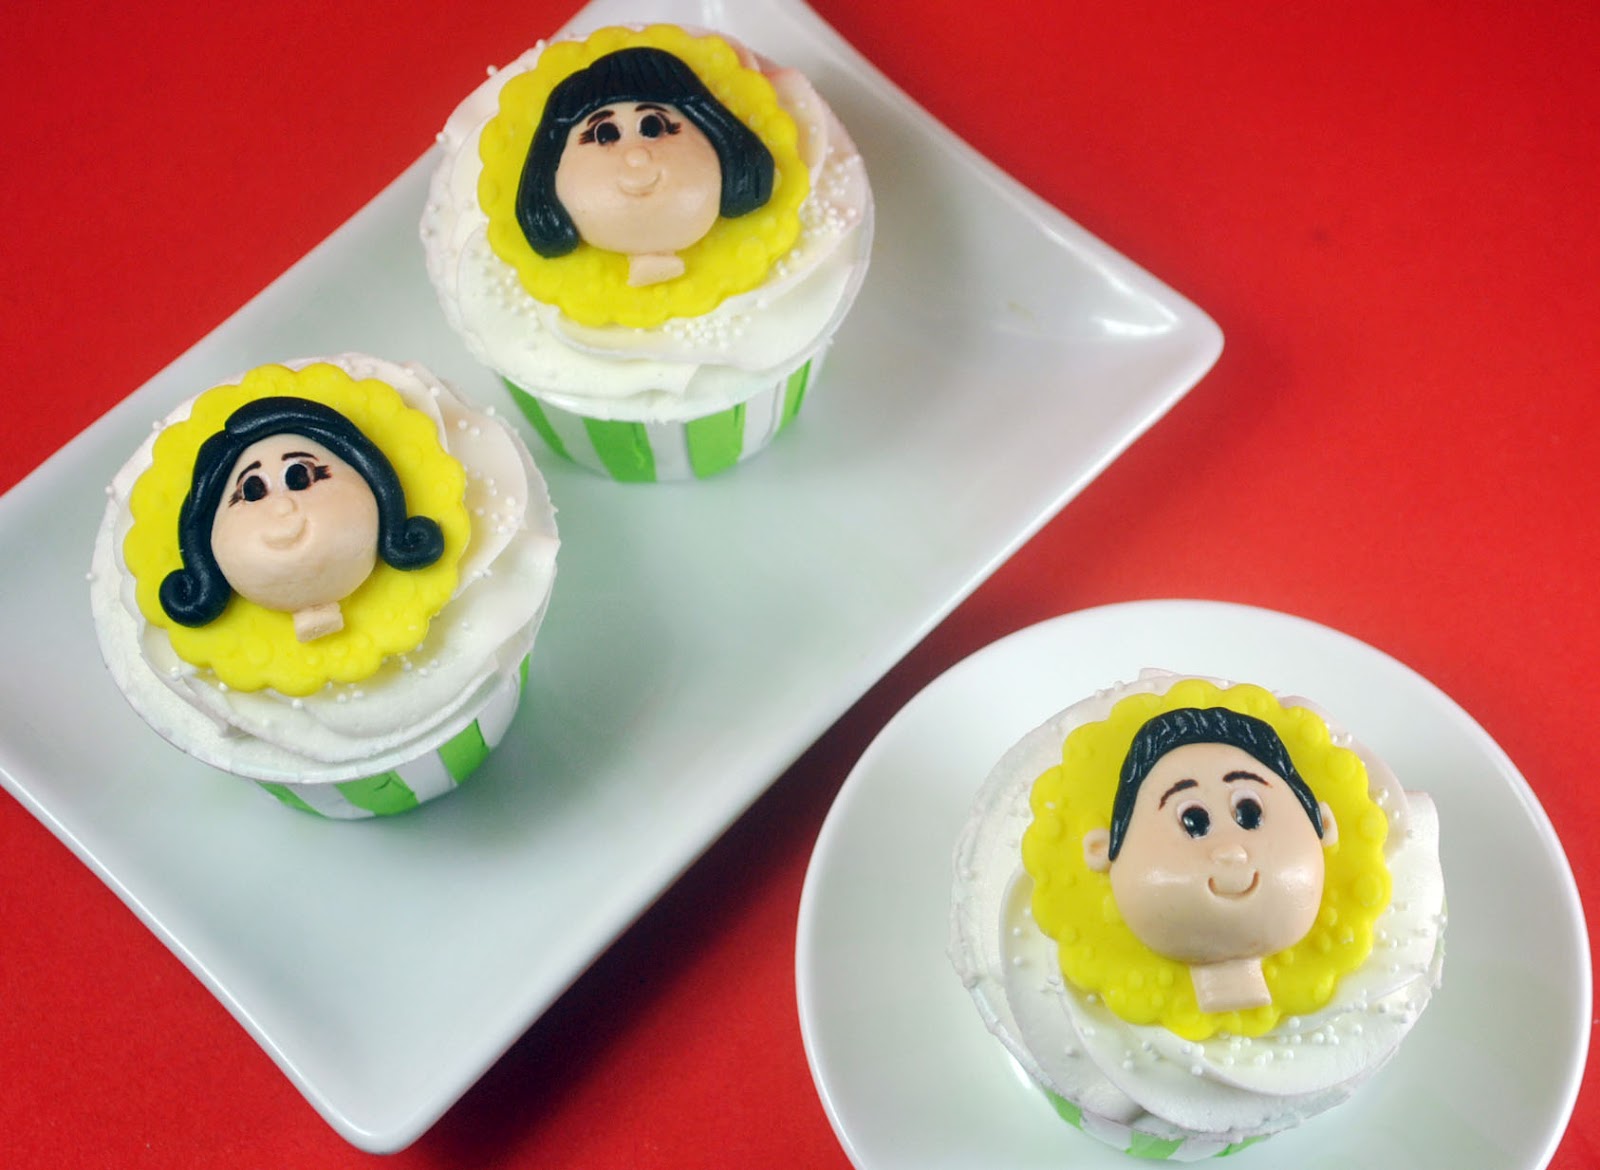
And so, here they are on top of the cupcakes. Although, these faces can also be used on top of a fondant figure should you decide to make one.
Want to see what we have for the intermediate version for this series? Here's what we'll be making on Bake Happy - coming this September! Make sure to watch out for it! :)

Selasa, 28 Agustus 2012

How to Make Safari Cupcakes - Fondant Monkeys


When I was a kid, I badly wanted a monkey for a pet. But I guess that really won't work as we lived in a small apartment then, no space really for a monkey to run around freely and definitely no branches for the cute one to hang on. And so my sister and I got a poodle named Sunshine. One look at her and I forgot I  wanted a monkey for a pet. She was a ray of sunshine really. 
As a continuation of the Safari Themed Tutorial, we're making fondant monkeys today. We already did Ms Ellie the Elephant here. I'm thinking we'll follow that up with cute monkeys today.  
What we need - 

Fondant in brown, flesh, white and black
Fondant tools
White small sprinkles
Brush and water

Here's  how:
(1) Roll brown fondant into a ball, press it flat.
(2) Roll small flesh fondant into an oval shape, press it flat and paste to the monkey's face.
(3) Using pointed fondant tools, add the nose and cute mouth.
(4) Roll small white fondant for the eyes
(5) Roll even smaller black fondant, paste it to the eyes then add white sprinkles.
(5) For the ears, roll two tear shaped brown fondant
(6) Press a ball tool into the wider end.
(7) Attach ears to the monkey's head
Along with the elephant cupcakes, these monkey cupcakes are perfect for baptism, birthday parties and any other celebration you can imagine :)
Hope you like it my dear Bake Happy friends! Till our next tutorial!


Rabu, 22 Agustus 2012

Vanilla Bean Torte


If Chocolate and Vanilla were to go to a karaoke night out, and Chocolate would stand up and dedicate a song to Vanilla, I am pretty sure it will be... drumroll please... Bette Midler's Wind Beneath My Wings.

Not that I'm being cheesy and all ( I am actually, going for "Vanilla-y", yeah I know, there's no such word), but I am sure the brilliant writer/s behind it definitely had Vanilla in mind when he/they created the song. 

I am sure you are familiar with it (go with me on this one, please? hahaha!), but just to those who aren't, here's the lyrics

See? I can definitely imagine Chocolate singing this song to Vanilla. A lot can can be said about vanilla but for me this song beautifully sums it all. Don't you agree? Have I just made new vanilla fans out of you, my dear Bake Happy friends? :)

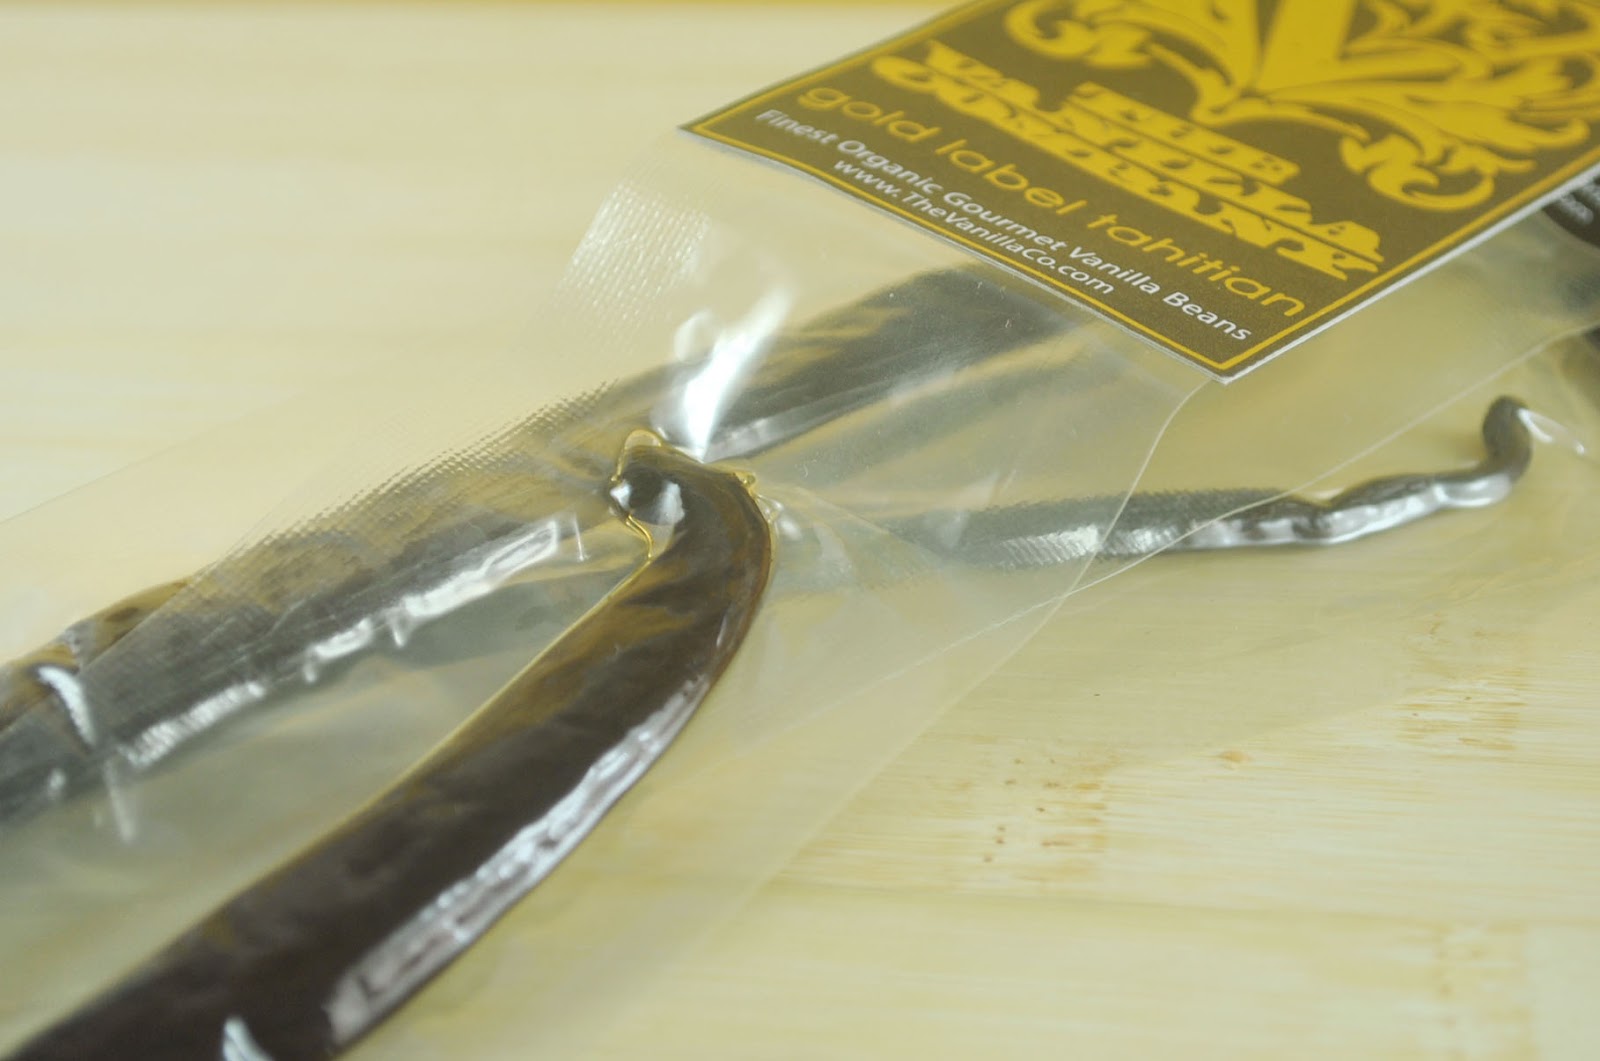
So when I received this wonderful gift from The Vanilla Co, being overly ecstatic is an understatement. Looking at the package, this is how a vanilla bean be, special and treasured. 
I can't get over how moist and plump these beans are. Can you spell a-m-a-z-i-n-g?
These beans deserved the very best. I have thought long and hard on what to make and decided on making a Vanilla Bean Torte.

This is actually an ode to Vanilla Bean Cafe which made the BEST Deep Dark Chocolate Torte ever. They recently closed so sadly, I won't be able to get to taste their unbelievably amazing torte anymore. So here I am making a version of it, vanilla bean style. 

Our Vanilla Bean Torte will start with a walnut praline base which will be covered by a vanilla bean filled white chocolate ganache topped with vanilla bean (yet again) filled white chocolate mousse. 
And when you make this, please don't be like me and poke it every 15 minutes or so once in the refrigerator. If you do that, you'll end up with those small mooncrater like surface similar to the below. See, no more smooth surface torte... but it tastes great just the same.

Vanilla Bean Torte


Walnut Praline

1/2 cup sugar
1 cup chopped walnuts
(1) Place chopped nuts in a cookie sheet.
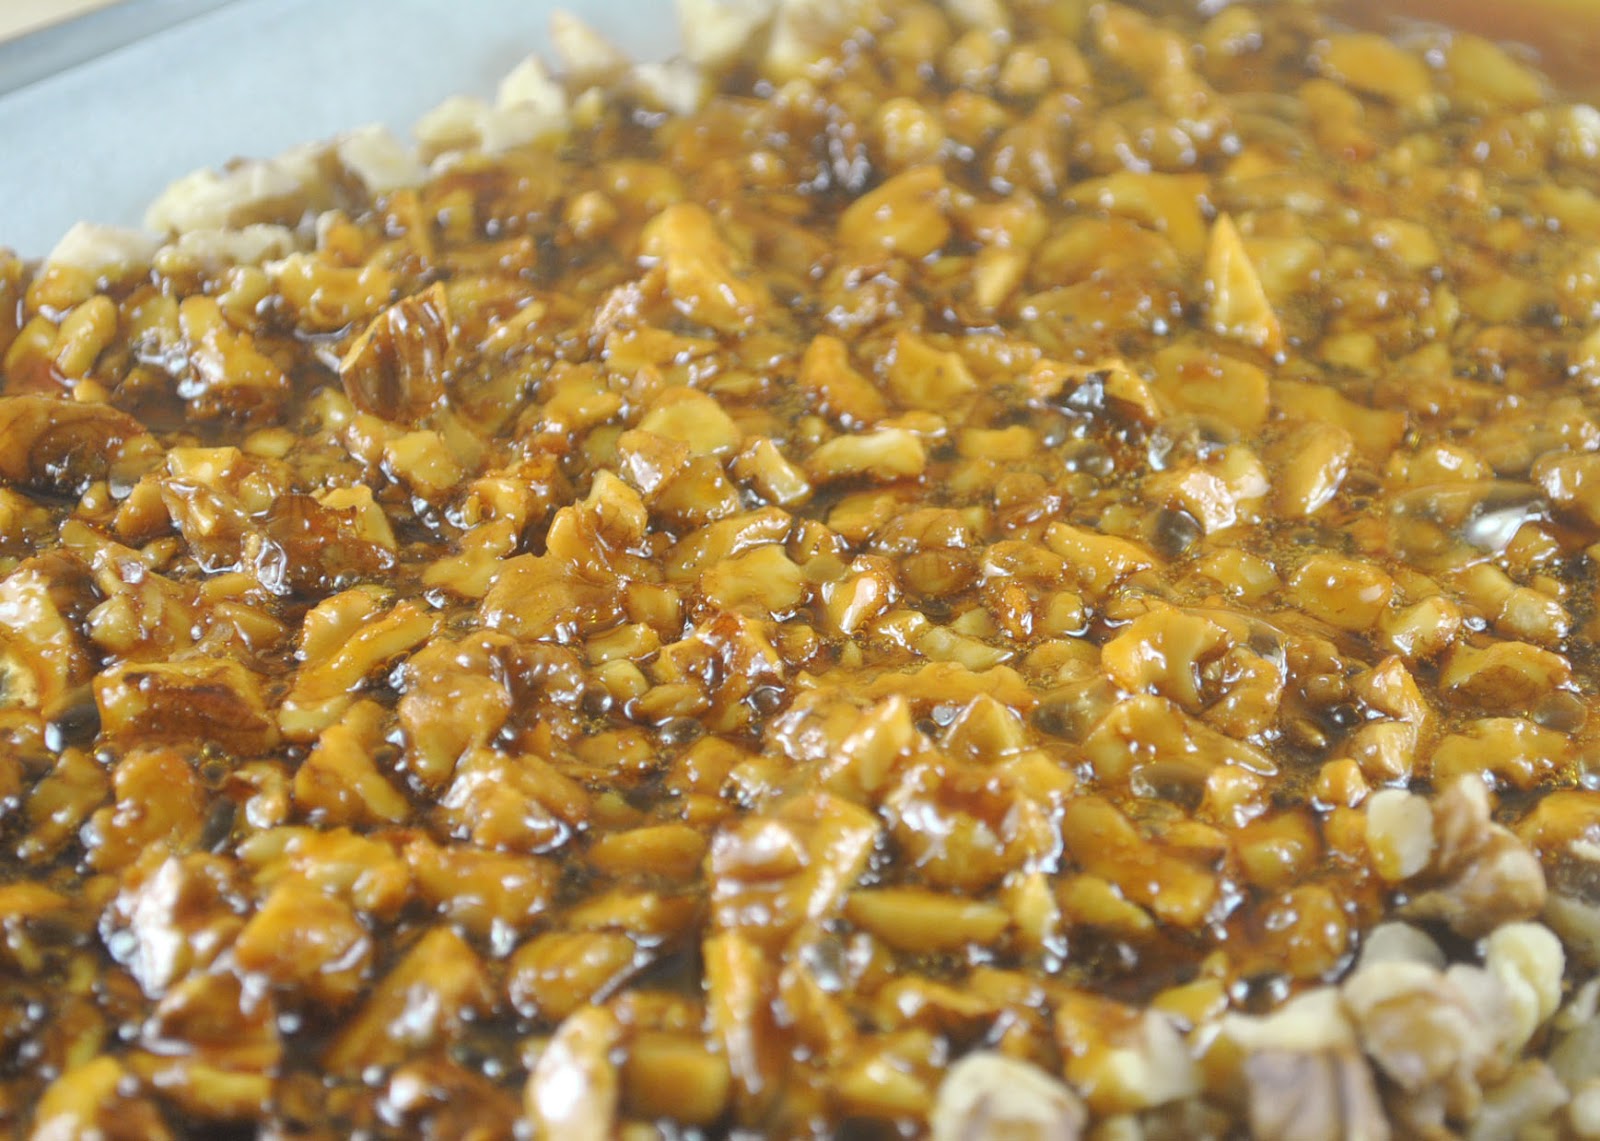
(2) Cook sugar till caramel brown then pour over walnuts
(3) Let it cool for an hour
(4) Break the praline up and chop finely. If you have a food processor, now will be a great time to take it out and use it. But since I don't have one, chopping will do just fine. 
(5) In a 7-inch metal ring, press the praline down using a small round pan to serve as the torte's base.

Vanilla Bean White Chocolate Ganache

500 grams chopped white chocolate (I used Tulip)
lotsa vanilla beans
1 cup cream
(1) Add vanilla beans to the chopped white chocolate
(2) Bring cream to a boil and pour over chocolate.
(3) Sing one fast "Happy Birthday Song" (kidding.. wait for ten seconds) then stir ganache until well combined.
(4) Pour over walnut praline inside the metal ring.

White Chocolate Mousse
adapted from Food Network


7 ounces white chocolate, chopped into very small pieces
lotsa vanilla beans
2 egg yolks
2 tablespoons sugar
1 cup plus 1/4 cup heavy cream

(1) Add vanilla beans to the chopped white chocolate

(2) Mix egg yolks and sugar until light and fluffy
(3) Bring 1/4 cup of cream to a boil, pour some cream to the egg yolk mixture to temper it. Add the egg yolk mixture to the rest of the cream. Mix constantly until thick and let it cool.
(4) Whip 1 cup cream until thick. Now you have 2 bowls that needs to be combined together. One is light (the cream) and one is very heavy (the egg yolk mixture). To somehow bring them to the same weight, fold a quarter of the cream to the egg yolk mixture to lighten it up. When it starts to lighten up, fold in the rest of the cream until well combined.
(5) Pour over the ganache inside the metal ring.
(6) Chill for  8 hours or overnight.
I love the contrasting texture of the layers, crunchy praline, chewy ganache and smooth mousse all covered in lotsa vanilla beans. As vanilla beans lovers, what more can we ask for?
A big thanks goes to Perry Jocson of The Vanilla Co for sending Bake Happy the most luscious vanilla beans I have ever seen! And a big thanks to The Vanilla Co for the wonderful article on Bake Happy you wrote. So sweet of you. Thank you!

Selasa, 21 Agustus 2012

Wintermelon Tea with Rock Salt and Cheese


Birch Tree, Ovaltine, Chocolate Mousse and a Baking Book for kids.

Does anyone know how it will come to play as my earliest memory?

Since we’re all friends here, and friends tell friends their embarrassing moments (not for blackmailing purposes, okay?), I’m telling mine. The earliest one, that is.

You see, even as a child (who still has not learned how to read) I love books, especially if it has pictures of cakes and desserts. We had this baking book for kids that has this really amazing illustration of a chocolate mousse. (It escapes me how I knew it was of a chocolate mousse). And the young baker in me thought, hmmm… this is fairly easy. The illustration mostly has brownish part in a tall glass topped with a whitish part.

Young Bake Happy Baker’s interpretation (circa 1986, when she was just four years old):
·         Brown part = Ovaltine
·         White part = Birch Tree Milk

Grown up Bake Happy Baker now knows that  -
·         Brown part = Chocolate, eggs and cream turned into a mousse
·         White part = Whipped cream


Too bad, young Bake Happy Baker didn’t have that wisdom back then. You know what she did? She got Ovaltine, placed heaping tablespoons in a tall glass and topped it off with Birch Tree. No – water – added.

Please don’t let me tell you how -
  • ·         she ended finishing up the tall glass to cover up her tracks.
  • ·         she got sick of the taste. (It really isn’t fun eating it dry without any liquid to wash it down)
  • ·         she may or may not have ended her adventure in the bathroom (this she will neither confirm nor deny)

At least now, when I want to re-create something, I follow the exact instructions J

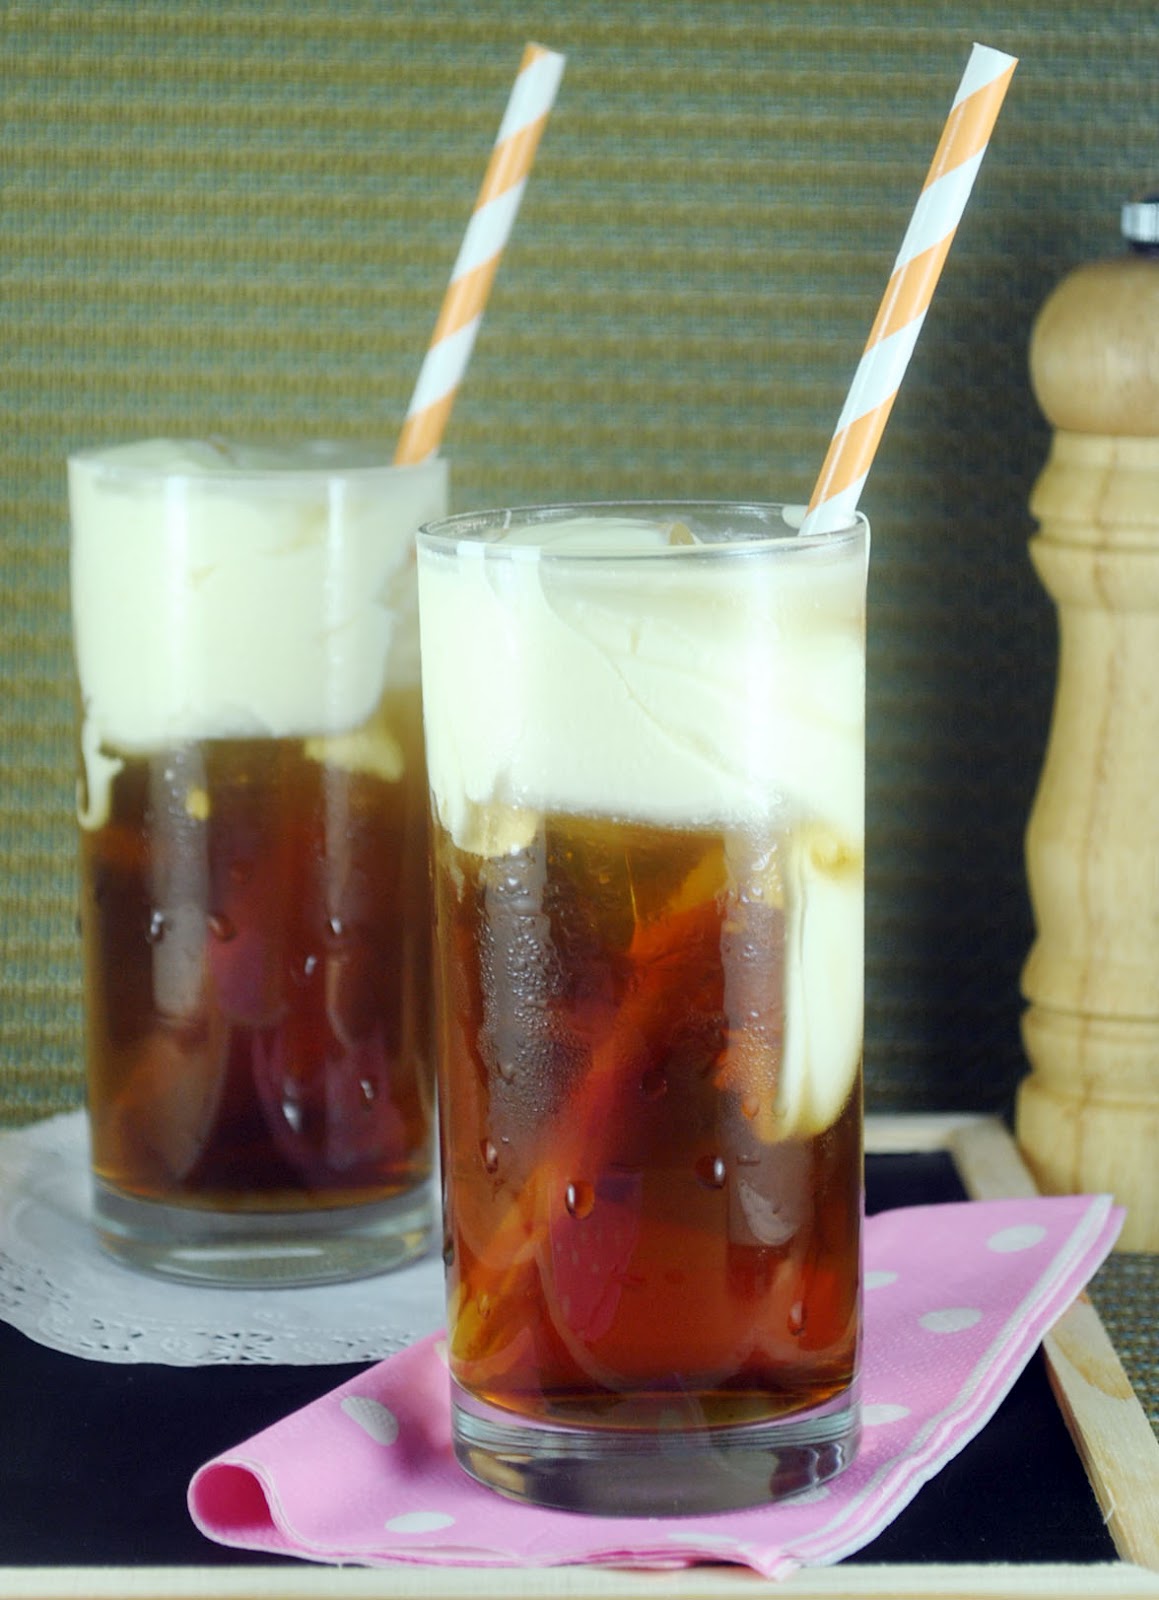
Like this Wintermelon Tea with Rock Salt and Cheese. I'm not that much of a fan of milk tea but for some reason, after grocery shopping at Landmark, I decided to order one. Cha Time has this interest drink called Wintermelon Tea Mousse that got me intrigued and now I am hooked. That frothy, tangy yet a bit salty cream on top is out of this world! I think I drank three more of this addicting drink when I got to know Happy Lemon's Cocoa with Rock Salt and Cheese. Oh my. My cravings are getting out of hand! This is not good. Could this Rock Salt and Cheese concoction be replicated at home?
Thanks to the power of google, I found out Pepper.ph has already tried to replicate the addiciting Rock Salt and Cheese they based from Happy Lemon. And thank heavens I have all the things I need in the pantry so I got to work. Instead of black tea, I made a batch of wintermelon tea to accompany the Rock Salt and Cheese. 

Pepper.ph's Rock Salt and Cheese Foam
from Pepper.ph

What we need:

1/2 cup cream cheese spread, softened
1/4 cup condensed milk, chilled
1/3 cup whipping cream, chilled well
Himalayan pink rock salt


Here's how:
(1) Combine cream cheese, whipping cream and condensed milk. Whip until thick.
(2) Add Himalayan pink salt.
(3) Add on top of an iced Wintermelon Tea.
Thank you Pepper.ph! This recipe is a keeper! I handed one glass to my dad without saying what it is (thank heavens he trusts me) and said it tasted exactly like Cha Time's Wintermelon Mousse!