Sabtu, 14 Juli 2012

Five Things I Learned from Chef Hasset Go


Two weeks ago, I received an invite to attend a baking demonstration of one of Manila's baking protégés - Chef Hasset Go at The Maya Kitchen. When I hear the word protégé , I immediately think of Mozart. But let me tell you, Chef Hasset is way easier on the eyes than Mozart - not that I have ever seen Mozart in person, that would be creepy.
Anyway,  I contemplated long and hard if I would accept the invitation. it sounds exciting and seems like a lot of fun. But it was scheduled early in the morning. Now, now, now... early is relative okay? Early may be three am for a baker who needs to produce countless pastries for everyone's breakfast or early is nine am for someone who watched a Family Guy marathon on DVD till 2am scratch that! I mean, nine am is relatively early for someone who finished a Friday deadline in her day job. Or could be both.

But then again, I haven't attended a baking demo in years. I might be missing out on something since I'm always tied to my oven 24/7. So I decided to attend. Good thing I did because there are five things I learned that day, and I am sharing them with you -
1. Think out of the box -
Classic Filipino dessert flavors sometimes need to keep up with the times. Ever heard of Ube Jackfruit Cake? Here's the recipe.

2. Just dump it all in -
Sometimes, rules are just meant to be broken. Mixer set to low then gradually to high, why not set to high immediately? Saves time, yeah?

3. Fancy baking toys are not required to produce a good cake
Chef Hasset made a delicious Energy Mug Cake with the simplest of ingredients and simplest of tools - a mug, a spoon and a microwave. It can not get any simpler than that.
This just proves you really do not need the fanciest baking tools to produce a cake fit to satisfy a sugar craving.

4. Sometimes, shortcuts save the day
I love the story behind the One Block Away Easy Pastel Tres Leches Chef shared with us. He used to live in an apartment where a panaderia/bakery is just a block away. When he's craving for something custard-y cream-y and milk-y, what he does is buy mamon from the panaderia and soak it in three different types of milk - condensed, evaporated and cream. Shortcuts rock!

5. Custard Spring Rolls
This recipe alone is worth getting up early in the morning to make it in time for the 9am baking demo call time. Heck, I would even wake up at an ungodly hour of three am if needed. It's. That. Good. 
Custard Spring Rolls

Custard
1/3 cup Maya Cornstarch
3/4 cup fresh milk
6 pieces egg yolks
1 can condensed milk
1 can evaporated milk
1/4 cup butter
1 teaspoon vanilla

Cooking oil for frying
Spring roll wrapper / Lumpia wrapper
Procedure:

Make the custard:
(1) Add cornstarch to milk
 (2) Dissolve cornstarch with milk. 
 (3) Mix in egg yolks and set aside.
(4) In a saucepan, boil condensed milk and evaporated milk and over mediums heat.
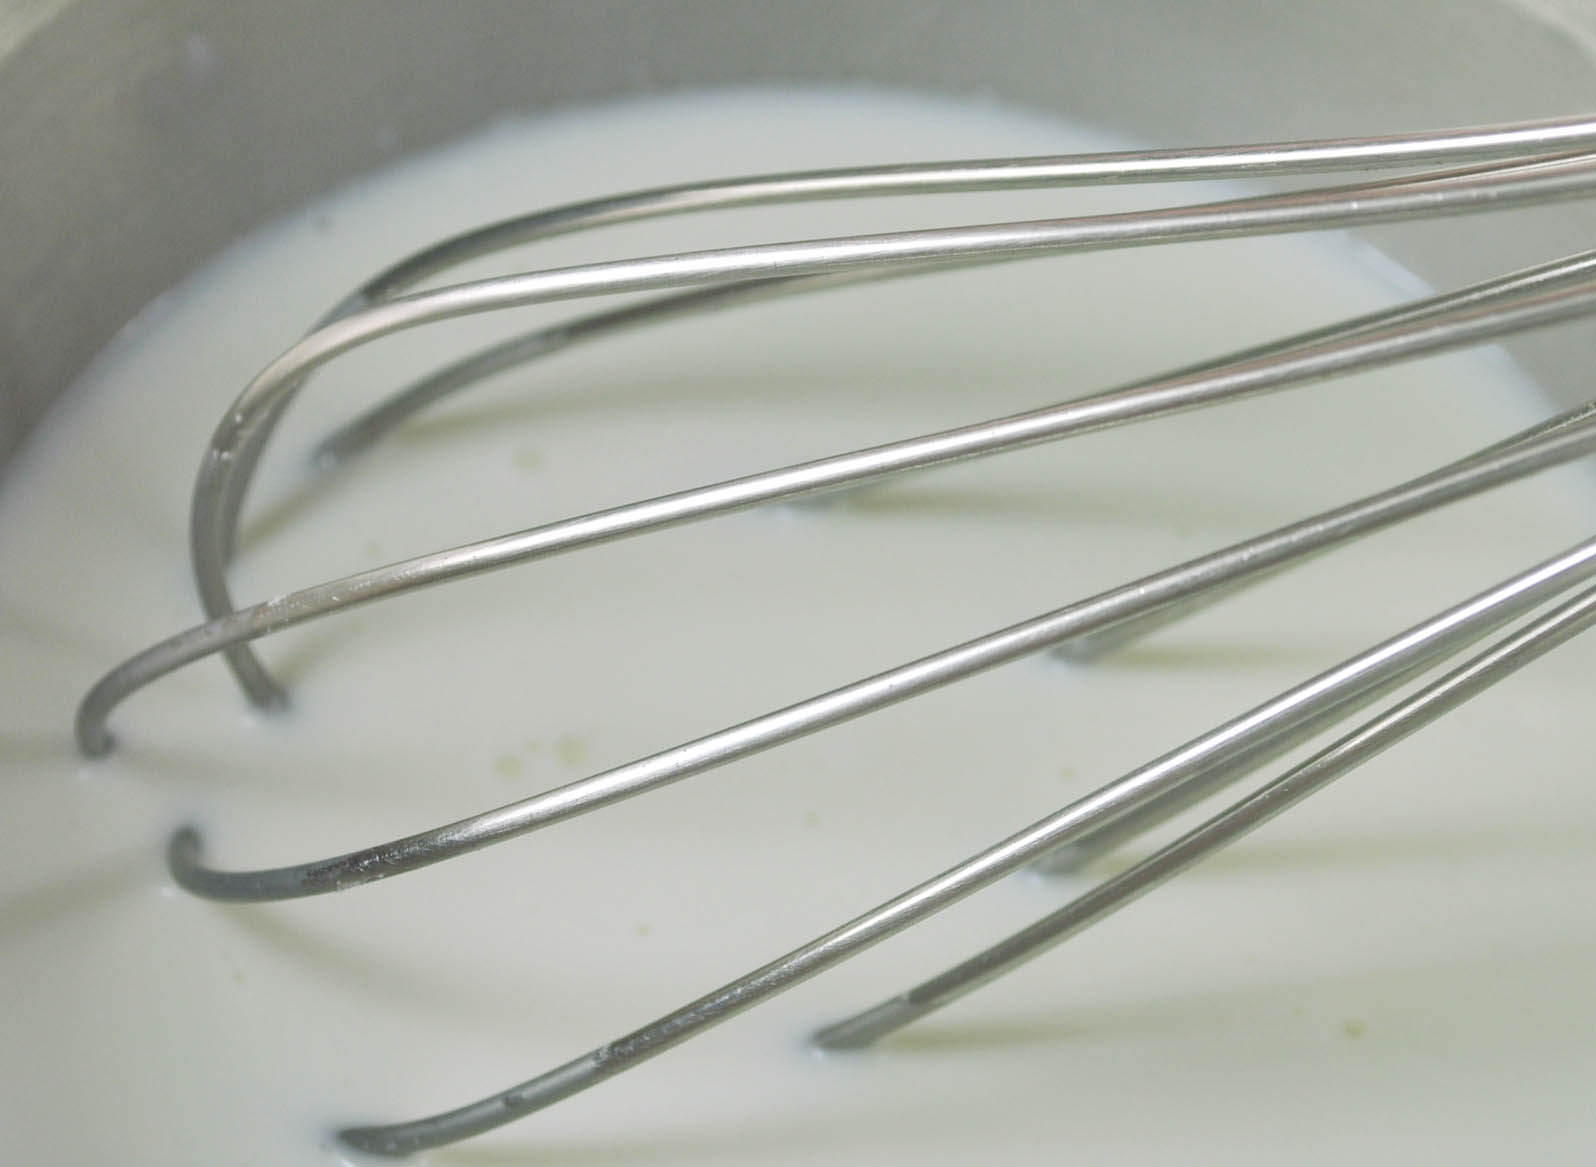
(5) Temper the milk. Which basically means, as Chef Hasset explained, we'd need to bring the temperature of the egg mixture slowly to the temperature of the milk mixture. Which in turn basically means, don't shock the eggs, otherwise you'll have sweetened scrambled eggs instead of a custard.
(6) Lastly add butter and vanilla
 (7) Let custard cool.
(8)  Wrap the custard as you would a turon. See below
Here they are stacked!
Fry in a pan. Make sure not to overcrowd since it'll lower the temperature making the rolls soggy.

Now, you can serve it with a variety of things - whipped cream, ice cream, fresh fruits, mint leaves, powdered sugar, chocolate, strawberry or caramel sauce. As for me, whipped cream and cherries - classic.
So glad, I took time to attend the demo. A special thanks goes to the Maya Kitchen and Ms Tess Laurente for inviting me :)

Rabu, 11 Juli 2012

How to Make Barrel Handbag Cupcakes


Related posts:

You do know that I have a thing for crime procedural dramas, right? There's NCIS (the orginal one), then there's Bones, then there's Warehouse 13. Warehouse 13 isn't really a crime procedural drama but I so love the steampunkish vibe the show has so I watch it as well. But right now... I am totally obsessed with Castle. Castle and  Beckett, otherwise known by the portmanteau: Caskett, haha!

Ahh Castle... I am officially counting the hours until the weekend when I can focus on watching the season 4 marathon.  So probably on Monday, my rant would be "I can't wait for September to kick off the first episode for season 5". 

But right now, I can totally sense you pressuring me to go on with the show... I mean, go on with the tutorial. After all, I did promise one more bag tutorial before I move on to other equally (if not even more) exciting things right? 
So here I am, being such a nice and accommodating blogger, I made another a fondant bag cupcake topper tutorial just for you (read: that's another way of saying: Help!!! I can't stop making these fashionista themed toppers! They just look sooo cute!)
What we need - 

Fondant in teal, white and gray

Stitching tool (or toothpick or knife)
Silver dragees
Silver Luster Dust (optional)
Silicon button design mold (optional)Knife 
Brush and water
Here's How
(1) Roll fondant into a ball
(2) Flatten the ball using the palm of your hand
(3) Let the flattened ball "stand up" and press down top part
(4) Ahem... please pardon my un-manicured nails. Sometimes, there are more important things to do in life than having your nails pampered... like making a Barrel Handbag Cupcake Topper. 
Oops, I digress... using your thumb (manicured or unmanicured is fine :)) and index finger, press the flattened ball together then press again this time in a downward direction. This will give the bag a stable base to stand on.
(5) Roll remaining fondant into a rope
(6) Attach the fondant rope to both the side edges of the bag
(7) Make a zipper by rolling the white fondant, cut a slim rectangular strip.The using a knife, press a zipper design onto the fondant.
(8) Attach to the bag.
(9) Now now now, this part is optional since silicon molds are not always available. For this bag, looking at it right now, it just looks plain/bare. By having a focal point, it'll lively things up, hence the silicon molds. If you don't have the silicon molds, you can cut out a small fondant flower or a simple fondant rose and it will do just fine as well. 
If you happen to have the silicon molds, here's how I did it. Press a small amount of the gray fondant into one of the molds then unmold.
(10) Brush with the silver luster dust for added sheen. Set aside.
(11) Remember the ropes in step #5? Cut them up in uniform length
(12) Attach them as handles of the bag. Paste the button at the center of the bag.
(13) Secure the handle onto the bag by attaching silver dragees to each end and pressing it inwards.
There you have it folks!  Another designer bag, fondant version. 
For more fondant bag tutorial, do visit some of my previous posts:
How to Make Fondant Designer Bag Cupcake ToppersHow to Make a Designer Red Purse Fondant Cupcake TopperAnd if you visit Bake Happy's Facebook page 's Photo Album, there's even one extra speedy tutorial there  :)


Senin, 02 Juli 2012

How to Make Fondant Designer Bag Cupcake Toppers


Related Posts:


Bake Happy Blogger's Tip of the Day:

Do nothing once in a while. 
Sometimes we just go on with our lives without stopping and smelling the roses along the way. 


Bake Happy Blogger's Tip to self: 

Follow Bake Happy Blogger's Tip of the Day. 

Because although you can still see me on Facebook, Twitter, Pinterest and Instagram ('m bakehappyonline), I haven't had the chance to blog the past week because June has been a very very very busy month at work. Plus my nose bled (figuratively). If you know what I mean. 

So for July, I am planning to do nothing once in a while. Oh dear, just thinking about it makes me feel so bored already! Okay, I'll just do nothing until I can't stand it then off to making treats for you again. There that sounds (and feels) much better. Guess you can't take the baker out of me. 
So, before I do nothing, I thought I'd show you how I made these cupcake toppers. Still on "bag mode". They're so fun to make, so fun to gush over and so fun to dissect and eat. Scrap the "dissect and eat" part. It sounds gross. Here's how - 
What we need - 

Fondant in ivory and white

Stitching tool (or toothpick or knife)
Rolling pin
Placemat with textured design (optional)
Knife 
Brush and water
Pattern cut out of paper
  • 4.5 x 2.5 cm
  • 4.5 x 3.5 cm
  • 4.5 x 1 cm
  • 3.5 x 1 cm

Here's How
(1) Roll ivory fondant into a ball, then shape it into a Toblerone-esque shape. This will be the base structure of the bag. 

(2) Make sure base of of the "Toblerone" will measure 4.5 x 1 cm.
(3) Roll out remaining ivory fondant (leave a small piece for the bag handle later). I mentioned a place mat with textured design as an optional tool because I used it to create texture onto the rolled fondant. I bought my place mat at Landmark for only 50 bucks. Pretty cheap for such an unconventional use :)
(4) Cut out - 

  • 2 - 4.5 x 3.5 cm (this will be the front and back of the bag) optional to run the stitching tool through the right and left sides.
  • 1 - 4.5 x 2.5 cm (this will be the cover/overlap of the bag
  • 2 - 3.5 x 1 cm (this will be the sides of the bag)

(5) To assemble, attach the back and front sides to the "Toblerone"
(6) Pinch one end of the 3.5 x 1 cm and attach it to one side of the bag with the pinched side on the top. Cut off excess. Do the same to the other side.
(7) Now,  on to the 4.5 x 2.5 cm which will serve as the overlap/cover, cut 2 ends and run through the stitching tool on the border.
(8) Attach the overlap/cover to the bag. Attach a slim strip of textured rolled fondant at the front as well.
(7) Add details using the white fondant. At this point, to make the topper fancier, you can also paint it gold or silver using luster dust.
(9) Attach the handle.
Now now now, that wasn't so hard was it? Totally a piece of cake! Err... cupcake I mean.  This bag is very versatile, you can change the color to your liking or even the dimensions. You can make it bigger to be a cake topper instead. Or add floral details. Or add a edible fondant scarf wrapped on one end of the handle. So fab!
I enjoyed doing these fashionista themed toppers! So cool to see these miniature versions! Do you want more? I'm thinking of doing one more tutorial on bags before moving on to other stuff. What do you think?